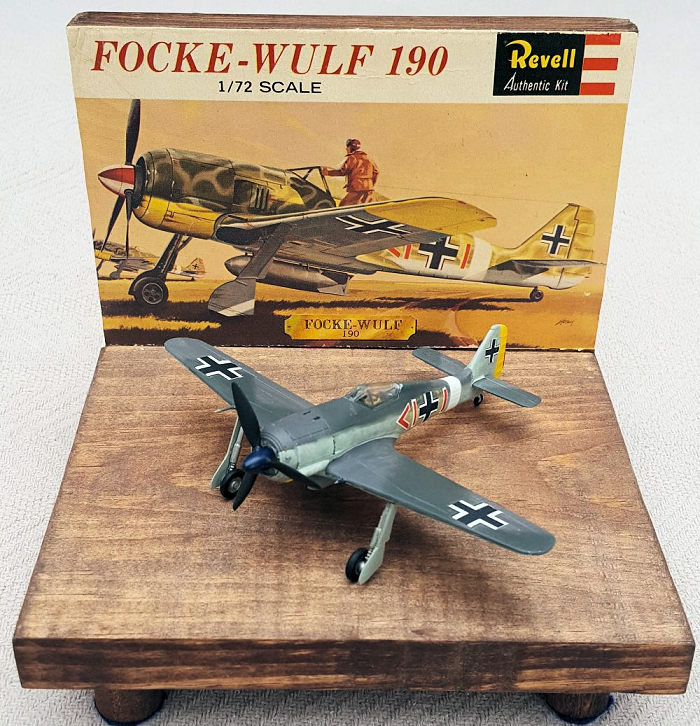
Revell 1/72 Focke-Wulf FW-190
| KIT #: | H-615 |
| PRICE: | ~$5.00 |
| DECALS: | One option |
| REVIEWER: | Chris Mikesh |
| NOTES: | Kit was built OOB |

| HISTORY |
 (Quote from
the instruction sheet - Abridged)
The clean and straightforward lines of the Focke-Wulf 190 drew praise from both the German pilots who flew it, and those Allied pilots who fought against it. From a pilot's point of view, it was perhaps the most beautifully flying plane ever designed. Beauty, however, was not its only claim to fame. It was also one of the most formidable fighters ever to engage in combat. Blazing top speed, neck snapping maneuverability and heavy armament made it one of the most important fighters in the German Air Force. It saw its first action, at squadron strength, in July and August of 1941. Flying from bases on the Channel coast, the Focke-Wulf 190 showed itself to be greatly superior to the Spitfire V, which was the top Allied fighter at the time. This superiority was somewhat diminished as more powerful Allied Fighters arrived on the scene, remained an important factor until the end of the War.
| THE KIT |
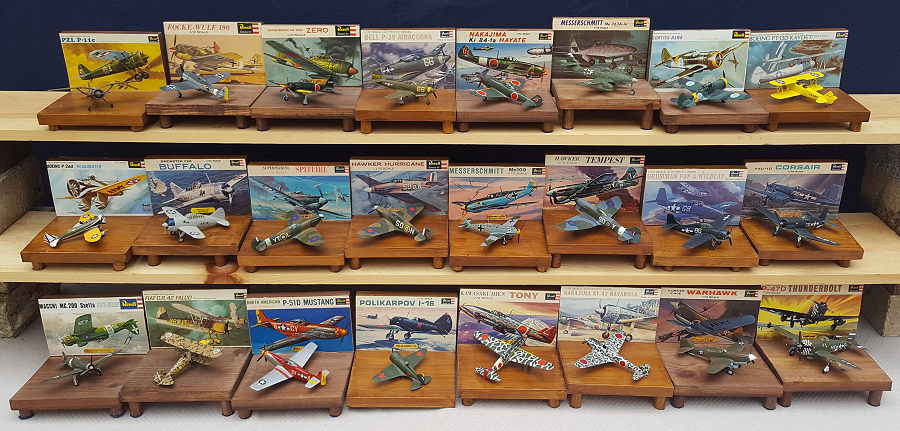
Years ago, my father had a huge collection of models in the basement. The Revell 1/72 WWII “H” series kits – specifically the fighters, (24 of them) were a favorite of mine and I always wanted to build them. This build is #24 and the last, of the collection.
The kit is very straight forward, with no glaring shape flaws. My kit was olive/brown plastic and in good shape. It has raised panel lines and is typical of a 1963 kit. I expected this to be a great weekend build but discovered the many flaws of the kit. It is a very brittle plastic, with a lot of raised features and many poor fitting seams. However – if it looks like a 190, then it is a 190.
| CONSTRUCTION |
 Fuselage and Pilot:
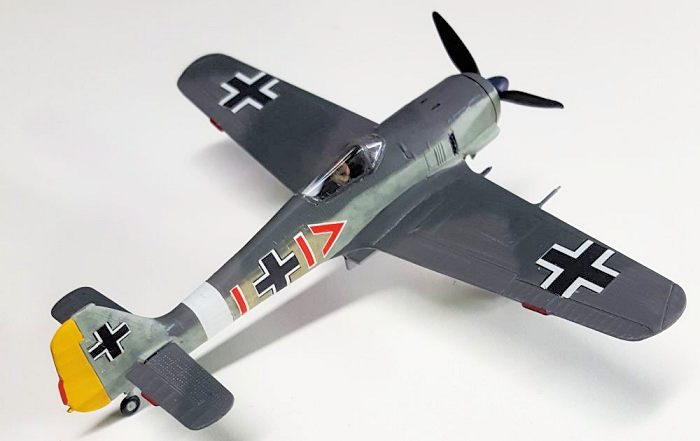
Assembly begins with the fuselage halves. There is no interior to speak of except for an under-sized pilot. The pilot was painted with Tamiya Red Brown XF-64, with a brown helmet. Chromate Green was painted in the interior. There are no instruments and side panels provided with the kit. The poor pilot was skewered on a stick – and that is the only interior. Externally the fuselage detail looks very good and was simply glued and together. Fit was good and sanded after it was set.
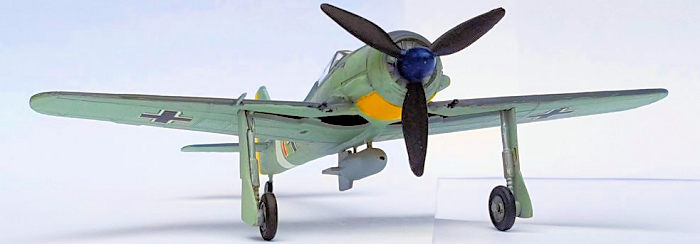
Wing assembly was pretty normal. The lower half is in one piece and the upper halves were glued in place. Fit wasn’t too bad so I used a Mr. Surfacer 500 in layers and sanded until closer to correct. A good #11 X-Acto blade will restore some raised rivets by GENTLY using the point pry up the surface to fake a rivet. (Paint will fill the hole made by the point of the X-Acto point.) Be patient and go slow – remember it is only 1/72 scale!
The elevators needed a little pre-sanding. The tabs were also too large to fit in the slots – no big deal –I just removed them and everything went flush.
| COLORS & MARKINGS |
I used Mr. Hobby H-69 RLM75 Gray Violet , with Mr. Hobby H-68 RLM74 Gray Green to complete the camouflage. Tamiya XF-12 JN Gray on the bottom and fuselage.
The 1963 decals
for this model looked okay from the surface, but as I examined it with a
magnifying glass; I saw very small cracks very close together. That meant that
this decal sheet was going to have some problems with shattering once in water.
(I had no replacement decals.) So, I mopped on some liquid decal film. This is
much recommended with any aged decal sheet. Yellowing cannot be avoided. T he kit
was from the ‘politically correct’ times and did not come with a Swastika.
Builder’s prerogative: I chose the kit decal with the replacement Balkenkreuz on
the rudder (instead of Swastika) to present it out of the box, and since the kit
paint scheme was sort of fictional – why not!
Other assembly: Landing Gear is straight forward also. Pre-paint the wheels and let dry. I used a Sharpie for the silver and the black. This prevents paint build-up and dries in seconds. As with all kits that come with Pitot tubes pre molded, they tend to break off during assembly and are usually out of scale. I replaced the tube with stretched sprue and simply superglued in place. The canopy turned out very well. A quick dip in future made it completely clear.
I used a clear coating of Future Floor Finish overall. This seals in the decals and adds a hard surface over the paints (reduces scratching as you handle it). Once dried, A quick spay of Mr. Surfacer dull coat then remove the canopy masking.
| CONCLUSIONS |
Is this a great kit? Compared to more modern kits of different brands…no. For a 1963 vintage model…it was very respectable for its time. It lacks a lot of details modern kits provide. But is a great “good memories” kit. I recommend new decals, and a resin interior for it but, I don’t recommend going to that expense as there are better kits available for the same price range. I’d suggest the kit for a new builder. Classic kit builders – this is a challenge (and why it was the last in my series)!

This is #24 of 24 of the 1/72 WWII H-6xx Fighters Series with the cool box art most of us grew up with. The whole series took 25 years to complete with many distractions and interruptions. Brian Knight and Jack Lynnwood did most of the box art – Thanks for the memories.
Display Stands: The model stand is easy to do. Here is a link if you’d like to give it a try. https://modelingmadness.com/review/allies/gb/fighters/miktem.htm
Reference:
Friends are welcome to write: ChrisMikesh@Gmail.Com
God Bless,
Chris
Valom h
First th
| FINAL CONSTRUCTION |
| REFERENCES |
Thanks to for the peview kit. You can find this kit at your favorite hobby shop or on-line retailer.
If you would like your product reviewed fairly and fairly quickly, please contact the editor or see other details in the Note to Contributors.