|
KIT: |
Hasegawa 1/72 F-104S Starfighter |
|
KIT # |
00059 |
|
PRICE: |
$15.00, in the mid-1980s |
|
DECALS: |
One aircraft |
|
REVIEW & |
|
|
NOTES: |
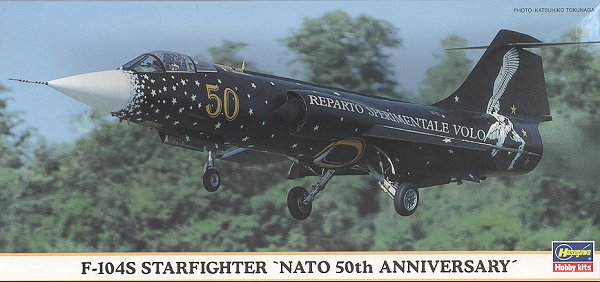
'NATO 50th Anniversary' |

|
HISTORY |
In 1999, NATO celebrated its 50th Anniversary. Not wanting to miss such an important occasion, several air forces painted up an aircraft with a special commemoration paint scheme. The Italian Air Force rarely misses out on a chance to do one of these schemes if it is possible and managed to come up with a very striking paint job. It was fitting that it would be placed on an F-104 as the Italians are famous for their 104 paint schemes. (Before I get a bunch of mail from Belgian fans, note that I said 104 paint schemes. The F-104 was pretty well out of Belgian service by the time that the BAF started in with it's well known special schemes.)
One reason that Italy still has a number of Starfighters is that they were built locally by Aeritalia and were to a level of sophistication that was not seen in the earlier G models that many NATO signatory countries flew for several decades. Even today, the F-104S is still in service with Italy as well as a number of other countries around the world.
|
THE KIT |

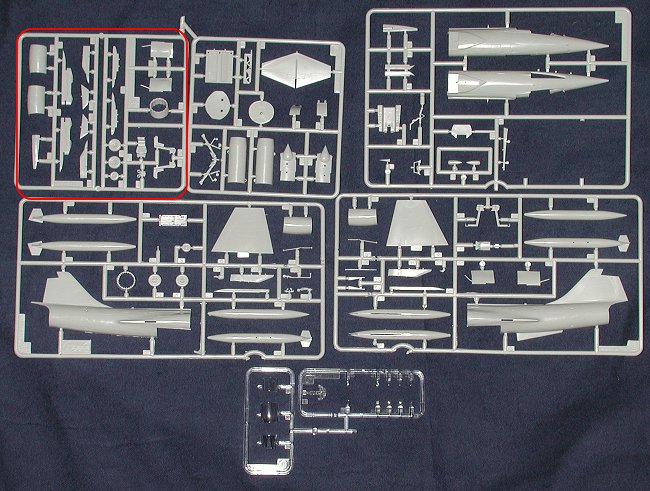
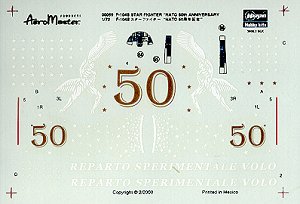
This kit is in every way the 'standard' 1/72 F-104S kit that Hasegawa has had on the market for the last decade. It is the same as the G but for the 'S specific' sprue (marked in red). It is still the best available in this scale, the only difference being that it does not have the regular decals with it; only the special sheet. Fortunately, this decal sheet is done by Aeromaster so there should be no problems applying them. It will take some time due to all the little stars and it will be interesting to see how things hold out when applied to a gloss black airframe.
 The addendum sheet that comes
with the kit makes no mention at all of what parts are to be used or not used
with this boxing. That is a bit odd. Actually, you will have a clean airframe
with no racks, no pylons and no tip tanks. In fact, the best way to display this
model would be with the wheels up as there is a large decal that goes on the
bottom of the plane. Since it is a single decal, cutting it might be a problem.
If doing the model wheels down, I'd suggest not attaching the landing gear until
after the decaling has been done. Then you can apply the decal and when dry,
carefully cut where it crosses the door line. BTW, The 50 is in gold. I had to
darken the sheet to show the white markings.
For those wondering what Reparto Sperimentaile Volo means, it is the Italian equivalent to the USAF Flight Test Center at Edwards AFB. It is where at least one of every aircraft type in the inventory is kept so that any modifications that are planned can be tested and the bugs worked out of them before the mod is issued to the rest of the air force.
|
CONCLUSIONS |
Though I have not (yet) built a Hasegawa 1/72 F-104S, I have heard nothing but praise for it. Now why the 1/48 version couldn't have come complete with the racks and pylons as this one did is beyond me. I'm still ticked about that omission and will be until Hasegawa makes it right.
Review kit courtesy of my kit collection
If you would like your product reviewed fairly and fairly quickly by a site that has well over 100,000 visitors a month, please contact me or see other details in the Note to Contributors.