| KIT: | Academy 1/144 F-4E Phantom II |
| KIT # | 4419 |
| PRICE: | $3.50 |
| DECALS: | 469 TFS / 388 TFW (JV) |
| REVIEW BY: | |
| NOTES: |
|

| HISTORY |
If you don't know anything about the F-4 Phantom II, you are either youngerthan 10 years old or have been living in seclusion for the last 40 years!
| THE KIT |

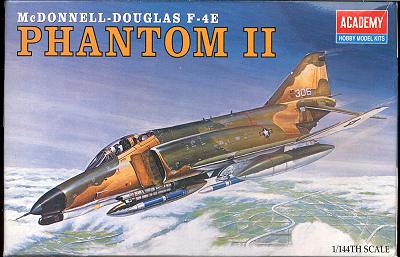
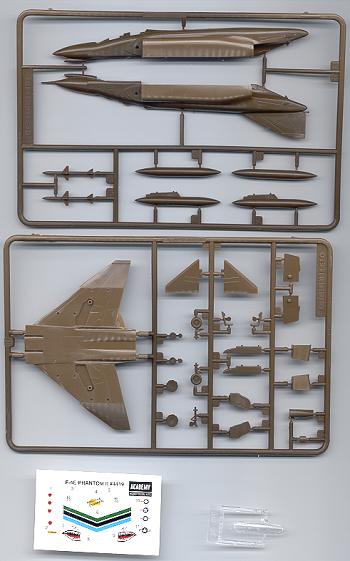
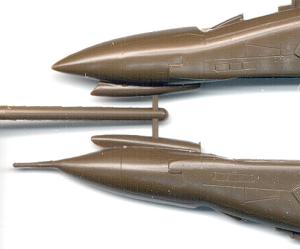
Looking closely at the kit, one notices a few oddities. First of all the boxart is of an F-4G, not an F-4E. A nitpick in 1/144. Next if one looks closely atthe gun fairing, it looks quite odd indeed. More like a sugar scoop than thatcorrect fairing. This will take a bit of work to correct. Such as filler and afile!! The 'interior' consists of two seat 'shapes'. Good enough for 1/144, eh? Thedrop tank attachment holes are basically out at the wing fold. A bit far awayfor a normal F-4 as they should be quite close to the main gear doors. The restof the bits look OK for this scale, but frankly if DML did one (which itdoesn't), it would be a better kit. Well, enough 'what-iffing' and on to building the kit. CONSTRUCTION First step was installation of the 'seats' in one fuselage half. Once the wasdone, the interior was painted flat black to try to hide the lack of detail.Once that was accomplished, the fuselage halves were glued together. As I hadfeared, the fit was pretty poor and filler was needed all over. While this wascuring, the drop tanks were glued together. As with the fuselage, I removed theguide pins as they were not helping. The tanks fit together very well indeed.Next the intake interior parts as well as gear door insides and wheel wells werepainted gloss white. Next step was gluing on the wings. This fit quite poorly, especially in thefront. The area where the wings were to fit the fuselage sides are curved waytoo much and so fit the fuselage join only in one small place. A great deal offiling, filling and cleanup are needed to get even a semi-decent fit. Next thesplitter plates were installed and then the intakes. The fit of the intakes isso-so, especially since there is no decent attachment point on the underside.For some reason the intakes are very thin down there and do not meet the bottomof the splitter plate at all well. Filling and sanding took care of the worst ofthe fit problems. Next I fit the canopy. Fit here is also very poor. The canopy is so thickthat the seats and other interior details must be drastically thinned to get thecanopy to fit. In addition, the canopy is too short for the available space.While gluing mine in place, I cracked it rather badly, so will have to paint itblue. Not really that bad a thing as I have to fill and sand the back part toget it even close to the fuselage. PAINT & DECALS CONCLUSIONS REFERENCES Review copy courtesy of me and my wallet!! If any of you manufacturers or shop owners want to send products for reviewand building, please 