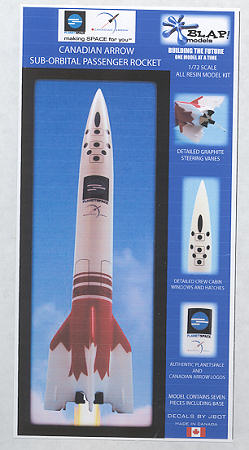
| KIT: | Blap Models 1/72 Canadian Arrow Sub-Orbital Passenger Rocket |
| KIT #: | ? |
| PRICE: | $60.00 from www.blapmodels.com. Includes shipping |
| DECALS: | One option |
| REVIEWER: | Scott Van Aken |
| NOTES: | Resin kit with stand. |
| HISTORY |
The Canadian Arrow is a 54-ft long, two-stage, three person sub-orbital rocket with the second stage doubling as an escape system. The first stage is 33.5 ft. long and 5.4 ft. in diameter with four fins at the base for aerodynamic stability. A single 57,000-lb thrust liquid propellantrocket engine propels the first stage. The first stage propellants are fed to the engine using a pressurized gas system. This system is made up of two propellant tanks for fuel and oxidizer, topped by a single composite construction high-pressure gas sphere. Steering of the vehicle is accomplished using graphite jet vanes and aerodynamic flaps on the fins. The second stage (crew cabin) is 20-ft. long and 5.4 ft. in diameter at the base, and contains four JATO type rocket engines for second stage propulsion. These solid rockets can be fired at anytime during the flight, including a launch pad abort.
My thanks to www.canadianarrow.com for the background information.
| THE KIT |
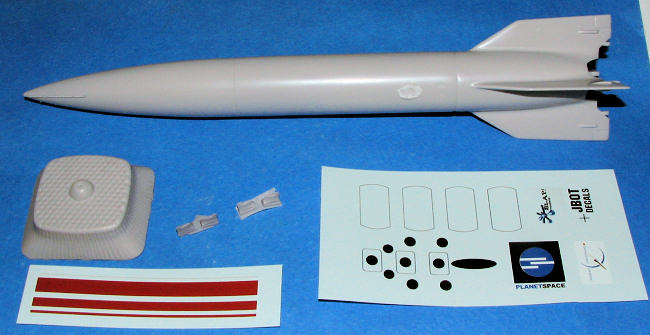 When I first opened the very sturdy box and removed what seemed like a lot of plastic peanuts, I was greeted (hello) by what looks very much like a stretched V-2. And that is because it basically is! Also in the kit box was a nice set of JBOT decals, a stand, four steering vanes and a superbly done set of color instructions. In with the instructions is a sheet of painting masks for the lower portion of the rocket. One simply cuts these out, places them in the appropriate location, and paints over them. The paper has small tabs that can be used to hold things in place. The instructions recommend transferring these designs to masking tape by spraying the back with low tack adhesive. It sounds like a good idea to me. There are step by step instructions on doing this.
The parts themselves are superbly molded from a dense grey resin. The body is solid and has only a seam line and the sprue attachment areas to worry about. My sample had the large aft sprue stub removed too close to the body leaving a rather large divot. That area will have to be carefully filled once the surrounding area is smoothed out. The best filler for these things will be a two part epoxy filler. Not a big problem at all. A brass rod is the best way to mount this and you can find those at all sorts of places. The JBOT decals are supberbly printed and like all ALPS style markings are on a solid carrier that will need to be cut out prior to use.
| CONCLUSIONS |
Truly, one could not find a much easier kit to build and though painting will be a bit of a challenge for some, the instructions will walk you through that process. If you are looking for something a bit unusual, something that will be easy to build, something that pretty well seems to be going to happen, and something that fits into Real Space, then this one is for you.
July 2006
Review kit courtesy of Blap Models .Order yours direct.
If you would like your product reviewed fairly and quickly by asite that has over 300,000 visitors a month, please contactme or see other details in the