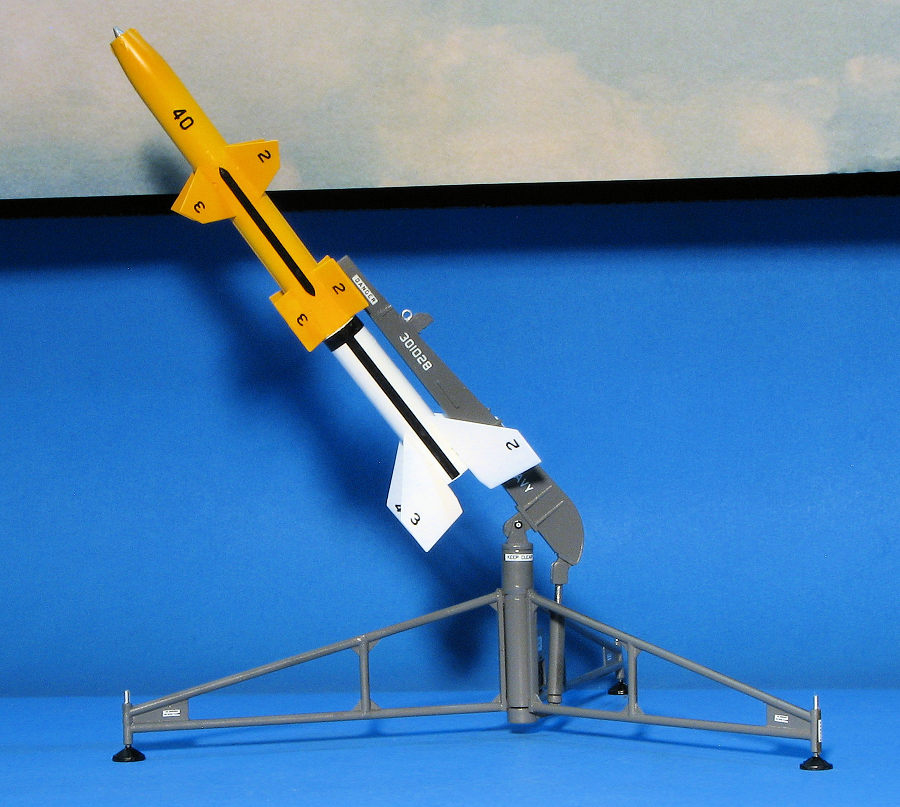
Atlantis 1/40 Bendix Talos Missile
| KIT #: | H1808 |
| PRICE: | ~$20.00 |
| DECALS: | One option |
| REVIEWER: | Scott Van Aken |
| NOTES: | 1957 tooling. 2025 release. |
| HISTORY |
 Talos was the
end product of Operation Bumblebee, the Navy's 16-year surface-to-air missile
development program for protection against guided anti-ship missiles like Henschel
Hs 293 glide bombs, Fritz X, and kamikaze aircraft. The Talos was the
primary effort behind the Bumblebee project but was not the first missile the
program developed; the RIM-2 Terrier was the first to enter service. The Talos
was originally designated SAM-N-6 and was redesignated RIM-8 in 1963. The
airframe was manufactured by McDonnell Aircraft in St. Louis; final assembly was
by Bendix Missile Systems in Mishawaka, Indiana. The first production versions
of the missile cost about $155,000 in 1955 ($1,793,335 in 2022 dollars);
however, the price would drop as Bendix increased production.
Talos was the
end product of Operation Bumblebee, the Navy's 16-year surface-to-air missile
development program for protection against guided anti-ship missiles like Henschel
Hs 293 glide bombs, Fritz X, and kamikaze aircraft. The Talos was the
primary effort behind the Bumblebee project but was not the first missile the
program developed; the RIM-2 Terrier was the first to enter service. The Talos
was originally designated SAM-N-6 and was redesignated RIM-8 in 1963. The
airframe was manufactured by McDonnell Aircraft in St. Louis; final assembly was
by Bendix Missile Systems in Mishawaka, Indiana. The first production versions
of the missile cost about $155,000 in 1955 ($1,793,335 in 2022 dollars);
however, the price would drop as Bendix increased production.
The initial SAM-N-6b/RIM-8A had an effective range of about 50 nmi and a conventional warhead. Several later variants added a nuclear warhead for use in the surface to surface version. The surface to air variant was used in Vietnam with four MiGs shot down by the USS Chicago and USS Long Beach. It was the first SAM victory fired from a ship. Thanks to its large size, it was limited regarding the ships that carried it. The last missiles were decommissioned in 1979. The missile had a solid propellant first stage with a ramjet second stage.
| THE KIT |
 that Revell AG did not want and ended up
with a lot of fairly old tooling. Many have been re-issued and Atlantis took
the care to ensure the molds were in good shape. In other cases they updated
the tooling, an example is the addition of clear parts to some of the older
off scale car kits.
that Revell AG did not want and ended up
with a lot of fairly old tooling. Many have been re-issued and Atlantis took
the care to ensure the molds were in good shape. In other cases they updated
the tooling, an example is the addition of clear parts to some of the older
off scale car kits. | CONSTRUCTION |
 It would probably be redundant for me to say this, but the general fit of
the kit was not that good, so don't plan on slamming this one together.
First step was to take a considerable amount of time to remove mold seams.
The launcher was the worst culprit of this, but it is important to remove as
much as you can as that really helps the look of the finished project.
It would probably be redundant for me to say this, but the general fit of
the kit was not that good, so don't plan on slamming this one together.
First step was to take a considerable amount of time to remove mold seams.
The launcher was the worst culprit of this, but it is important to remove as
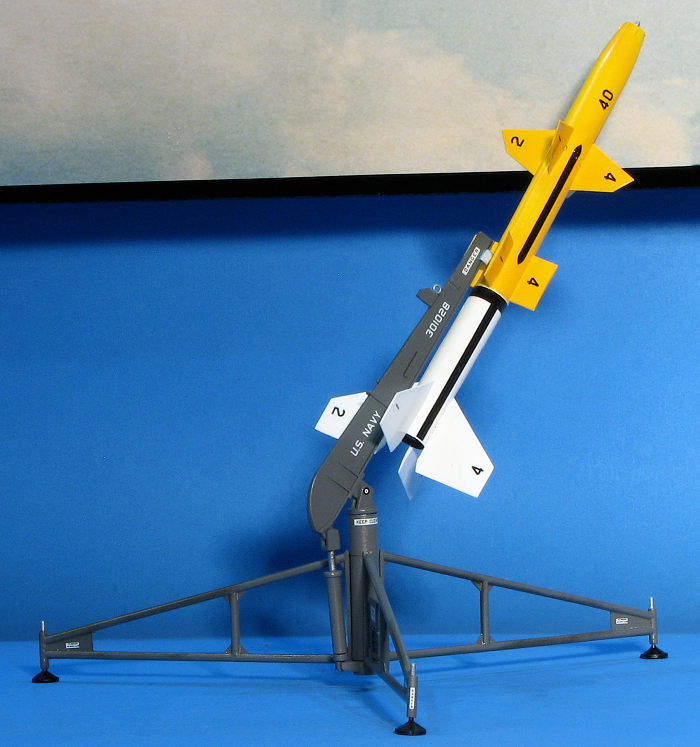
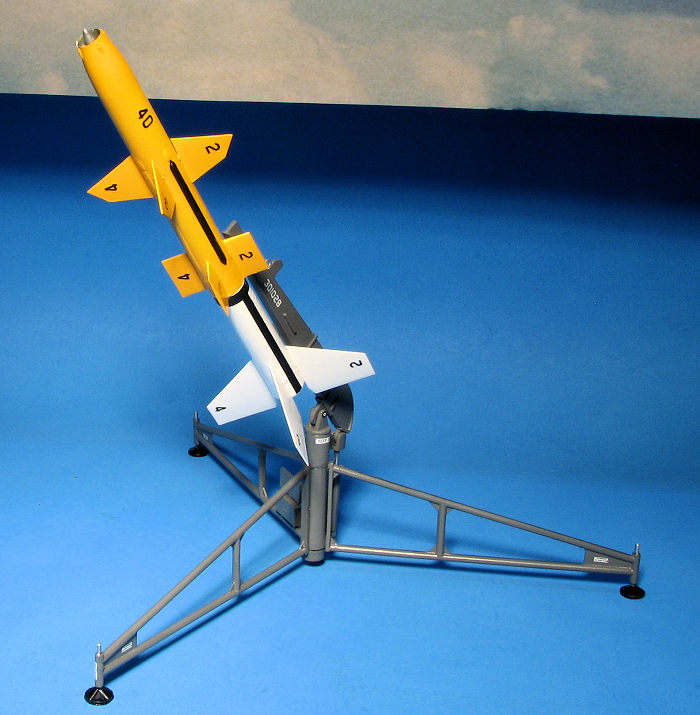
much as you can as that really helps the look of the finished project. Next was the launch section . Actually, it all fit fairly well without any of the drama of the missile. It is supposed to have the launch rail be able to move in axis and elevation. However, this was a fairly tricky situation due to the weight of the missile making it impossible to keep the launch rail up off the ground so it was glued in place. The axis part also had issues as the elevation piston would not have been able to rotate as the lower section was fixed in place. There are two large lugs on the missile that allows it to slide onto the launch bar. The attachment point is about half the size of the pegs on the lugs so those were trimmed down to fit. I did not use any of the three figures as they all had very large sink areas in them.
| COLORS & MARKINGS |
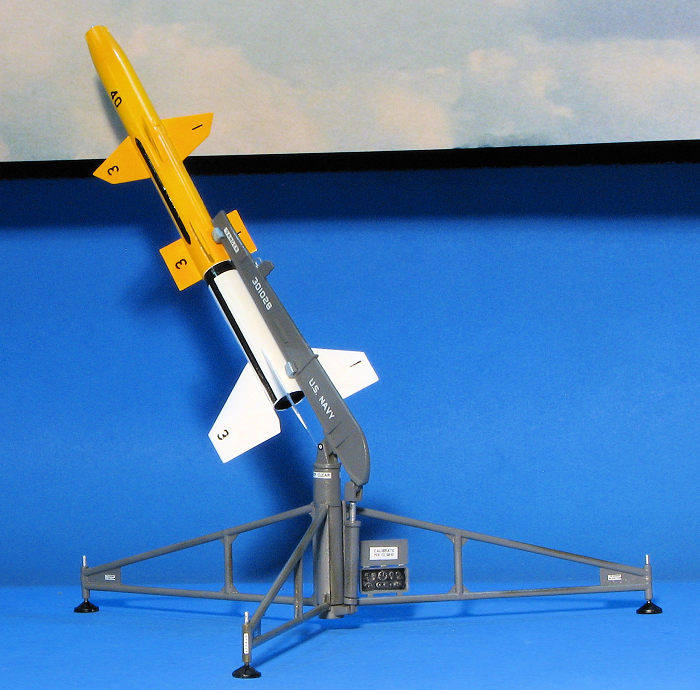 Pretty easy
to paint. First I painted the missile body matt white. Then the forward section
was painted a nice yellow. The launch stands were painted with a dark grey. Some
of the details were painted silver and black and shown in the instructions. The
forward and aft sections of the missile were then given an overall gloss
clear coat in preparation for the decals.
Pretty easy
to paint. First I painted the missile body matt white. Then the forward section
was painted a nice yellow. The launch stands were painted with a dark grey. Some
of the details were painted silver and black and shown in the instructions. The
forward and aft sections of the missile were then given an overall gloss
clear coat in preparation for the decals.
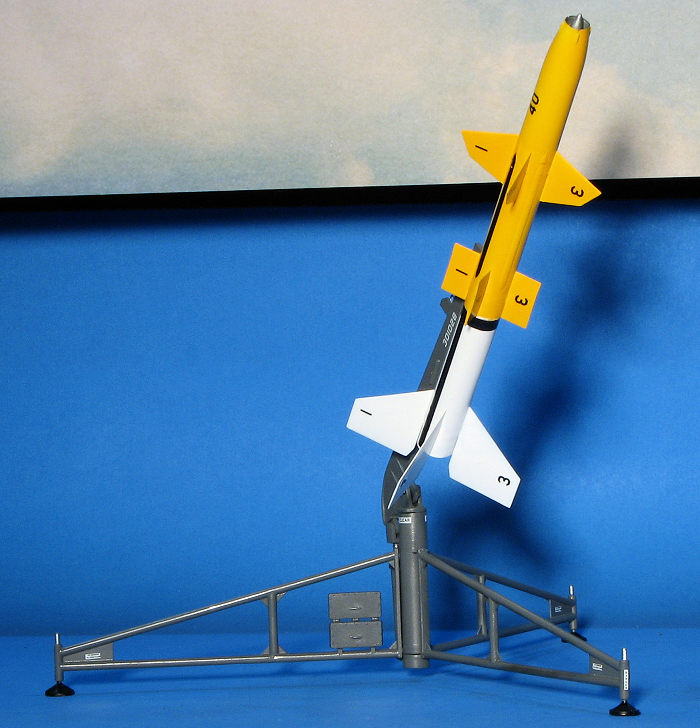
One of the nice things about these Atlantis kits is that they come with very nice decals. They are thin and adhere well. Many of the missile markings are embossed on the parts so those were used to install the decals. It was interesting to note that the facing of the fin numbers on the booster are facing a different direction over the upper portion. The launching base had a goodly number of data markings to attach. In all, everything went very well. Once that was done, the missile was slid onto the launch bar and that was it.
| CONCLUSIONS |
Despite the fairly poor fit of some parts, the overall build was generally a lot of fun. Be prepared to do a fair amount of clean-up of mold seams along with some filling and sanding on the missile itself. It is nice to have this one added to my small collection of these vintage rocket/missile models and makes for a nice change of pace.
| REFERENCES |
https://en.wikipedia.org/wiki/RIM-8_Talos
4 September 2026
Copyright ModelingMadness.com. All rights reserved. No reproduction in part or in whole without express permission.
If you would like your product reviewed fairly and fairly quickly, please contact the editor or see other details in the Note to Contributors.
Back to the Previews Index Page