| KIT #: | 25149 |
| PRICE: | $10.00 (used) |
| DECALS: | Did not get any with the kit |
| REVIEWER: | Scott Van Aken |
| NOTES: |
| HISTORY |
 The Steyr 1500A was powered by a 85 hp, 8-cylinder air-cooled Steyr 3517cc OHV petrol engine, and had a top speed of 90 km/h on roads, and 45 km/h cross-country. The 1500A had a maximum range of 400 kilometers when travelling on roads, and 280 kilometers when travelling cross-country, and the total fuel capacity was 100 liters. The 1500A measured 5.08 meters long, 2.03 meters wide, and 2.23 meters high, and weighed 2,485 kilograms empty. The total carrying capacity of the 1500A was 1,500 kilograms, raising the fully loaded weight, including fuel, crew and passengers to 4,160 kilograms. The light truck version of the 1500A required a crew of two. The passenger capacity varied depending on the type of vehicle. The troop carrier version could carry eight passengers and the command car version six. The 1500A had no armor protection or armament, making it a non-combat vehicle.
| THE KIT |
 Not a whole lot to say about this one. The molding is excellent and one gets a bunch of figures of general officers and their various entourage. Also included in the kit are things like a radio transmitter set and pair of stereo binoculars and the stand on which to place them.
 | CONSTRUCTION |
 This is another kit from the LHS's 'junk kit' pile. The previous owner had slapped together some of the figures and had crudely brush painted most of the body parts. There were instructions, but the decals were not in the box. Fortunately, he had not started gluing the main kit parts. I took the figures and put them in a bag to donate to someone at the next IPMS meeting. I also got a tin of Easy Lift Off paint and decal remover to eradicate the sloppy brush work. The first application took care of about 80%. The second got another 19% and the third removed the rest.
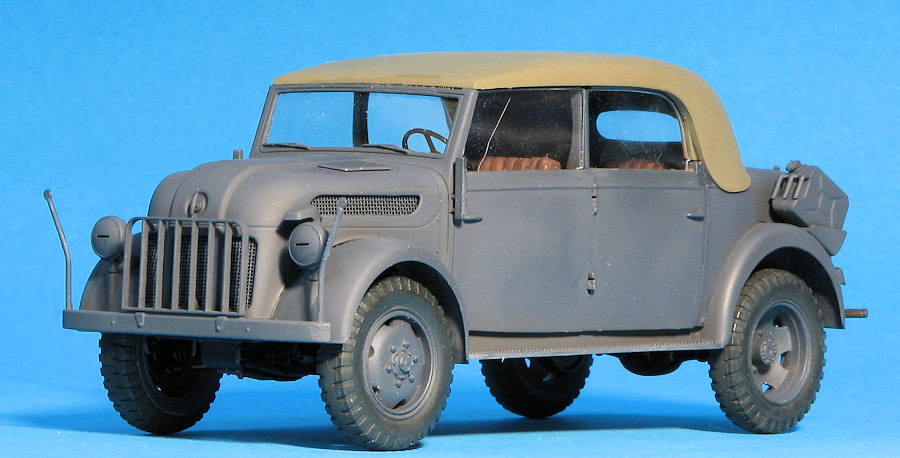
 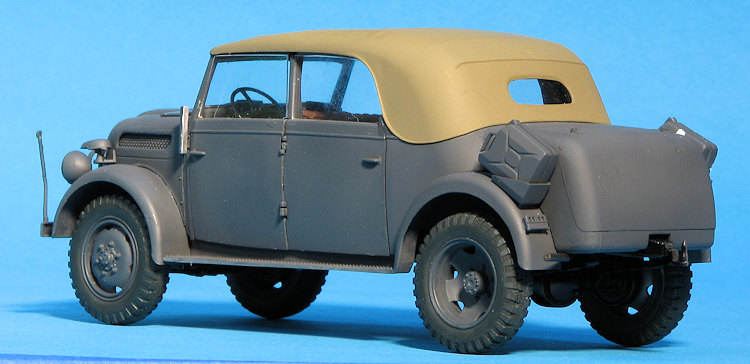 Then things got a bit tricky. I assembled the doors after painting the inside and outside. Tamiya provides plastic mesh for the various openings on the hood and grille. There is a template to help get them the right size and that was followed with some success. Fortunately, this stuff glues in well. I then glued this to the fenders. I did not open the holes for the flags as I did not get decals with the kit and thought they'd look stupid with nothing on them. The headlight assemblies and the NOTEK light were attached. You can choose covered lights if you don't want the slit lights. The hood release, upper vent covers and front bumper/guard were then attached and it was all painted.
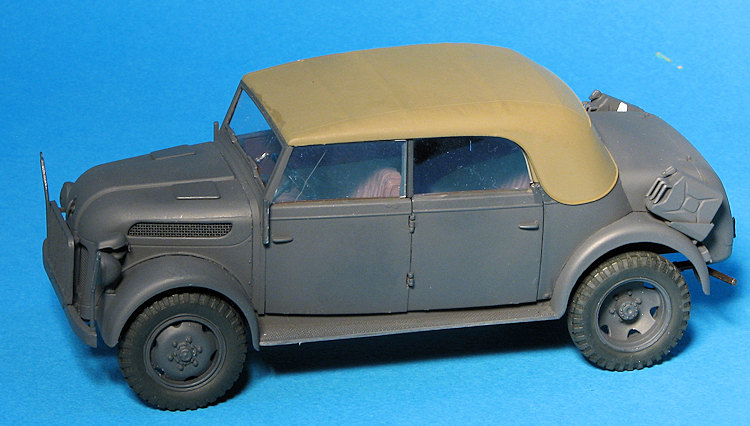
 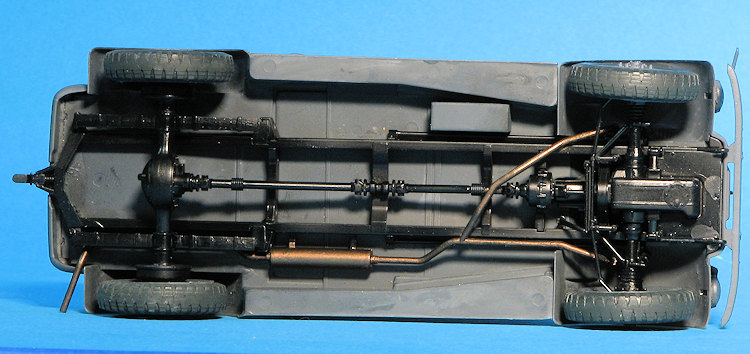 The seats were built up and painted. Be wary when removing the grab handles that go on the back of the front seats as these are easily broken. I chose to build the car with the doors closed and the top up. I then painted the top pieces and put the clear glass in the top. These were set aside. The assembled doors were next. These require a piece to be installed in the door posts before attaching the doors. I recommend attaching the rear doors soon after gluing on these pieces to ensure you do not end up with overly large gaps. I then glued on the rear seat, followed by the front ones. This was followed by the front doors.
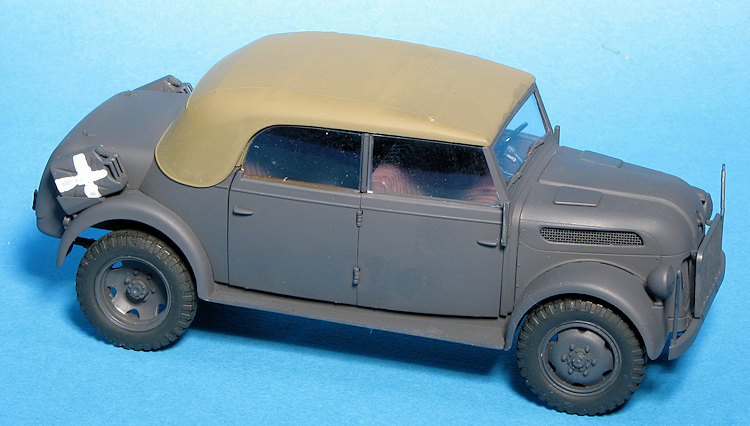
 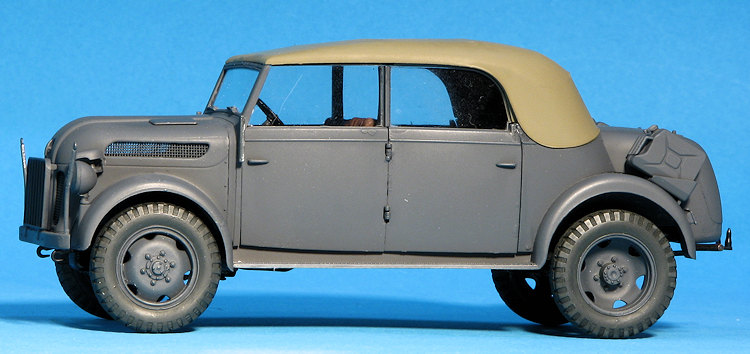 With the upper body pretty well complete, I attached the wheels to the chassis, using the platen of my scanner to be sure all the wheels touched. I had painted the chassis as directed and used Vallejo's Tinny Tin for the exhaust.
 | CONCLUSIONS |
One thing for sure, the end result will win no beauty contests. It was built for a purpose and the design shows it. I used none of the figures and left all the ancillary stuff on the sprues as it really did not seem to add much with the trunk lid closed. While not quite a 'shake and bake' kit, it went together quite well and provided little in the way of any sort of construction trauma. I probably don't have to tell most of you that this sort of kit is very relaxing to build after having done some complex or difficult to build kits. It is a nice way to relax and do something a bit different.
8 July 2016
Copyright ModelingMadness.com
Thanks to me for rescuing this from the dead kit pile.
If you would like your product reviewed fairly and quickly, please contact the editor or see other details in the