Academy 1/72 T-6G Texan
|
KIT # |
1662 |
|
PRICE: |
$9.00 when new. |
|
DECALS: |
Three versions |
|
REVIEW : |
|
|
NOTES: |
|
|
HISTORY |
 Undoubtedly the most widely produced (over 17,000 built) and
recognizable trainer of all time is the T-6 Texan and its earlier variants. What started as the BT-9 in
the mid-1930s went on to be used as an advanced trainer in over 40 Air Forces.
Even today, it is not uncommon for people to see the T-6 as this easy to
maintain aircraft has become a perfect warbird for those who have champagne
tastes and a beer budget.
Undoubtedly the most widely produced (over 17,000 built) and
recognizable trainer of all time is the T-6 Texan and its earlier variants. What started as the BT-9 in
the mid-1930s went on to be used as an advanced trainer in over 40 Air Forces.
Even today, it is not uncommon for people to see the T-6 as this easy to
maintain aircraft has become a perfect warbird for those who have champagne
tastes and a beer budget.
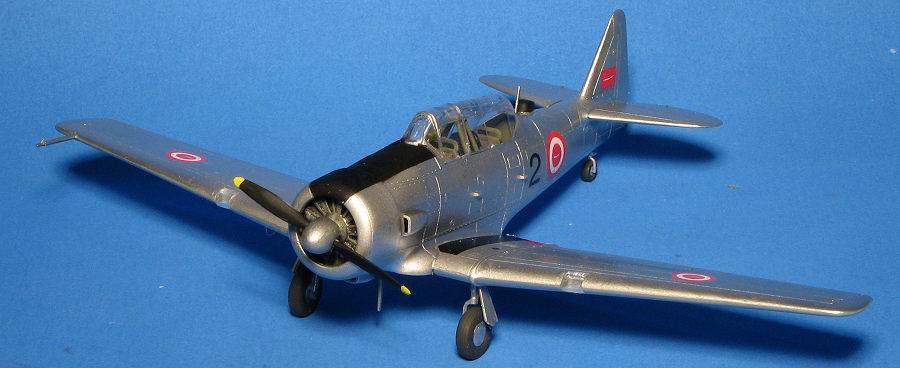
The T-6G, which is the subject of this kit, is a reworking of the WWII era AT-6s. It includes modernized avionics (such as they were), a steerable tail wheel (usually with a P-51D wheel on it), and a new greenhouse with many of the canopy frames deleted. This gave much better visibility. It also had all armament removed. Most of the T-6Gs were part of the MAP or Military Assistance Program. The new Luftwaffe and Japanese Air Force had the T-6G as their first aircraft.
|
THE KIT |
Academy has been well known for producing modern versions of
older kits and this one is no exception. Though it looks very much like the
Heller kit, there are enough differences to prevent it from being a direct copy.
For instance, it has engraved panel lines, a more complete interior and a
separate pilot's canopy. There are also no underwing bomb racks or gun pods.
This is enough to give it the 15% difference required by international copyright
laws.
The instructions are the usual pictograms with six construction
steps. All colors are given in each step. The color chart gives only generic
names and no FS colors. The decals are probably the highlight of the kit. I have
used Academy decals and those in the newer kits are really very well done. These
are no exception with bright colors and good registration.
You get three schemes for this kit. One
is an Israeli Texan that is also given in an older Microscale decal sheet. This
one is painted in standard Israeli camouflage and the FS numbers for the various
colors are given in a sidebar for this scheme. The other two schemes are in
overall unpainted metal. The Korean Air Force version is quite colorful with its red and
white rudder stripes. The USAF version is one that was used for FAC duties
during the Korean war. This aircraft has colored bands on the wing tips and tail
tip. Many of these planes had black undersides, but this scheme does not show
that.
This is the second time I've built this kit and I like it
very much.
CONSTRUCTION
Next up, the wings were built and tailplanes were installed.
A fairly straight-forward process that was helped by the tailplanes being keyed
(as in one side tab is larger than the other. With those installed, I attached
the wing. Fit is pretty good, though not perfect, especially at the front, where
there will be a bit of a gap that needs filled. Speaking of filling gaps, I see
quite a few nice builds that are somewhat marred by the builder not taking the
time to deal with gaps. This seems to be most
The engine was installed in the cowling and the cowling
tacked in place. The kit has the exhaust trapped between the engine and forward
fuselage, so it is important to temporarily attach the engine assembly until
after all the painting is done. I then masked the canopy using vinyl masks. As
much as I like vinyl masks, they can truly suck at holding over anything but the
most gentle curve. COLORS & MARKINGS With the canopy masked and attached, the engine was masked
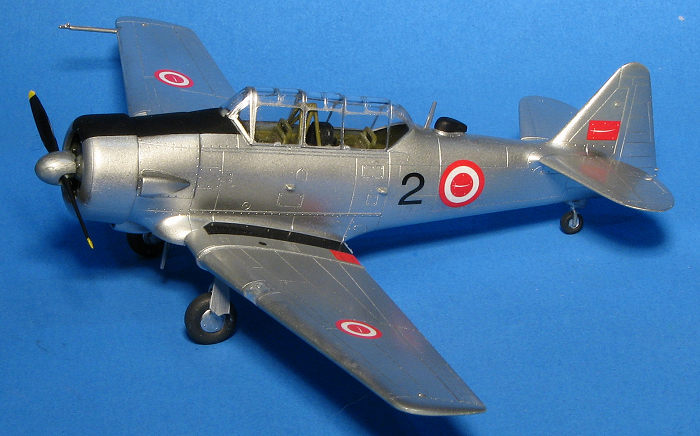
with Silly Putty. This one is overall aluminum. After trying for a third time to
get Mr Color's extreme aluminum lacquer to not come off on my hands, I gave up
on it and tossed the bottle. Out came Tamiya AS-12 in a rattle can and the
airframe was repainted. Problem solved. The nose was ma Once dry, I removed the engine and attached the exhaust,
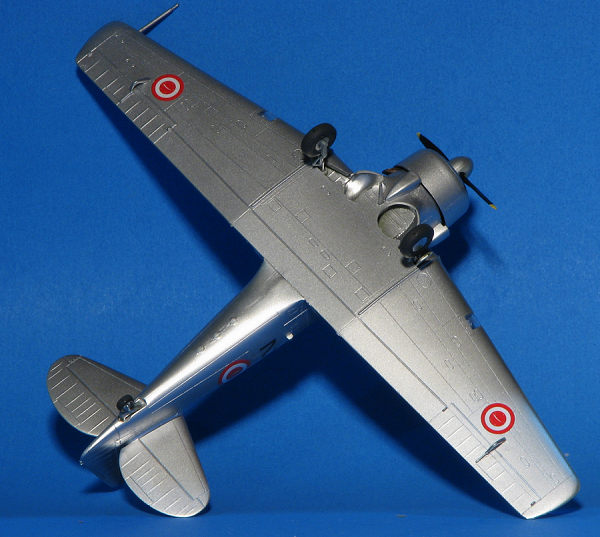
later reattaching it. Next, the landing gear. Both the gear and wheels are a bit
on the loose side so you have to watch it while the glue sets. Tail gear was
attached as were the various antennas, the pitot and the gear doors. For
markings, I chose a Yemeni aircraft from Tiger Head Decals. One has to get the
placement guide from their web site. I had downloaded the .pdf many years ago
when I bought the decals. They went on without any fuss. Some of the other
common decals, like the wing walk markings, came from the kit sheet. The masks
were removed and the underspray on the curved bits were dealt with as best I
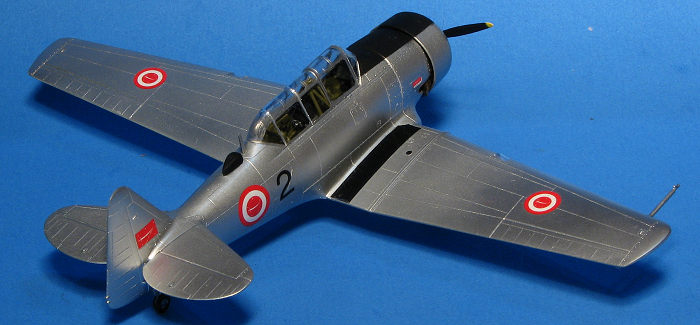
could with a sharpened toothpick. Finally, the prop was glued in. Unfortunately,
it dried a bit crooked, but I can live with it. CONCLUSIONS In my opinion, this is the best T-6G on the market and it is
not expensive. Special Hobby reboxed this with an earlier canopy and some other
bits along with a killer decal sheet, but it is fairly pricey. 19 September 2025 Copyright ModelingMadness.com. All rights reserved. No
reproduction in any form without express permission from the editor. If you would like your product reviewed fairly and quickly, please
contact
the editor or see other details in the
Note to
Contributors.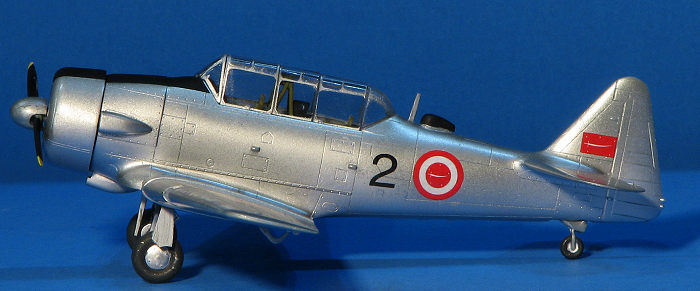 All of that aside, it really looks like a very nice kit. The
Heller version was a super build and one of my favorites, so this one should be
just that much better. The interior is much nicer with side wall detail that is
not in the Heller version.
All of that aside, it really looks like a very nice kit. The
Heller version was a super build and one of my favorites, so this one should be
just that much better. The interior is much nicer with side wall detail that is
not in the Heller version.
 As is the norm
with most aircraft kits, I started with the interior. I first painted all the
interior bits with US Interior green using Mission Models acrylics. I recommend
primering these parts first as it helps the paint to stick without needing
multiple coats when brush painting. With the cockpit built up, it was installed
in the fuselage halves.
As is the norm
with most aircraft kits, I started with the interior. I first painted all the
interior bits with US Interior green using Mission Models acrylics. I recommend
primering these parts first as it helps the paint to stick without needing
multiple coats when brush painting. With the cockpit built up, it was installed
in the fuselage halves. 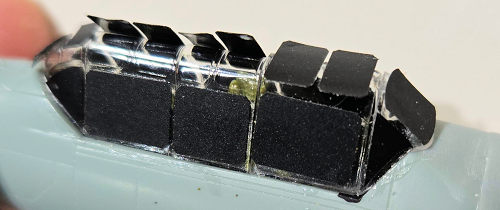 prevalent
along the leading edges of wings. Folks, just sanding is often not enough to
deal with them, so take the additional time to ensure they are gap-free.
prevalent
along the leading edges of wings. Folks, just sanding is often not enough to
deal with them, so take the additional time to ensure they are gap-free.
 sked
and painted matte black.
sked
and painted matte black.