| KIT #: | FG 6 |
| PRICE: | 2200 yen SRP |
| DECALS: | One option |
| REVIEWER: | Scott Van Aken |
| NOTES: | New tool kit |
| HISTORY |
The Wind Rises
(風立ちぬ
Kaze Tachinu)
is a 2013 Japanese animated historical fantasy film written and directed by Hayao Miyazaki, and adapted from his own manga of the same name which was
loosely based on the short story
The Wind Has Risen by Tatsuo Hori,
 a writer, poet and translator from mid-20th century (Showa period) Japan.
Kaze Tachinu
is a fictionalised biography of Jiro Horikoshi, designer of the Mitsubishi A5M
(featured in the movie) and its famous successor, the Mitsubishi A6M Zero. Both
aircraft were used by the Empire of Japan during World War II.
a writer, poet and translator from mid-20th century (Showa period) Japan.
Kaze Tachinu
is a fictionalised biography of Jiro Horikoshi, designer of the Mitsubishi A5M
(featured in the movie) and its famous successor, the Mitsubishi A6M Zero. Both
aircraft were used by the Empire of Japan during World War II.
Miyazaki announced that this was to be his final film before retiring as a feature director. The film was released by Toho on July 20, 2013 in Japan, and will be released by Touchstone Pictures in North America on February 21, 2014.
| THE KIT |
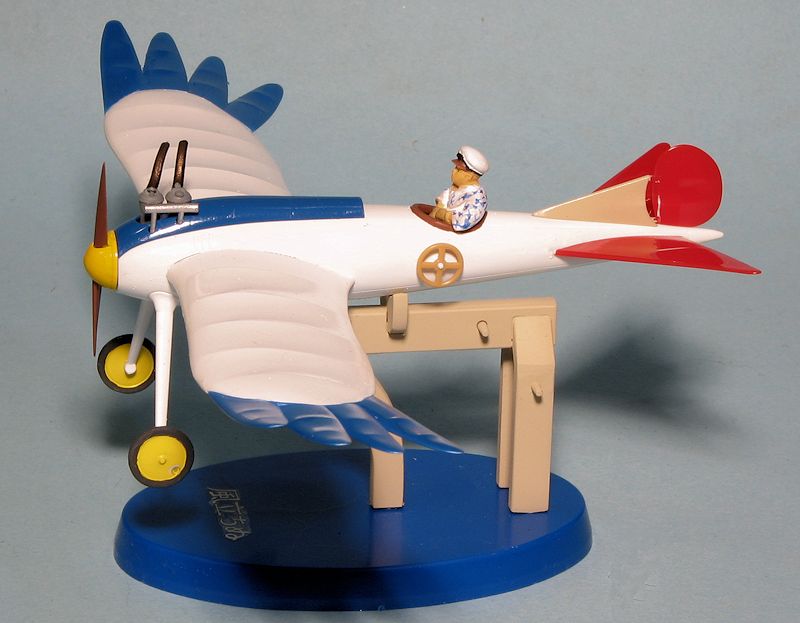
When one opens the box, one is presented with four sprues, each one of them a different color of plastic. It is pretty obvious that this is a snap kit, thanks to the large pins and sockets used to attach the very nicely molded parts. The parts are also pretty much the color of the completed model, which will be great for the youngsters who are building this. Only a few bits actually need any paint, assuming the builder does not care about seams.
 There is a cockpit of such that is made up of a seat,
floor and control stick. A figure is provided that can be fitted once the model
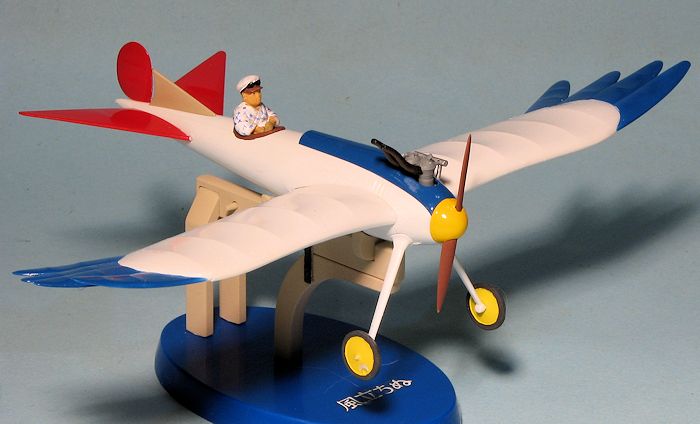
is complete. The wings consist of an upper and lower section with the bird
feathers on the upper part. Once piece tailplanes and the wings are trapped in
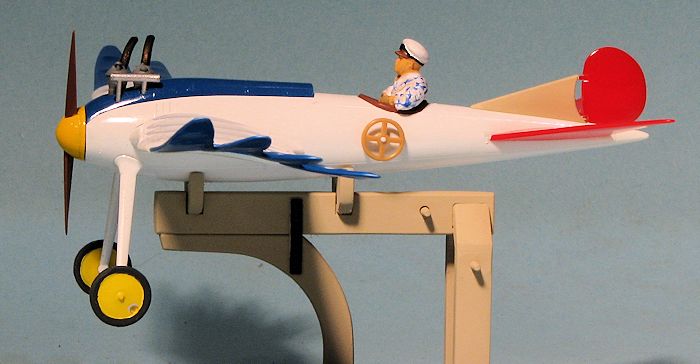
the fuselage halves and there is a separate upper engine cowling. On the back of
this cowling piece fits the instrument panel and onto that attaches the
instrument panel decal.
There is a cockpit of such that is made up of a seat,
floor and control stick. A figure is provided that can be fitted once the model
is complete. The wings consist of an upper and lower section with the bird
feathers on the upper part. Once piece tailplanes and the wings are trapped in
the fuselage halves and there is a separate upper engine cowling. On the back of
this cowling piece fits the instrument panel and onto that attaches the
instrument panel decal.
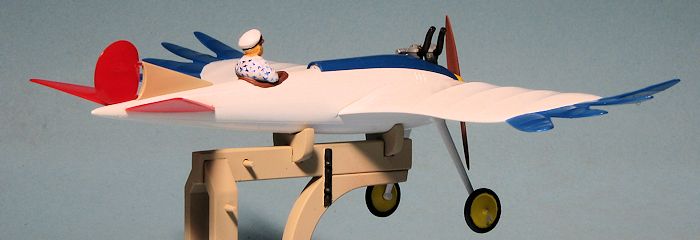
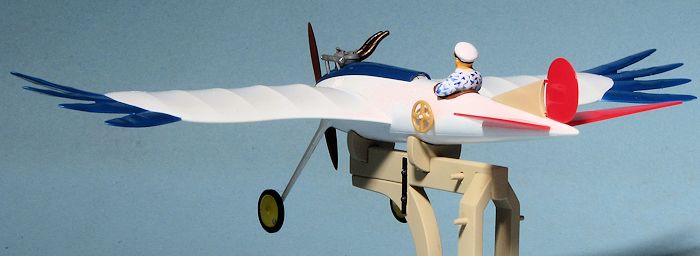
Wheels are a single molding as are the main gear struts. Engine cylinders with molded in exhaust fit into the top of the engine cowling. The fin/rudder slots into the upper rear fuselage. A large trim wheel is attached to the fuselage side. Up front a three piece prop/spinner assembly fits into a poly cap. The rest of the kit is a display stand which is rather beefy and includes two pins that fit into holes in the bottom of the fuselage. The other decal is for the name of the aircraft and goes onto the completed stand.
Instructions are very much for the home market with the majority of information in Japanese, but with some English for the painting information. This is rather standard Fine Molds stuff as they do not make their kits for the overseas market.
| CONSTRUCTION |
 Now you would think that a snap kit would not require a lot of construction.
Indeed, Fine Molds has done a superb job of engineering this kit to fit
well. However, few, if any kits are so well engineered that they do not have
seams in places and that is mostly what one has to deal with regarding this
kit. Such are things that it took me a few weeks to complete, but not
because of fit issues, but more due to painting.
Now you would think that a snap kit would not require a lot of construction.
Indeed, Fine Molds has done a superb job of engineering this kit to fit
well. However, few, if any kits are so well engineered that they do not have
seams in places and that is mostly what one has to deal with regarding this
kit. Such are things that it took me a few weeks to complete, but not
because of fit issues, but more due to painting. 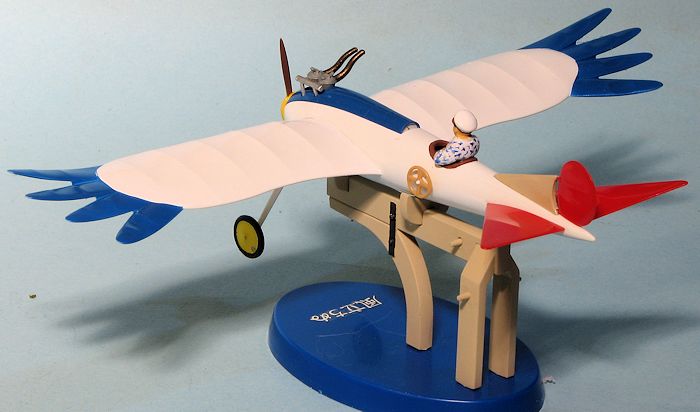 poly-cap to trap the
prop so don't forget to install it. I then masked the horizontal stabs and
attached them, followed by the trim wheel stub. Then the fuselage halves
were mated. There is a considerable seam running down each side and that was
filled and sanded smooth.
poly-cap to trap the
prop so don't forget to install it. I then masked the horizontal stabs and
attached them, followed by the trim wheel stub. Then the fuselage halves
were mated. There is a considerable seam running down each side and that was
filled and sanded smooth. 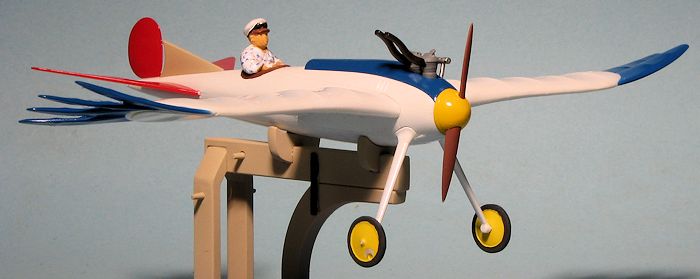 were then installed. The trip wheel and main
wheels were next. A bit of detail painting and then the prop was pushed in
place after it was assembled.
were then installed. The trip wheel and main
wheels were next. A bit of detail painting and then the prop was pushed in
place after it was assembled. | CONCLUSIONS |
 I very much enjoyed building this one. It is superbly
engineered, fits well and requires a touch of modeling skill to properly finish.
It is a fun kit for modelers of all ages and is one that I would not hesitate to
recommend to you or anyone else who is interested in movie subjects.
I very much enjoyed building this one. It is superbly
engineered, fits well and requires a touch of modeling skill to properly finish.
It is a fun kit for modelers of all ages and is one that I would not hesitate to
recommend to you or anyone else who is interested in movie subjects.
| REFERENCES |
http://en.wikipedia.org/wiki/The_Wind_Rises
January 2014 Thanks to Kevin Dolin
for sending me the review kit. If you would like your product reviewed fairly and fairly quickly, please
contact
the editor or see other details in the
Note to
Contributors.