| KIT #: | 6854 |
| PRICE: | $10.00 (used) |
| DECALS: | One option |
| REVIEWER: | Scott Van Aken |
| NOTES: | 1989 release |
| HISTORY |
Lola cars have been successful for the most part in all forms of motorsport. They began running in Indianapolis once the 'rear engine revolution' had taken hold in the 1960s, but it wasn't until the 1980s with their T-8800 chassis that they were truly at the top of the heap with their chassis winning a number of races, including the Indianapolis 500.
The Provimi Veal car was run by Dick Simon's fairly low budget team, and driven by Dutch driver Auri Luyendyke, who brought the main sponsor with him. Driving for Simon in 1988 with the Lolat T 80/00 chassis, Luyendyke had some high finishes as he did again in 1989 with the 90/00 chassis. It wasn't until a move to a new team that he won his first race driving the Domino's Pizza car in 1990 and it happened to be the Indianapolis 500. Luyendyke went on to win six more races in his career including a second Indy win in 1997.
| THE KIT |
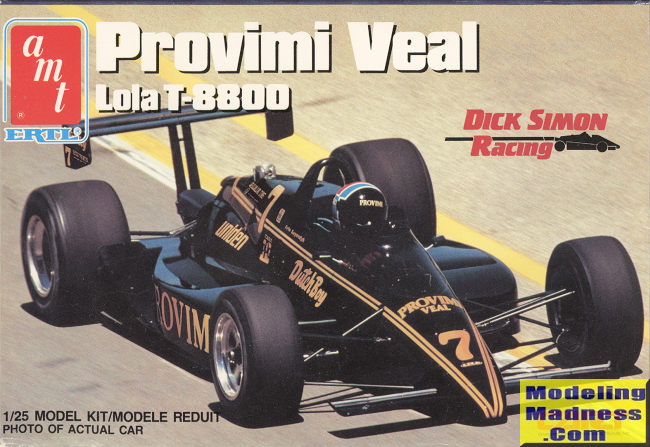
In the late 1980, a number of model companies released kits of Indy Cars as these happened to be quite popular at the time. Several of these kits were the Lola T-8800 as they were quite successful. This particular one is the Provimi Veal car driven by Auri Luyendyke and is the 1988 car he drove for Dick Simon.
I was 'blessed' by the previous owner removing all the parts from those pesky sprues and putting them all into a zip bag. Fortunately, these kits are pretty straight forward and assuming all the bits are there, should be a fairly easy build. One starts off with the cockpit which is basically tub, seat, pedals and shifter. A driver figure is supplied to fill in the rest of the space.
Then one works on the engine/transmission assembly. These are split horizontally and the transmission is molded in with the main wing supports so all will be quite solid when done. The engine block, once assembled fits into the transmission section. and the heads are then glued on. Once the injectors, turbo and front engine along with some accessory pieces are glued in place, the exhaust headers can be installed. This is followed by the attachment of the rear suspension pieces, brakes and the rest of the engine/transmission/turbocharger pieces.
With this done, the body can be assembled. The cockpit and steering wheel can be glued into the upper half and then the bulkhead and radiators attached along with the front wing. Main suspension pieces are molded into the upper and lower halves so once all the body bits are attached to the lower half, the two can be joined, trapping the brakes between them. At this stage, the engine/transmission can be attached along with the wing. The final bits are then attached to complete the body of the car. The final bits are the wheels which are held in place by axle stubs.
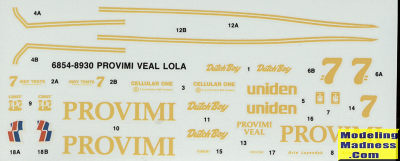
Instructions are well thought out and provide painting information where needed. The decal sheet for this is not complex nor is the paint scheme, being basically overall gloss black. Despite being 30 years old, the decals still look very usable and have not yellowed. My experience with AMT decals of this age is that they are a bit thick and not very opaque so one may wish to search out some replacements. I should also mention that while the chrome is well done, these parts were often aluminum which isn't that shiny so you may wish to strip and repaint them.
| CONCLUSIONS |
Overall, these kits are quite nice and often overlooked by modelers, which is a shame and perhaps the reason that they sort of disappeared after an initial flurry of production and good sales. Not at all hard to find as a quick look on ebay showed several for $20.00 or so delivered.
| REFERENCES |
Wiki sections for the driver and chassis.
May 2019 Copyright ModelingMadness.com. All rights
reserved. If you would like your product reviewed fairly and fairly quickly, please
contact
the editor or see other details in the
Note to
Contributors. Back to the Main Page
Back to the Review
Index Page
Back to the Previews Index Page