ICM 1/48 Ju-88C-6
| KIT #: | 48238 |
| PRICE: | $30.00 from a vendor |
| DECALS: | Four options |
| REVIEWER: | Scott Van Aken |
| NOTES: | 2018 release |
| HISTORY |
The Junkers Ju 88 is a twin-engined multirole combat aircraft designed and produced by the German aircraft manufacturer Junkers Aircraft and Motor Works. It was used extensively during the Second World War by the Luftwaffe and became one of the most versatile combat aircraft of the conflict. The Ju-88C was a Zerstörer, fighter-bomber and night fighter, based on A-series, but with sheet metal nose.
| THE KIT |
 ICM
has produced a wide variety of Ju-88 kits and these kits have been reboxed by
Hasegawa, Revell, Eduard, and Special Hobby. While I have not yet built any of
these kits, they have to be a bit easier to build than the Dragon kits. Dragon
kits make into very nice models, but they can be a challenge to build from time
to time.
ICM
has produced a wide variety of Ju-88 kits and these kits have been reboxed by
Hasegawa, Revell, Eduard, and Special Hobby. While I have not yet built any of
these kits, they have to be a bit easier to build than the Dragon kits. Dragon
kits make into very nice models, but they can be a challenge to build from time
to time.
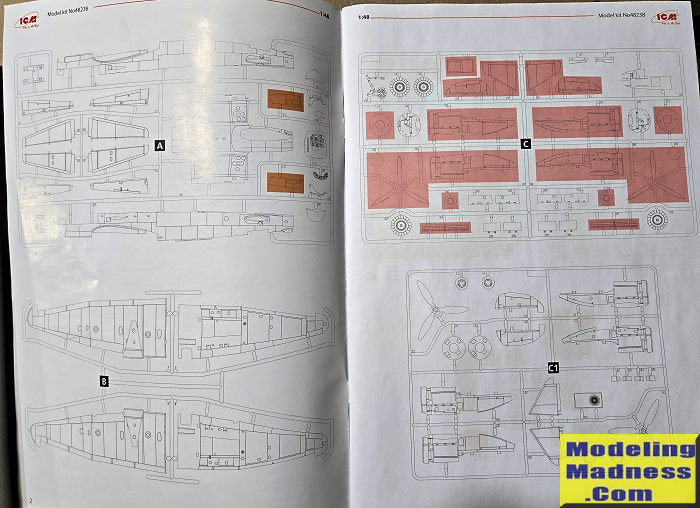
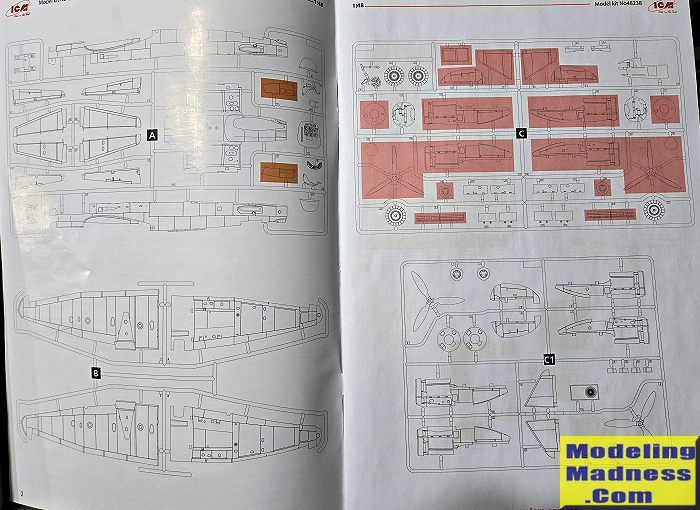
This kit builds up pretty much the same way as ever 1/48 Ju-88 kit I've ever seen. When it comes to the cockpit, what was molded on in the Dragon kit is a separate part with ICM. The instruments are raised and there are decals to put over them if you so wish. The instructions want you to build and install the tail gear prior to closing the fuselage halves and you need to do so or you won't be able to properly install it later.
The fuselage halves are closed once all the prior bits are installed. The cockpit floor fits into the lower forward fuselage , which also includes a fair section of the lower wings. Seats and rudder pedals are somewhat complex so care will need to be taken when building them. This is followed by attaching the lower forward fuselage once these bits are installed.
Construction then turns to the flight surfaces starting with the fin and horizontal stabilizers. Wing upper and lower halves are then glued together. I like that the outer wings are not separate as in the Dragon kit as this was one of the major complaints with the kit. These are then attached to the fuselage. Then the flaps are built up as is the rudder. These, along with the rudder, are then glued in place.
We then turn to the lower forward gun position and the landing gear. I like that the main landing gear is completely built prior to installation. This makes it easy to get everything in its place. The kit comes with complete engines and you need to at least build up the blocks in order to have someplace to attach the exhaust. There are separate cowling panels and I can anticipate this being a fairly fussy construct if you want all the panels closed. We'll see. Then the nacelles are attached to the lower wings.
Gear doors and all the other underside bits are then attached. Finally the nose, clear bits and props are attached, completing the model.
 Instructions
are well done with 96 separate construction steps in a standard ICM booklet.
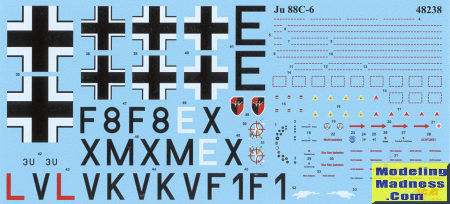
Markings are provided for four options. Normal camouflage for bombers is RLM
70/71/65. First two options have Mediterranean markings with a white fuselage
band. Theater markings should also include white underside wing tips, but the
instructions don't show that. These planes are both from 11./ZG 76, one with a
red forward spinner and the other with this in white. Third is the box art plane
with large spots of RLM 65 from 13./KG 40 in Russia during late 1943. Finally a
4./KG 76 plane with overall white upper sides and standard eastern front
markings in yellow. This one has the forward nose painted to simulate a 'glass'
nose and you'll have to paint that on along with the yellow fuselage and lower
wing markings. The decal sheet does not include a swastika so you'll need to
find that elsewhere.
Instructions
are well done with 96 separate construction steps in a standard ICM booklet.
Markings are provided for four options. Normal camouflage for bombers is RLM
70/71/65. First two options have Mediterranean markings with a white fuselage
band. Theater markings should also include white underside wing tips, but the
instructions don't show that. These planes are both from 11./ZG 76, one with a
red forward spinner and the other with this in white. Third is the box art plane
with large spots of RLM 65 from 13./KG 40 in Russia during late 1943. Finally a
4./KG 76 plane with overall white upper sides and standard eastern front
markings in yellow. This one has the forward nose painted to simulate a 'glass'
nose and you'll have to paint that on along with the yellow fuselage and lower
wing markings. The decal sheet does not include a swastika so you'll need to
find that elsewhere.
| CONSTRUCTION |
| COLORS & MARKINGS |
| FINAL CONSTRUCTION |
| CONCLUSIONS |
| REFERENCES |
Copyright ModelingMadness.com. All rights reserved. No reproduction in part or in whole without express permssion from the editor.
If you would like your product reviewed fairly and fairly quickly, please contact the editor or see other details in the Note to Contributors.