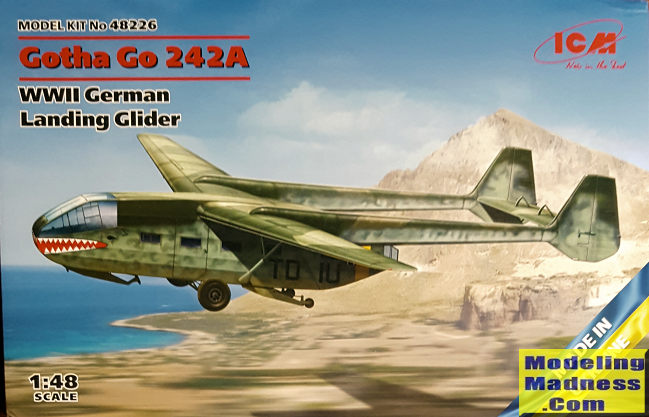
ICM 1/48 Go-242A
| KIT #: | 48226 |
| PRICE: | $54.99 plus shipping |
| DECALS: | Four options |
| REVIEWER: | Scott Van Aken |
| NOTES: | 2022 tooling |
| HISTORY |
The Go 242 was designed by Albert Kalkert in response to a Reichsluftfahrtministerium (RLM) requirement for a heavy transport glider to replace the DFS 230 then in service. The requirement was for a glider capable of carrying 20 fully laden troops or the equivalent cargo.
The aircraft was a high-wing monoplane with a simple square-section fuselage ending in clamshell doors used to load cargo. The empennage was mounted on twin booms linked by a tailplane. The fuselage was formed of steel tubing covered with doped fabric. The flight characteristics of the design were better than those of the DFS 230.
Cargo versions of the glider featured a hinged rear fuselage loading ramp that could accommodate a small vehicle such as a Kübelwagen or loads of similar size and weight.
Two prototypes flew in 1941 and the type quickly entered production. A total of 1,528 were built, 133 of which were converted to the Go 244, with two 500 kW (670 hp) Gnome-Rhône 14M engines, (a paired -04 and -05 rotating in opposite directions), fitted to forward extensions of the tail booms.
The Go 242 was tested with various rockets for overloaded take offs. A rack of four 470 N (106 lbf) Rheinmetall-Borsig 109-502 rockets mounted on the rear of the cargo compartment was tested but not used operationally. A second rocket, called "R-Gerät", also used with the glider, was a liquid-fuelled Walter HWK 109-500A (R I-203) Starthilfe; a podded monopropellant (T-Stoff, stabilised high test peroxide), rocket engine mounted beneath each wing and jettisoned after take-off, parachuting down to be recycled.
| THE KIT |
 This
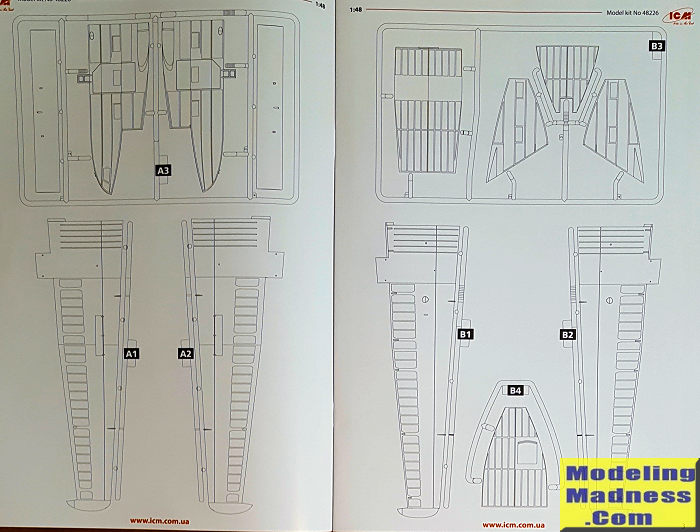
is a fairly complex kit (214 parts) and judging by the length of the wings, will
take up a fair amount of shelf space when done. This one doesn't start by
building the cockpit, instead one builds up the interior of the aircraft. You
are provided a fair amount of framework to deal with and you do need to
open up some holes while building this. The cabin seats will take up a goodly
number of the parts as they are all individual items.
This
is a fairly complex kit (214 parts) and judging by the length of the wings, will
take up a fair amount of shelf space when done. This one doesn't start by
building the cockpit, instead one builds up the interior of the aircraft. You
are provided a fair amount of framework to deal with and you do need to
open up some holes while building this. The cabin seats will take up a goodly
number of the parts as they are all individual items.
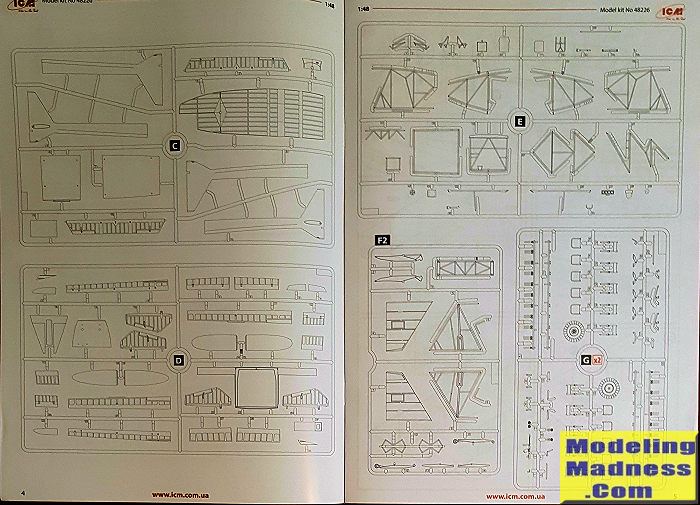
When those are installed, the rest of the framework, including a bulkhead that haswing spars and the fuselage sides can be attached. Note that the windows are applied from the inside and it would be worth considering masking those after installation. It isn't until step 17 that we finally get to the cockpit. That is quite complete and once complete and 15 grams of weight placed in the space below it, the fuselage sides and cockpit can be attached to the rest of the interior.
Then the roof can be assembled and attached, more cockpit bits glued in along with the various clear pieces. During this some holes need filled and items designed for the 244 trimmed off. Instructions then concentrate on the wings. These have separate ailerons and flaps. They are then attached to the fuselage along with their braces.
Construction then concentrates on building the aft fuselage section. This can be built either closed or fully open. Tail booms and rudders/elevators are then assembled and attached. The last items to be built are the landing gear items and the myriad hinges for the flight control surfaces.
 Instructions
are a nicely done full color booklet. Paints are provided as ICM, Revell or
Tamiya references. The interior color called for is 'sky grey' which is only
shown from the ICM acrylic line. I'm not sure this is accurate. I'd lean towards
RLM 66 black-grey for the cockpit area and RLM 02 for the rest or even RLM 02
for all of the interior. Looking at a photo in the reference, it appears that
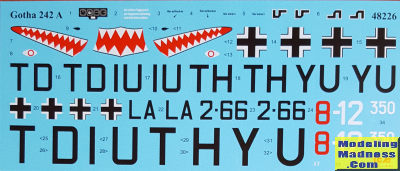
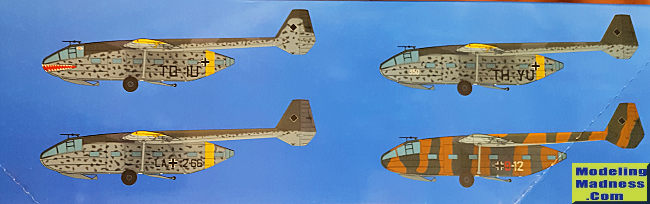
the floor is even bare plywood. All four options are in RLM 74/75/76 exterior.
Three of them have yellow lower wing tips and tail band while the fourth has the
standard splinter scheme overpainted with 'green-brown', which appears to be RLM
80. As with other recent ICM kits, a paper template for masks is provided. I'd
go with a dedicated aftermarket masking set as I don't know how one could use
such a template to produce masks. Decals are nicely printed and should work just
great.
Instructions
are a nicely done full color booklet. Paints are provided as ICM, Revell or
Tamiya references. The interior color called for is 'sky grey' which is only
shown from the ICM acrylic line. I'm not sure this is accurate. I'd lean towards
RLM 66 black-grey for the cockpit area and RLM 02 for the rest or even RLM 02
for all of the interior. Looking at a photo in the reference, it appears that
the floor is even bare plywood. All four options are in RLM 74/75/76 exterior.
Three of them have yellow lower wing tips and tail band while the fourth has the
standard splinter scheme overpainted with 'green-brown', which appears to be RLM
80. As with other recent ICM kits, a paper template for masks is provided. I'd
go with a dedicated aftermarket masking set as I don't know how one could use
such a template to produce masks. Decals are nicely printed and should work just
great.
| CONCLUSIONS |
When it came time to order this, I waffled somewhat between this and the version with the later landing gear. However, the early glider won out in the end. I look forward to perhaps building this one (of course I want to build them all, but sometimes that simply doesn't happen). For certain it will take up a fair amount of display space, but it is a neat aircraft and worth the sacrifice.
| REFERENCES |
https://en.wikipedia.org/wiki/Gotha_Go_242
November 2022
Copyright ModelingMadness.com. All rights reserved. No reproduction in part or in whole without express permission from the editor.
If you would like your product reviewed fairly and fairly quickly, please contact the editor or see other details in the Note to Contributors.