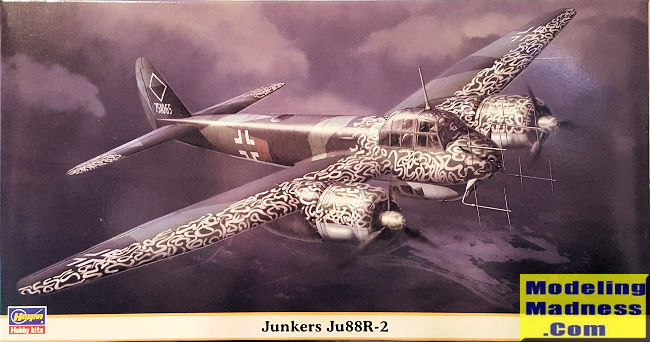
Hasegawa 1/72 Ju-88R-2
| KIT #: | 00885 |
| PRICE: | 3200 yen |
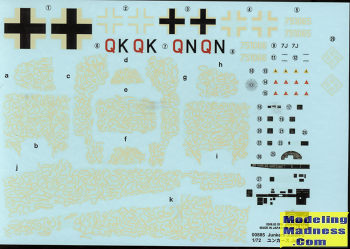
| DECALS: | Two options |
| REVIEWER: | Scott Van Aken |
| NOTES: | 2008 Limited Edition |

| HISTORY |
The Ju 88R was an improved fighter version of the Ju 88, based around the use of 1,700hp BMW 801A radial engines. These had been reserved for use in the Fw 190, but by the end of 1942 the increased pace of British bombing made the night fighters more important.
The R-1 was an improved version of the C-6. It carried the same guns as the C-6, but was powered by the BMW radial engines. A single rear firing MG 81K or MG 131 was also provided. The majority of these aircraft used the early FuG 202 or FuG 212 radar sets. The R-1 entered service in early 1943, at a time where the German night fighters were inflicting heavy casualties on Bomber Command.
On 9 May 1943 a fully equipped Ju 88R-1 was stolen from a German airfield and flown to Scotland. This gave the RAF a chance to examine the German radar equipment, and modify tactics accordingly.
The R-2 used more powerful 1,700hp BMW 801D radial engines. It was equipped with FuG 220 Lichtenstein SN-2 radar, which at the time ignored Allied jamming. The R-2 was the first version of the Ju 88 fighter to always feature an armoured windscreen. It could reach a top speed of 359.6mph with its normal combat load. The Ju 88R-2 remained in production until early 1944.
| THE KIT |
 Hasegawa
takes advantage of its modular kit design with this one by incorporating a
number of sprues from the standard kit with specialty ones to allow the
builder to do this variant. This includes various smooth noses used on the G
kits along with different adapters and the BMW radial engines. Unlike the
later Ju-88S/T, the R still had the lower forward gondola. This kit also
uses the 'stag horn' radar antennas from the G kits.
 place. You
then attach the gun nose and the two canopy pieces. This is followed by the
props and the radar antenna. Molding on the antennas is a bit thick for the
scale and if you want something more prototypical, you'll need to hit the
aftermarket crowd.
| CONCLUSIONS |
December 2020
Back to the Main Page Back to the Previews Index Page
Back to the Previews Index Page