| KIT #: | 11171 |
| PRICE: | $95.00 delivered |
| DECALS: | Eight options |
| REVIEWER: | Scott Van Aken |
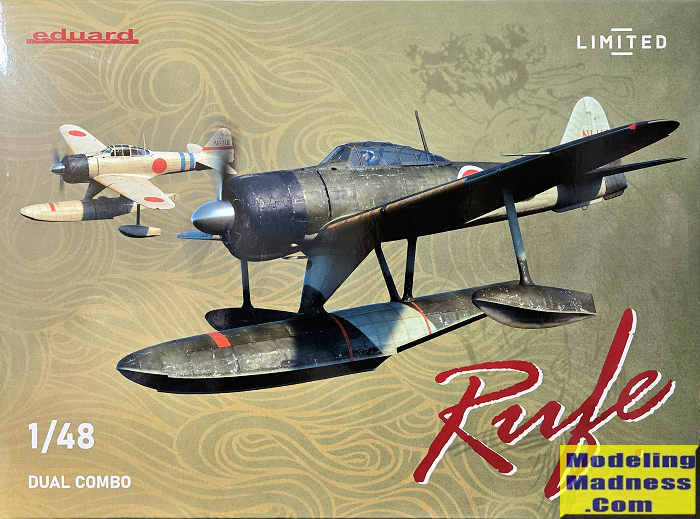
| NOTES: | Profipack dual combo |
| HISTORY |
The history of the A6M Zero-Sen has been well documented in other reviews. The floatplane fighter version, Allied code-named 'Rufe' was developed by Nakajima in response to a request by the Japanese Navy for a float fighter based on the A6M2. This was mainly due to the Japanese inability to quickly build runways. There was no Japanese equivalent of the Seabees to do this. Therefore the need for defending fighters that could take off from and land on the water to defend any newly acquired ocean-front property. Like their seaplane buddies, many 'Rufe' units operated from a tender.
While a new fighter specifically designed for this purpose, the Kawanishi N1K1 'Rex' was being developed, it would be years before it was operational. Undertaking the job of converting the A6M2, Nakajima had a prototype flying in less than a year from initial development, first flying on 7 December 1941. There were 327 'Rufes' built and they saw action in nearly all theaters of the war in the Pacific, being used right up until the end of the war. The first deployment of the type was to a sleepy little bug-infested island in the Southwest Pacific called Tulagi, across a strait from a larger, even more inhospitable place that no one ever heard of called Guadalcanal.
Where enemy fighter opposition was light or weak, the 'Rufe' did well. Even against more advanced types, 'Rufe' pilots were able to score well and a few 'Rufe' pilots became aces.
| THE KIT |

Tailplanes are then attached along with the wing. Next
comes the engine which is qhite well done with both cylinder rows provided. Next
the cowling is built up from seven pieces using a form that Eduard provides for
this purpose. Then the main float is assembled. This is where you will want to
put in weight (amount not stated) to keep it properly balanced on the beaching
dolly. This is followed by the outrigger floats, prop assembly and the clear
bits. Finally, the beaching dolly is assembled. The kit instructions have you
permanently install the tall boarding ladder, though I'm pretty sure that unless
being used, it was not installed. Throughout the build, there are notes on items
to fill or remove. For instance, the floatplane has no head rest nor does it
have folding wings so those features need to be filled i
 The
instruction book is excellent with clearly drawing construction steps and detail
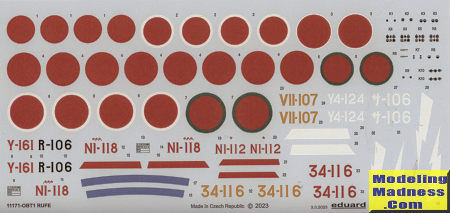
images where needed. There are eight markings options, most of which have been
repeated either in Hasegawa kits or on LifeLike decal sheets. Three of them are
overall light grey while the others are upper dark green over light grey. Most
of them have the yellow wing ID markings and these will need to be painted by
the modeler. The most flambouyant of the markings has a lightning bolt on either
side of the fuselage. This popular scheme has been done by both kit and
aftermarket decals. However, Eduard chooses to do this in white while all the
others have it in yellow. Even Eduard states that it was 'most likely' white, so
they are not sure. This may well have been done to reduce the cost of printing
the decals as decal makers charge by how many shades are on the sheet. The sheet
itself is superbly printed and in register. Two small data sheets are also
provided.
The
instruction book is excellent with clearly drawing construction steps and detail
images where needed. There are eight markings options, most of which have been
repeated either in Hasegawa kits or on LifeLike decal sheets. Three of them are
overall light grey while the others are upper dark green over light grey. Most
of them have the yellow wing ID markings and these will need to be painted by
the modeler. The most flambouyant of the markings has a lightning bolt on either
side of the fuselage. This popular scheme has been done by both kit and
aftermarket decals. However, Eduard chooses to do this in white while all the
others have it in yellow. Even Eduard states that it was 'most likely' white, so
they are not sure. This may well have been done to reduce the cost of printing
the decals as decal makers charge by how many shades are on the sheet. The sheet
itself is superbly printed and in register. Two small data sheets are also
provided.
| CONCLUSIONS |
If you want a nice kit for the Rufe and you don't already have them from Hasegawa or even Tamiya, then this would be a good choice. All the detail is there and in addition to lots of options, you don't have to spend extra on aftermarket as it is all there.
| REFERENCES |
Japanese Aircraft of the Pacific War, by Rene J Francillon
Camouflage and Markings of IJN Fighters, Model Art #510
March 2026
Copyright ModelingMadness.com. All rights reserved. No reproduction in part or in whole without express permission.
If you would like your product reviewed fairly and fairly quickly, please contact the editor or see other details in the Note to Contributors.