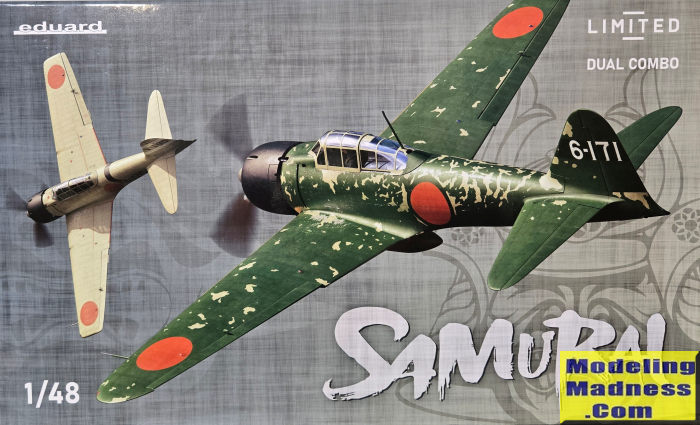
Eduard 1/48 'Samurai'
| KIT #: | 11168 |
| PRICE: | $84.95 |
| DECALS: | Twelve options |
| REVIEWER: | Scott Van Aken |
| NOTES: | 2025 Dual Combo |
| HISTORY |
The A6M3 was the follow-on to the highly successful A6M2 which was the naval fighter with which Japan entered the Pacific war. The A6M3 was provided with a slightly longer engine which resulted in a slight shortening of the fuselage. The increased power of the engine also resulted in a reshaped engine cowling.
The aircraft was built in two variants. The first of them was the type 32. The shortening of the fuselage resulted in a smaller forward fuel tank which reduced the range. As such, while it did operate from carriers, it mostly was used for airfield defense and other land based jobs. This type had a reduced, squared off wing tip which greatly improved its roll rate. The clipped wings also reduced its turning ability and as such, it was not the preferred type for most pilots.
In order to make up for some of the deficiencies of the type 32, the type 22 was developed. This one added back the extended wing tips and so allowed for greater maneuverability. It also had increased fuel capacity, which provided increased range. From what I've read, the type 22 was not provided to carrier based units. Another interesting thing that I read was that at least one A6M3 was fitted with the wing from an A6M5, which was shorter and broader so it would fit on a carrier elevator without the need for folding wing tips.
| THE KIT |
 A couple of years ago, Eduard
decided to kit a series of A6M Zeros. Since that time, they have kitted a
variety of variants. This particular kit provides a pair of A6M3s. One is the
short wing type 32 and the other is the longer wing type 22. 343 type 32 and
about 560 type 22s were built so they were found in fairly large numbers in the
Solomons and New Guinea during 1942/43.
A couple of years ago, Eduard
decided to kit a series of A6M Zeros. Since that time, they have kitted a
variety of variants. This particular kit provides a pair of A6M3s. One is the
short wing type 32 and the other is the longer wing type 22. 343 type 32 and
about 560 type 22s were built so they were found in fairly large numbers in the
Solomons and New Guinea during 1942/43.
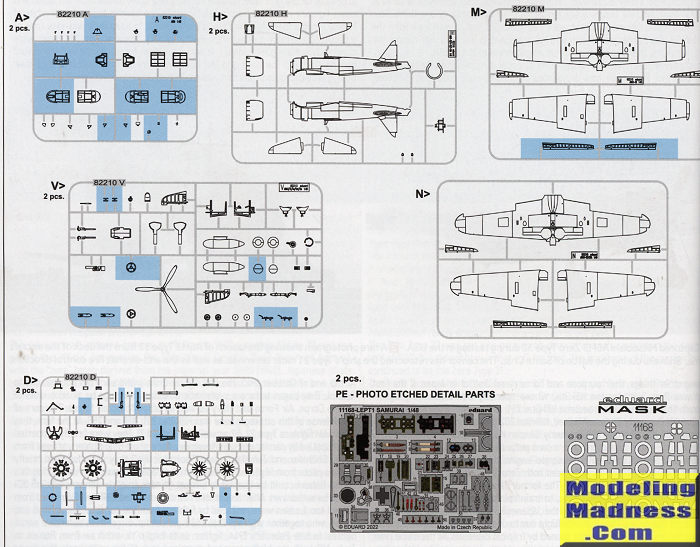
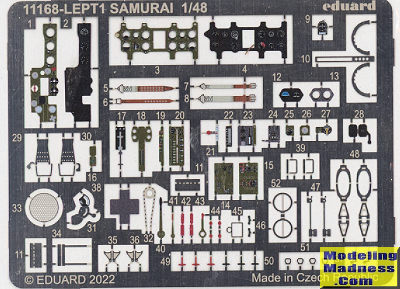 Since this is basically two Profipack kits, you'll find things like a color
photo etch fret and canopy masks included for each kit. Much of the work will be
in building the interior, especially if you use all the available p.e. parts. If
you don't want to use the photo etch for the various instruments, there are
decals. Throughout the instructions are notes that are specific for certain
decal schemes.
Since this is basically two Profipack kits, you'll find things like a color
photo etch fret and canopy masks included for each kit. Much of the work will be
in building the interior, especially if you use all the available p.e. parts. If
you don't want to use the photo etch for the various instruments, there are
decals. Throughout the instructions are notes that are specific for certain
decal schemes.
Once the fuselage halves are together, the interior can be installed from the underside. Then we go to the differences; the wings. Both build pretty much the same way. There are separate pieces for the main gear wells. After those are assembled, the upper wings go in place. This is followed by the ailerons. Tailplanes and elevators are assembled and installed then the wings.
The engine is the same on both variants with Eduard providing a nicely detailed engine and exhaust. The cowling is left and right sides with an internal piece that makes up the cowling gun troughs. With that done the landing gear is assembled and installed. There are two tail hook options with one up and one lowered. I read that often those planes land based would have this item removed to help save weight. In that case, often a sheet metal cover would be installed over the hook well.
For the final build steps, the drop tank and prop assembly are put together. With that done, the clear bits are installed. There is an option for open or closed canopy.
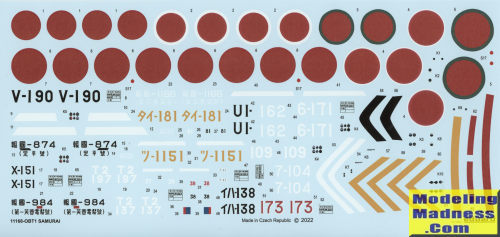 Instructions are excellent with lots of notes and detail images. Eduard
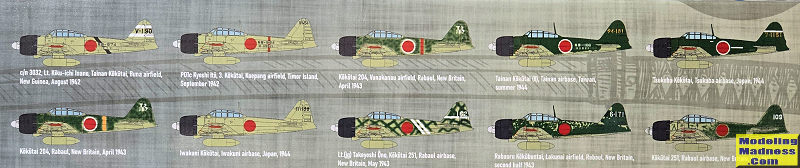
provides 12 markings options. All have a base coat of the khaki-green with a
black engine cowling. First is a Tainan Kokutai plane based at Buna in August
1942. Next a 3 Kokutai plane based on Timor island in September 1942. Third is a
402 Kokutai plane at Rabaul in April 1943. This one has a heavy mottling on the
upper side in dark green. The fourth option is another Tainan Ko plane
based at Tainan in summer 1944. This one is in dark green over concrete grey. In
a similar scheme is ome from the Tsukuba Ko at Tsukuba AB in 1944. The last type
32 is another heavilly mottled plane from 204 Ko at Rabaul in April 1943. Now
for the type 22s. The next one is from the Iwakuni Ko at Iwakuni AB in 1944.
This is followed by one with an overall green hatchmarked scheme of th 251 Koat
Rabaul in May 1943. The box art aircraft is next from the Rabauru Ko at Rabaul
in later 1943. With a heavily worn scheme is a 251 Ko plane also at Rabaul in
1943. If you haven't figured it out yet, a lot of these schemes are from planes
based at Rabaul. Next to last is a green over grey 253 Ko plane at Rabaul in
late 1943. Finally a green over grey plane from 582 Ko at Buin in June 1943.
Considering the number of options, the fairly small decal sheet is nicely done
and should prove to be very good. For those who think that none of the markings
options are cool enough, Life Like decals has six sets out that cover the A6M.
Below are profiles of ten of the twelve schemes.
Instructions are excellent with lots of notes and detail images. Eduard
provides 12 markings options. All have a base coat of the khaki-green with a
black engine cowling. First is a Tainan Kokutai plane based at Buna in August
1942. Next a 3 Kokutai plane based on Timor island in September 1942. Third is a
402 Kokutai plane at Rabaul in April 1943. This one has a heavy mottling on the
upper side in dark green. The fourth option is another Tainan Ko plane
based at Tainan in summer 1944. This one is in dark green over concrete grey. In
a similar scheme is ome from the Tsukuba Ko at Tsukuba AB in 1944. The last type
32 is another heavilly mottled plane from 204 Ko at Rabaul in April 1943. Now
for the type 22s. The next one is from the Iwakuni Ko at Iwakuni AB in 1944.
This is followed by one with an overall green hatchmarked scheme of th 251 Koat
Rabaul in May 1943. The box art aircraft is next from the Rabauru Ko at Rabaul
in later 1943. With a heavily worn scheme is a 251 Ko plane also at Rabaul in
1943. If you haven't figured it out yet, a lot of these schemes are from planes
based at Rabaul. Next to last is a green over grey 253 Ko plane at Rabaul in
late 1943. Finally a green over grey plane from 582 Ko at Buin in June 1943.
Considering the number of options, the fairly small decal sheet is nicely done
and should prove to be very good. For those who think that none of the markings
options are cool enough, Life Like decals has six sets out that cover the A6M.
Below are profiles of ten of the twelve schemes.
| CONCLUSIONS |
Based on what I've read, this is a very good kit. It appears to be a bit fiddly so those seeking a less complex build will want to hold on to their Hasegawa and Tamiya kits. If nothing else, you can use the unused decals for those builds
| REFERENCES |
https://en.wikipedia.org/wiki/Mitsubishi_A6M_Zero#Variants
February 2026 Copyright ModelingMadness.com. All rights reserved. No
reproduction in part or in whole without express permission. If you would like your product reviewed fairly and fairly quickly, please
contact
the editor or see other details in the
Note to
Contributors.