|
KIT: |
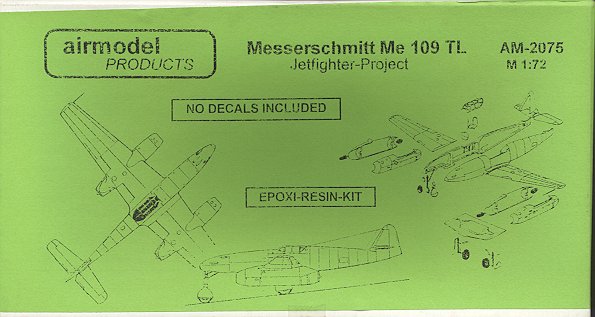
Airmodel 1/72 Me-109TL |
|
KIT # |
2075 |
|
PRICE: |
$30.00 |
|
DECALS: |
None |
|
REVIEW & |
|
|
NOTES: |
Resin with metal parts and vac canopy |
|
HISTORY |
Back in early 1943 when the Me-262 was being tested and getting ready for production, the Luftwaffe wasn't really sure if it would work, so wanted a back up plan. It had to be something that would be able to get built relatively quickly in case of some unforeseen problem. Messerschmitt came up with what is known as the 109TL. This basically took the fuselage and wings of the Me-155 high altitude fighter that was under construction, the landing gear of the Me-309 and mated two Junkers Jumo OO4s to them.
Fortunately for the Luftwaffe, the 262 seemed to be doing well, so the project was dropped a few months after it was proposed. No metal was cut for the prototype, no mockup was built. The aircraft was a pure paper project that, though interesting, never was needed.
|
THE KIT |
My only experience with Airmodel has been with their vacuforms
and vac conversion bits. They worked, but were not exactly what I would call
cutting edge. I have always had a fascination with Luftwaffe paper projects (the
infamous Luft '46 disease!). When I saw this kit recently, it drew me in. There
were two strong incentives to buy this kit. One because it was a 109 variant,
and two, because it was 75% off retail price. The fact that the box stated that
there were no decals is not a hindrance to a true Luft '46 builder!
Upon opening the box, I was greeted
by a plastic bag full of smaller plastic bags and a two sheet instruction
sheet. As you can see, Airmodel has a true multimedia kit on their hands.
Most of the components are made of a nice tan resin. You may also notice that
there are no resin plugs on any of the parts! Very unusual and most welcome.
Even a number of the smaller bits are not on a resin wafer, though some are. The
landing gear, wheels and engine inlet and exhaust 'spikes' are made of metal and
very well done. Two vacuform canopies are provided. These are probably the
weakest part of the kit as the frames are very large. Perhaps a replacement from
Squadron would fit. The instructions consist of an exploded view
of the parts. There is a very nice three view drawing and another than shows a
camo scheme of RLM 81/82 over 76 along with where to place the insignia, which
will have to come from the spare decals pile. Paint numbers are given for
Aeromaster and two ranges of Humbrol paints. No interior colors are given.
There
is some detail on the inside of the fuselage, which is nice. There is also
plenty of room in the nose for weight, which will be needed as this plane has
lots of resin aft of the main gear. What is missing is a separate floor to the
cockpit. Getting the seam out of that area will prove to be interesting.
Especially as it is a very tight fit and it looks as if you'll have to install
the cockpit components prior to gluing the fuselage halves together.
Overall
it looks as if it will be a very nice model when done. I especially like not
having to sand off those darned resin plugs!
Review kit courtesy of me and my wallet! If you would like your product reviewed fairly and quickly by a
site that averages over 2,200 visits a day, please contact
me or see other details in the Note to
Contributors.