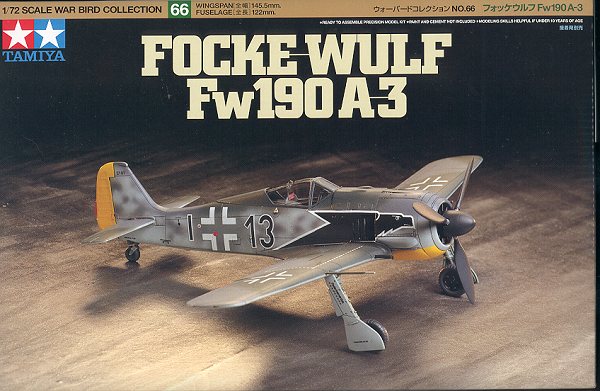
Tamiya 1/72 FW-190A-3
|
KIT # |
60766 |
|
PRICE: |
$16.00 |
|
DECALS: |
Three aircraft |
|
REVIEW : |
|
|
NOTES: |
` |
|
INTRODUCTION |
To get some background on the plane and see what the kit looks like in the box, see the preview.
|
CONSTRUCTION |
This is going to be a difficult review. Mainly because Tamiya kits are pretty well trouble free. That means not much to really write about in the way of problem areas. However, I'm sure I'll run into some!
I started by doing the subassembly thing. For the 190A-3 that is pretty well limited to gluing in the cockpit seat, side consoles, and control stick into the cockpit tub. This whole assembly was then painted RLM 66. I know the kit instructions tell you RLM 02, but by the time the FW-190 was in mass production, the requirement was for interiors to be RLM 66. In fact, many manufacturers had been painting their interiors for months prior to the requirement of November 1941. If I'm wrong, I'm wrong. The instrument panel was painted at this time and the decals applied. It looks quite convincing. The interior had a few items picked out in black and then it was drybrushed lightly with aluminum.
 The wings were the next feature. First the wheel well insert was installed, then
the upper wing halves glued in place. As with the 1/48 kit, I found the leading
edges near the insert to be difficult to keep together. This time, I did not
sand on the insert, though in hindsight, a bit of it wouldn't have hurt.
The wings were the next feature. First the wheel well insert was installed, then
the upper wing halves glued in place. As with the 1/48 kit, I found the leading
edges near the insert to be difficult to keep together. This time, I did not
sand on the insert, though in hindsight, a bit of it wouldn't have hurt.
Meanwhile, the fuselage halves, the interior already painted RLM 66, was glued together. Then the insert, also painted RLM 66, was glued in place behind the cockpit opening. A perfect fit. A touch of sanding was done and the tailplanes glued in place. This assures a good reference for the wing.
The cockpit was inserted and glued in place, followed by the wing. Fit of the wing was quite good, but I found a step between the back of the wing and the fuselage. This was repaired with filler. I also found that the wing did not want to properly align with the tailplanes. I was careful in making sure the tailplanes and fin were at 90 degrees to each other, so cannot understand why the wing was off. A bit of fudging allowed things to get pretty close. Maybe 1/72 190s and I don't agree or something as I had this problem with the other three 190 kits built recently. I then inserted the engine front section after all the filler had been dry and sanded.
With the wings installed, the filler dry and sanded, the cockpit was taped closed and tissue stuffed into the engine intake. It was then off to the paint shop for the first application of paint.
|
PAINT & DECALS |
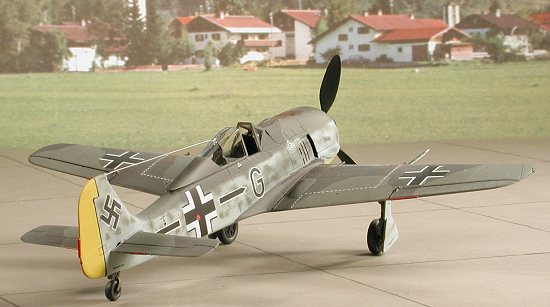
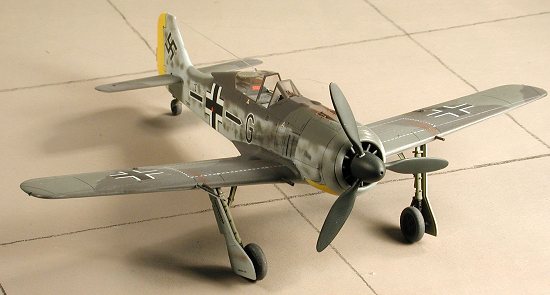
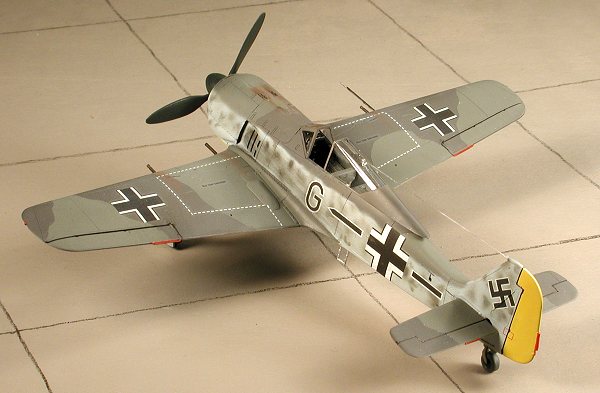
Early 190s (after the prototypes) were all painted RLM 74/75/76. Boring it is true, but there is little option. This meant that the underside of the plane was painted RLM 76. As I usually do, the tailplanes were masked off and the plane then had the canopy installed. This gave the paint another day or so to cure. Then the underside of the nose and the tail were painted white and when dry; yellow. This was then masked off and the upper surface painted RLM 75 using Aeromaster enamels. With this area dry, it was masked and painted with RLM 74. I used Xtracolor for this as I had run out of Aeromaster RLM 74 :0(
 With the kit painted, it was returned to the workbench to have the landing gear
attached. This was accomplished with minimal fuss though, as with just about
every other FW-190 kit I have built, it was tough to get the main landing gear
exactly positioned. Not sure why the 190 is so fussy in this area, but I always
have trouble with the gear. The tail wheel was literally snapped into position
without glue. Once the gear was installed (sans wheels), the kit was returned to
the paint area and a clear gloss acrylic (Future) was sprayed on in preparation
for decals
With the kit painted, it was returned to the workbench to have the landing gear
attached. This was accomplished with minimal fuss though, as with just about
every other FW-190 kit I have built, it was tough to get the main landing gear
exactly positioned. Not sure why the 190 is so fussy in this area, but I always
have trouble with the gear. The tail wheel was literally snapped into position
without glue. Once the gear was installed (sans wheels), the kit was returned to
the paint area and a clear gloss acrylic (Future) was sprayed on in preparation
for decals
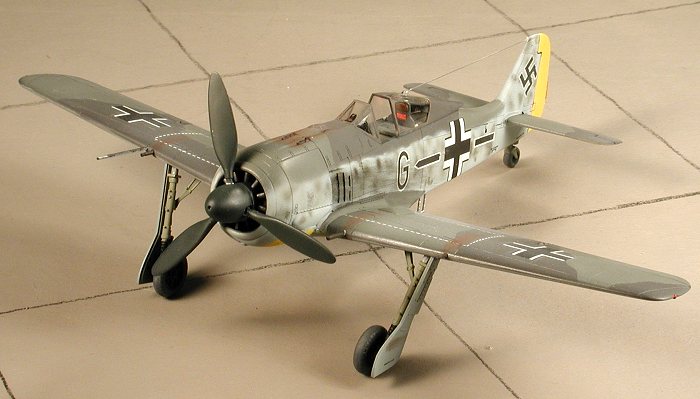
Having no aftermarket choices and not wanting to cobble together decals for a Turkish 190A-3 (which would require a repaint in desert colors), I chose one of the kit schemes. I figured that the markings for Hptm. Wilhelm Gath would be the least used as everyone seems to like the eagle markings and the planes of the aces. The decals were a real surprise. They went on quite well and did not do anything horrendous when I used some Solvaset on them. Even the white seemed opaque enough despite having a slightly bluish tinge to them on the decal sheet. I used every one that was applicable, including all the stencils. Once dry, the decals were wiped with water to remove any glue or setting solution residue. The kit was then returned to the paint shop and had a matte clear sprayed over them to seal them in. Actually, it is a bit more matte that I would have preferred, but I left it as is as I didn't want to screw anything up by respraying a glossier coat!
|
THE LAST BITS |
 You know, not that long ago, decals would have been the last
thing I'd have done to a kit. Nowadays, it comes at about 80-85% completion of
the kit. Funny how things like that happen when one gets experience. Anyway,
there were quite a few 'last bits' on this kit. First of all, the wheels were
attached to the landing gear. Next the guns were glued into the appropriate
holes in the leading edge of the wing along with the pitot tube. These needed a
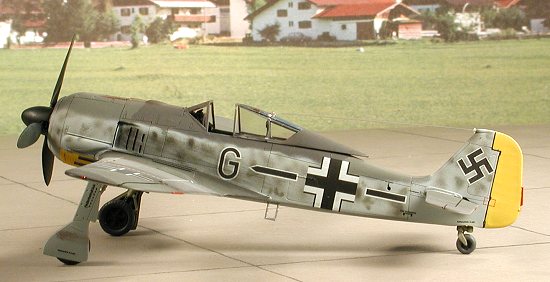
bit of brush painting. Then the boarding ladder was glued in place and some
touch-up done on it. Turning to the front, the forward engine bit was glued in
as it held the prop shaft bearing.
You know, not that long ago, decals would have been the last
thing I'd have done to a kit. Nowadays, it comes at about 80-85% completion of
the kit. Funny how things like that happen when one gets experience. Anyway,
there were quite a few 'last bits' on this kit. First of all, the wheels were
attached to the landing gear. Next the guns were glued into the appropriate
holes in the leading edge of the wing along with the pitot tube. These needed a
bit of brush painting. Then the boarding ladder was glued in place and some
touch-up done on it. Turning to the front, the forward engine bit was glued in
as it held the prop shaft bearing.
Next, the masking was removed from the clear bits and any paint creep removed with a sharpened toothpick. Then any touch-up painting in the wheel wells was done. The canopy was glued in the open position to show off the nice decals seat belts and instrument panel! Stretched clear sprue was used for an antenna wire from the top of the canopy to the housing in the tail. The formation lights and trim tabs were painted. Pastels were brought out to simulate exhaust and gun stains. Finally, the prop was pushed into the bushing and the kit was done.
|
CONCLUSIONS |
Golly-gee Batman, Tamiya has done it again. Taken a super 1/48 kit and produced a similar entity in 1/72. Though not as trouble free as the Bf-109E-3 that I built, it comes darn close. It is a kit that anyone with a few years under their belt should be able to turn into a beauty. There are those who won't build one because of the price. I can understand that. There are those who don't think Tamiya kits are a challenge. I can understand that as well. However, if you just want to relax with a kit that won't give you any major headaches, or you want to add an FW-190A-3 to your collection, this is the kit for you.
October 2001
Review kit courtesy of me and my wallet! (I can't believe I actually paid retail for it!!!)
If you would like your product reviewed fairly and fairly quickly, please contact the editor or see other details in the Note to Contributors.
Back to Reviews Page 2015