| HISTORY |
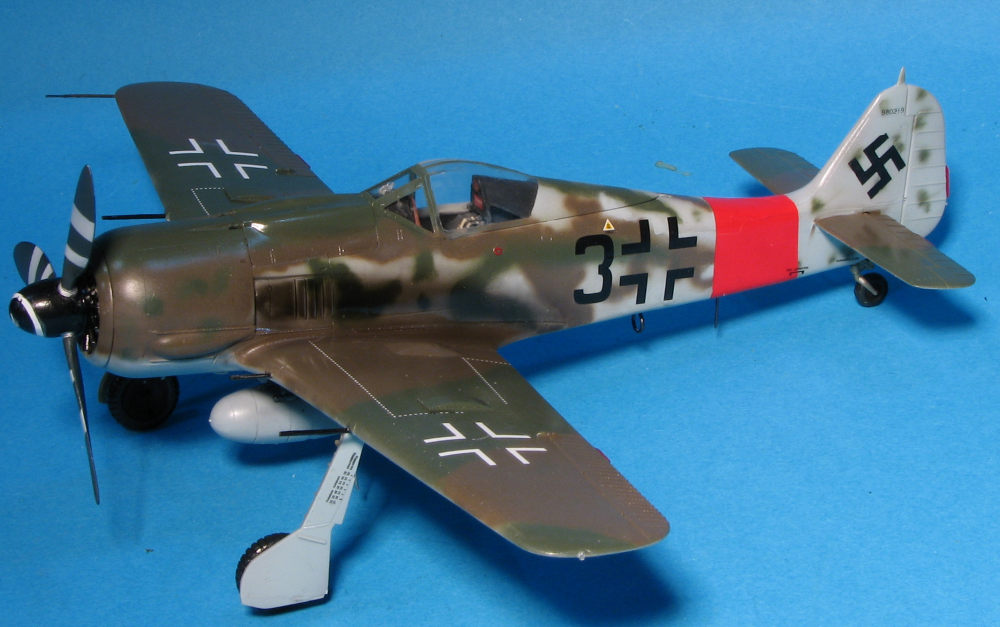
Hasegawa 1/48 FW-190A-9
| KIT #: | 07213 |
| PRICE: | $29.99 on sale ($58.99 SRP) |
| DECALS: | Two options |
| REVIEWER: | Scott Van Aken |
| NOTES: | Limited Reissue (2012) |

| HISTORY |
The Focke-Wulf Fw 190 Würger (Shrike) was a German single-seat, single-engine fighter aircraft designed by Kurt Tank in the late 1930s and widely used during World War II. Powered by a radial engine, the 190 had ample power and was able to lift larger loads than its well-known counterpart, the Messerschmitt Bf 109. The 190 was used by the Luftwaffe in a wide variety of roles, including day fighter, fighter-bomber, ground-attack aircraft and, to a lesser degree, night fighter.
When the Fw 190 started flying operationally over France
in August 1941, it quickly proved itself to be superior in all but turn
radius to the Royal Air Force's main front-line fighter, the Spitfire Mk. V.
The 190 wrested air superiority away from the RAF until the introduction of
the vastly improved Spitfire Mk. IX in July 1942 restored qualitative
parity. The Fw 190 made its air combat debut on the Eastern Front in
November/December 1942; though Soviet pilots considered the Bf 109 the
greater threat, the Fw 190 made a significant impact. The fighter and its
pilots proved just as capable as the Bf 109 in aerial
 combat, and in the
opinion of German pilots who flew both, provided increased firepower and manoeuvrability at low to medium altitude.
The Fw 190 became the backbone of the Jagdwaffe (Fighter Force), along with the Bf 109. On the Eastern Front, the Fw 190 was versatile enough to use in Schlachtgeschwader (Battle Wings or Strike Wings), specialised ground attack units which achieved much success against Soviet ground forces. As an interceptor, the Fw 190 underwent improvements to make it effective at high altitude, enabling it to maintain relative parity with its Allied opponents. The Fw 190A series' performance decreased at high altitudes (usually 6,000 m (20,000 ft) and above), which reduced its effectiveness as a high-altitude interceptor, but this problem was mostly rectified in later models, particularly in the Junkers Jumo 213 inline-engine Focke-Wulf Fw 190D series, which was introduced in September 1944. In spite of its successes, it never entirely replaced the Bf 109.
The Fw 190 A-9 was the last A-model
produced, and was first built in September 1944. The A-9 was fitted with the
new BMW 801S, called the 801 TS or 801 TH when shipped as a more complete
Triebwerksanlage
version of the Kraftei
or "power egg" concept, unitized engine installation (an aircraft engine
installation format embraced by the Luftwaffe for a number of engine types
on operational aircraft, in part for easy field replacement) rated at
2,000 PS (1,973 hp, 1,471 kW); the more powerful 2,400 PS (2,367 hp,
1,765 kW) BMW 801F-1 was still under development, and not yet available. The
armour on the front annular cowling, which also incorporated the oil tank,
was upgraded from the 6 mm (.24 in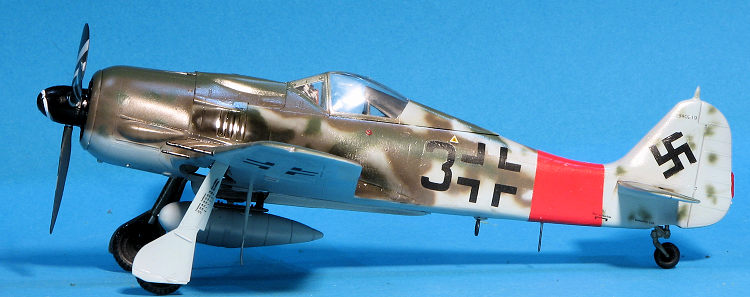 ) on earlier models to 10 mm (.39 in). The
12-blade cooling fan was initially changed to a 14-blade fan, but it
consumed more power to operate and did not really improve cooling; thus BMW
reverted to the 12-blade fan. The A-9 cowling was slightly longer than that
of the A-8 due to a larger annular radiator within the forward cowl for the
oil system. The bubble canopy design with the larger head armour was fitted
as standard. Three types of propeller were authorised for use on the A-9:
the VDM 9-112176A wooden propeller, 3.5 m (11 ft 6 in) in diameter, was the
preferred option, however, many A-9s were fitted with the standard VDM
9-12067A metal propeller and some had a VDM 9-12153A metal propeller with
external, bolt on balance weights. The A-9 was also designed originally as
an assault aircraft, so the wing leading edges were to have been armoured;
however, this did not make it past the design stage in order to save weight.
The A-9 was very similar to the A-8 in regards to the armament and
Rüstsätze kits. A total
of 910 A-9s were built between April 1944 and May 1945, mostly in Focke
Wulf's Cottbus factor.
| THE KIT |
 Mentioned earlier is the five piece engine cowling so one has to be
careful when assembling
this piece. The A-9 has two major differences over the earlier A-8
and that is a 14 blade engine fan vice the normal 12 blade one and a
broader prop. These two items are included as metal parts and that
accounts for the higher price of the kit. For under the wing you
have only a drop tank as this version was not equipped for bombs.
Two different canopies are provided, which are different for each of
the markings options. This kit offers clear wing tip lights which
are simply inserted into holes in the tips.
 | CONSTRUCTION |
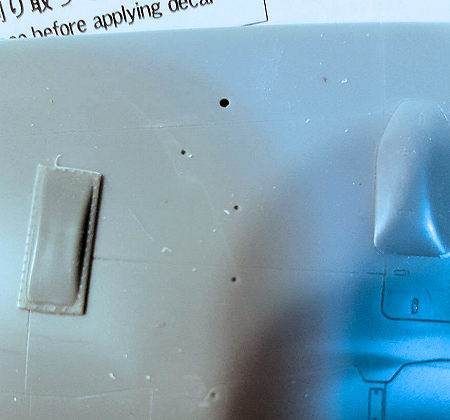 ed the
decals atop the raised detail for the consoles and instrument panel
despite the instructions telling me to sand these areas smooth. A
good dose of Mr. Mark Softer is needed to get them to snuggle down,
but they did and look very good. l should add that the decals for
this kit are very good and unlike the older kits, these loosen from
the backing in a very short time and work well with cold water.
 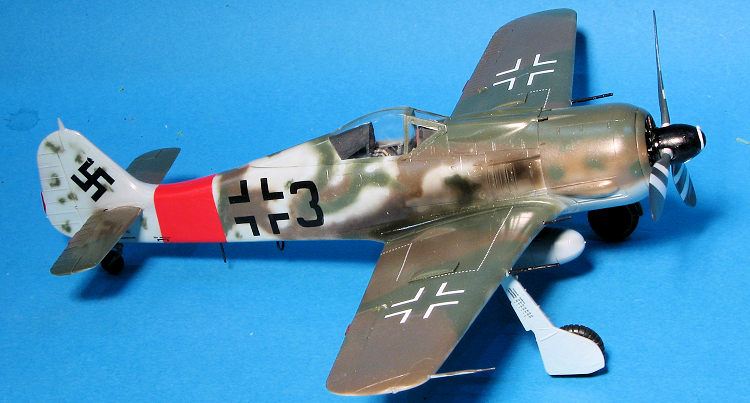 I then moved on to the cowling. This is a challenge to get to fit
properly thanks to all the pieces. I eventually got everything to
line up, but it took more effort than I'd have liked as the tabs are
not very
large.
Eventually that was done, the engine painted and dry brushed then
inserted into the cowling. Frankly, with the fan in front of it, you
won't see very much so no need to go nuts on the engine. The fan was
painted black and attached then this assembly attached to the
fuselage. Fit is only fair but can be improved with a bit of
trimming.
 | COLORS & MARKINGS |
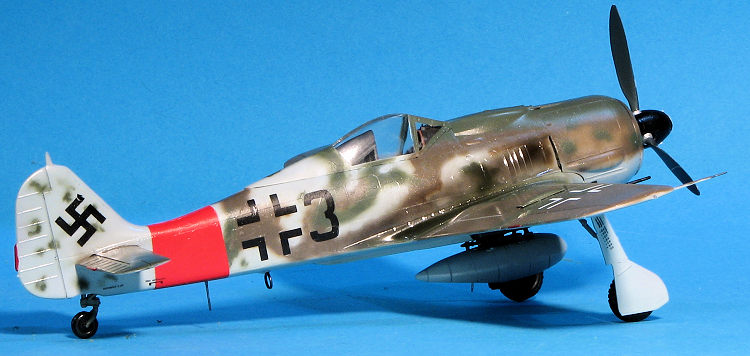
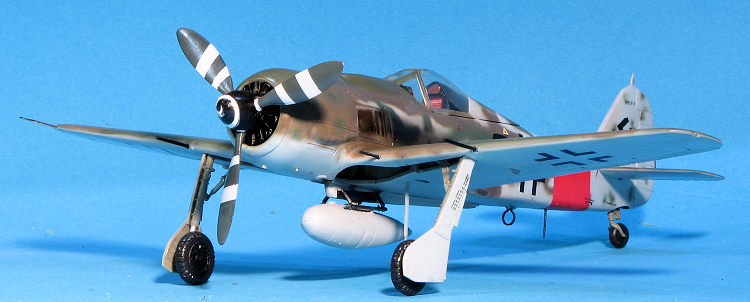 Since I already had paints mixed for the previous 109 build, I
decided to do another scheme from the Aeromaster Bodenplatte sheet.
As usual, the lower RLM 76 was sprayed then masked where there were
issues with overspray. I then sprayed on the dark green and freehand
sprayed the dark brown. This was followed by some masking and the
rather convoluted fuselage pattern was painted. This took several
runs to get just as I wanted it.
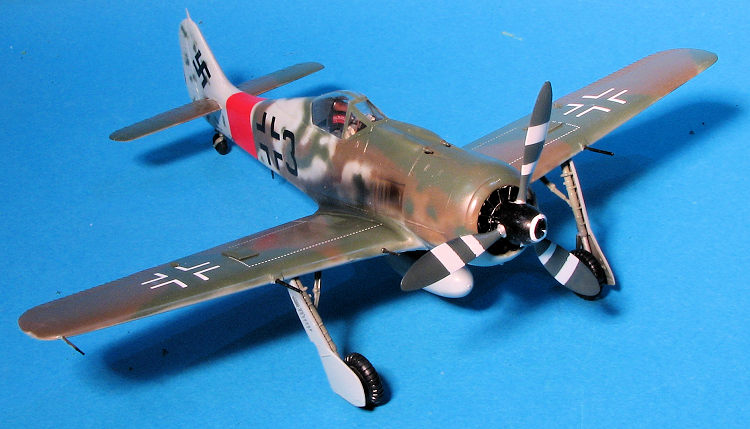
 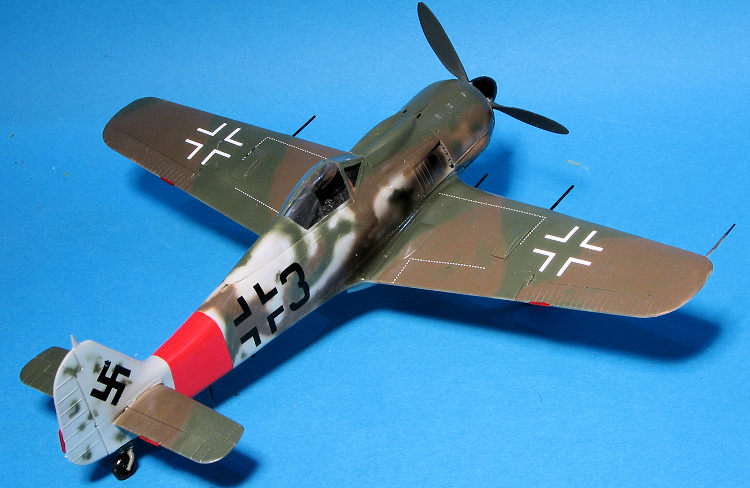 out OK. I used Tamiya's Tire Black for the
rubber. I see others using panzer grey and frankly, it looks too
light to my eyes. I should mention that Hasegawa's main gear is a
fairly tight fit so you do get your landing gear at the proper angle
when all is dry. You do need to attach the retraction strut piece
rather firmly as the gear is a tad on the wobbly side due to its
length.
 | CONCLUSIONS |
| REFERENCES |
http://en.wikipedia.org/wiki/Fw190
5 October 2018
Copyright ModelingMadness.com. All rights reserved.
Thanks to me for picking this one up on sale.
If you would like your product reviewed fairly and fairly quickly, please contact the editor or see other details in the Note to Contributors.
Back to the Previews Index Page