| KIT #: | B9 |
| PRICE: | 350 yen SRP back in 1977 (which was about $1.25 at the then-current exchange rate.) |
| DECALS: | Two options |
| REVIEWER: | Scott Van Aken |
| NOTES: | Initial boxing |
| HISTORY |
The P-40 was a development of the P-36 that utilized a liquid-cooled V-12 engine
to provide a higher speed than what was available with the radial engine P-36.
In that means it was successful and when the US
 entered WWII, it was the most
widely used aircraft in the USAAC. It was not the 'dog' that many consider it to
be. At low and medium altitude it was able to hold its own against German and
Italian aircraft. This was proven in North Africa while in the hands of the RAF
and Commonwealth air forces prior to America's entry into the war. It was also
useful in the SWPA and CBI where its fairly long range and rugged construction
was effective against Japanese rifle calibre machine guns.
entered WWII, it was the most
widely used aircraft in the USAAC. It was not the 'dog' that many consider it to
be. At low and medium altitude it was able to hold its own against German and
Italian aircraft. This was proven in North Africa while in the hands of the RAF
and Commonwealth air forces prior to America's entry into the war. It was also
useful in the SWPA and CBI where its fairly long range and rugged construction
was effective against Japanese rifle calibre machine guns.
The Warhawk/Kittyhawk really made its mark in the ground attack role. Despite its liquid cooled engine, which made it susceptible to ground fire, the P-40 was widely used in this role in areas with limited enemy air interference until the end of the war.
| THE KIT |
 parts were glued and clamped. The cockpit is Spartan at the best with a
shape for a seat, a floor, control stick and pilot figure. The instrument
panel takes a decal and is not prototypical at all.
parts were glued and clamped. The cockpit is Spartan at the best with a
shape for a seat, a floor, control stick and pilot figure. The instrument
panel takes a decal and is not prototypical at all. | CONSTRUCTION |
 sembly, this and the instrument panel were glued into one side of the
fuselage. When dry, the halves were cemented together. As mentioned earlier,
the halves were warped and so needed clamps and tape to hold them together
until dry.
sembly, this and the instrument panel were glued into one side of the
fuselage. When dry, the halves were cemented together. As mentioned earlier,
the halves were warped and so needed clamps and tape to hold them together
until dry. | COLORS & MARKINGS |
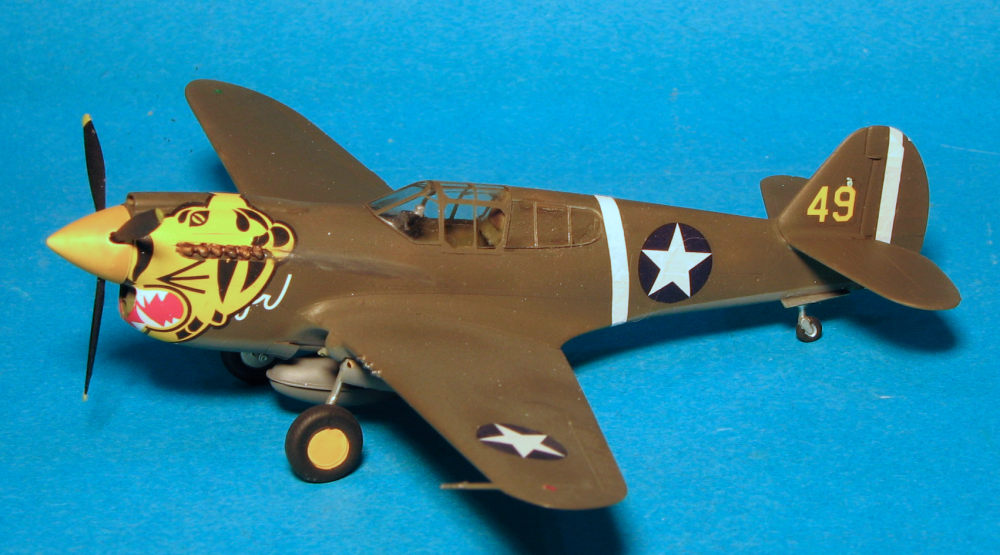
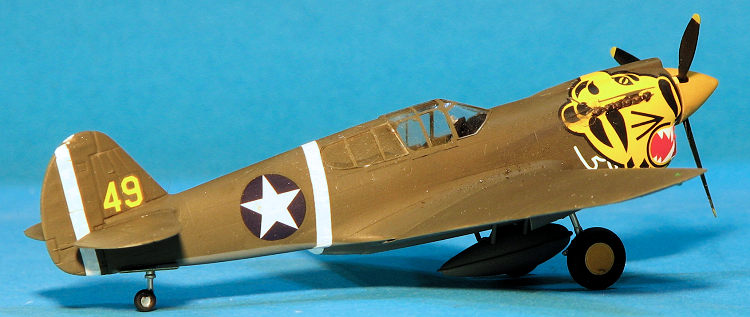
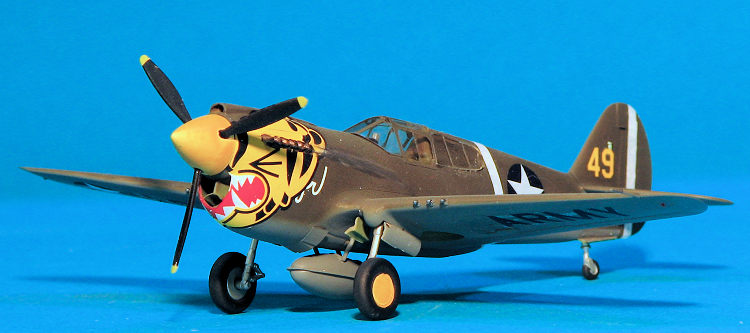
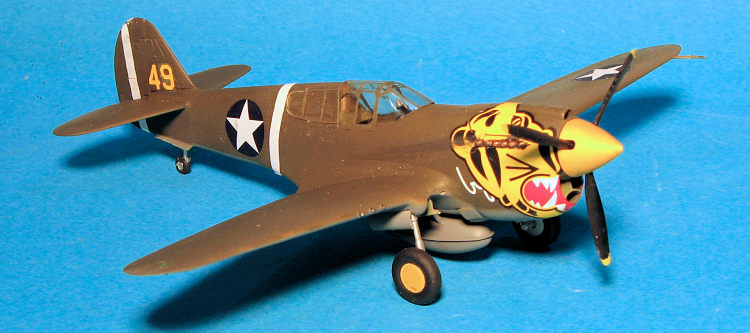
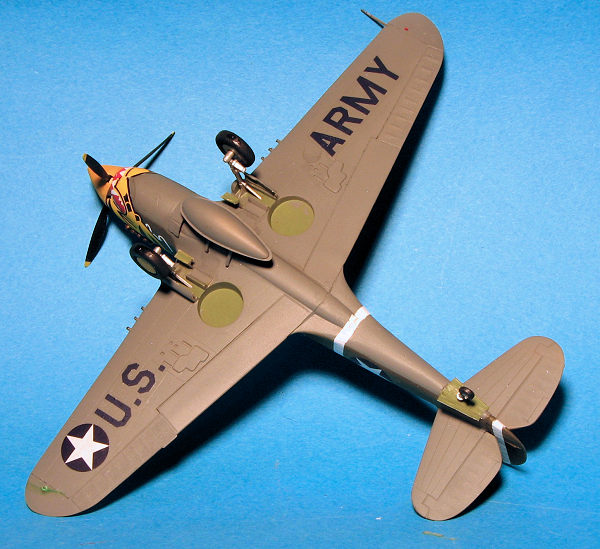 This aircraft would be fairly easy to paint. I used up the last of my
Model Master neutral grey for all the undersides, the belly tank, the
outside of the wheels, and the outside of the gear doors. This area was then
masked to some extent and the upper surfaces were painted with Mr.Color
olive drab (1), which is fairly dark. Landing gear was then painted
aluminum.
This aircraft would be fairly easy to paint. I used up the last of my
Model Master neutral grey for all the undersides, the belly tank, the
outside of the wheels, and the outside of the gear doors. This area was then
masked to some extent and the upper surfaces were painted with Mr.Color
olive drab (1), which is fairly dark. Landing gear was then painted
aluminum. | CONCLUSIONS |
 In case you haven't figured it out, this is not the best 1/72 P-40 on the
market. However, it can be found for very little money on the second hand market
and unless you drop the nearly completed kit, will be fairly fuss free. A nice
one for the shelf. Save the Academy and Special Hobby kits for the contest room.
In case you haven't figured it out, this is not the best 1/72 P-40 on the
market. However, it can be found for very little money on the second hand market
and unless you drop the nearly completed kit, will be fairly fuss free. A nice
one for the shelf. Save the Academy and Special Hobby kits for the contest room.
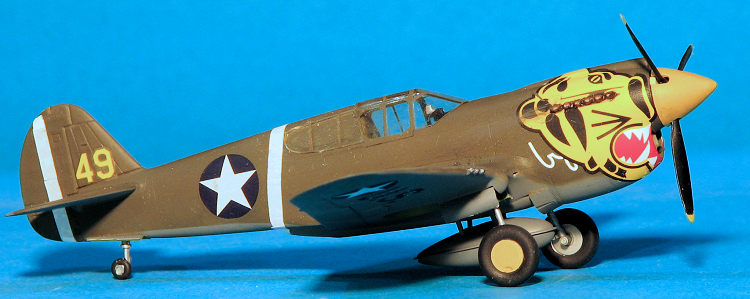
I should also mention that after finishing the kit, I discovered that the fuselage stripe should be slanted forward at the bottom. In my defense, every aftermarket sheet and drawing I've seen of this plane shows the bottom portion slanted aft. I should have paid attention to TC's build of many years ago as he got it right.
3 July 2020
Copyright ModelingMadness.com. All rights reserved.
If you would like your product reviewed fairly and quickly, please contact the editor or see other details in the Note to Contributors.