| KIT #: | B9 |
| PRICE: | 350 yen SRP back in |
| DECALS: | Two options |
| REVIEWER: | Scott Van Aken |
| NOTES: | Initial boxing |
| HISTORY |
 The P-40 was a development of the P-36 that utilized a liquid-cooled V-12 engine
to provide a higher speed than what was available with the radial engine P-36.
In that means it was successful and when the US entered WWII, it was the most
widely used aircraft in the USAAC. It was not the 'dog' that many consider it to
be. At low and medium altitude it was able to hold its own against German and
Italian aircraft. This was proven in North Africa while in the hands of the RAF
and Commonwealth air forces prior to America's entry into the war. It was also
useful in the SWPA and CBI where its fairly long range and rugged construction
was effective against Japanese rifle calibre machine guns.
The P-40 was a development of the P-36 that utilized a liquid-cooled V-12 engine
to provide a higher speed than what was available with the radial engine P-36.
In that means it was successful and when the US entered WWII, it was the most
widely used aircraft in the USAAC. It was not the 'dog' that many consider it to
be. At low and medium altitude it was able to hold its own against German and
Italian aircraft. This was proven in North Africa while in the hands of the RAF
and Commonwealth air forces prior to America's entry into the war. It was also
useful in the SWPA and CBI where its fairly long range and rugged construction
was effective against Japanese rifle calibre machine guns.
The Warhawk/Kittyhawk really made its mark in the ground attack role. Despite its liquid cooled engine, which made it susceptible to ground fire, the P-40 was widely used in this role in areas with limited enemy air interference until the end of the war.
| THE KIT |
 My copy is one of the original boxings and is molded in tan plastic. There
is a touch of flash on a few parts and mine had a little warping on the
wings and fuselage, but this did not turn out to be of any consequence once
the parts were glued and clamped. The cockpit is Spartan at the best with a
shape for a seat, a floor, control stick and pilot figure. The instrument
panel takes a decal and is not prototypical at all.
My copy is one of the original boxings and is molded in tan plastic. There
is a touch of flash on a few parts and mine had a little warping on the
wings and fuselage, but this did not turn out to be of any consequence once
the parts were glued and clamped. The cockpit is Spartan at the best with a
shape for a seat, a floor, control stick and pilot figure. The instrument
panel takes a decal and is not prototypical at all. | CONSTRUCTION |
 Once the interior was painted and dry, I used tape to simulate belts. The
kit decals supplied the instrument panel decal. This was far too large, but
better large than small in this case. After building up the radiator
assembly, this and the instrument panel were glued into one side of the
fuselage. When dry, the halves were cemented together. As mentioned earlier,
the halves were warped and so needed clamps and tape to hold them together
until dry.
Once the interior was painted and dry, I used tape to simulate belts. The
kit decals supplied the instrument panel decal. This was far too large, but
better large than small in this case. After building up the radiator
assembly, this and the instrument panel were glued into one side of the
fuselage. When dry, the halves were cemented together. As mentioned earlier,
the halves were warped and so needed clamps and tape to hold them together
until dry. | COLORS & MARKINGS |
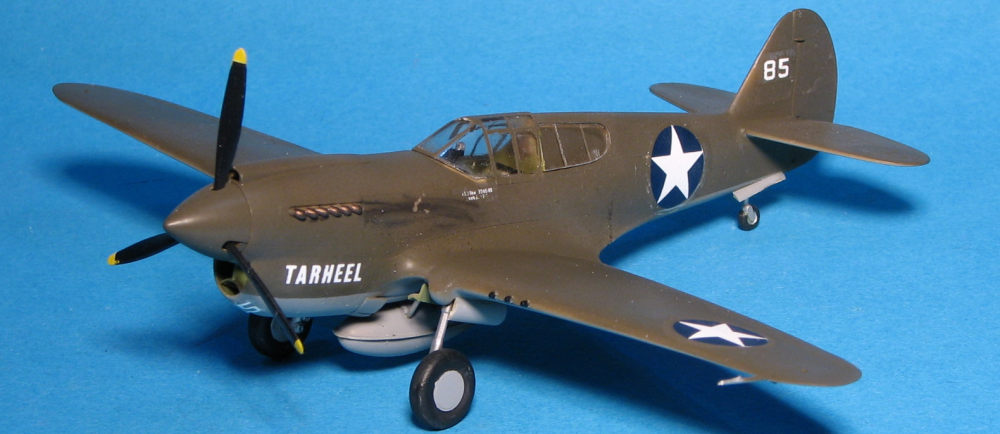
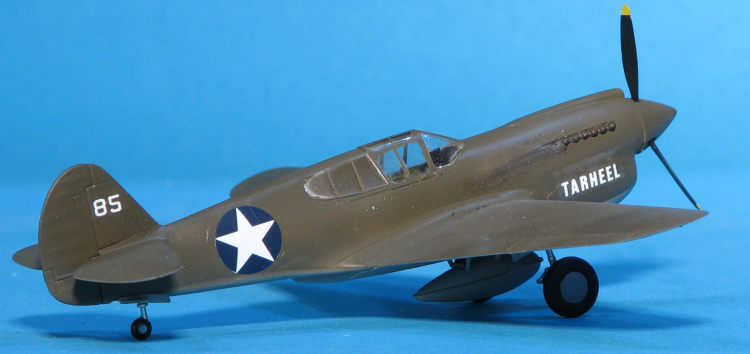
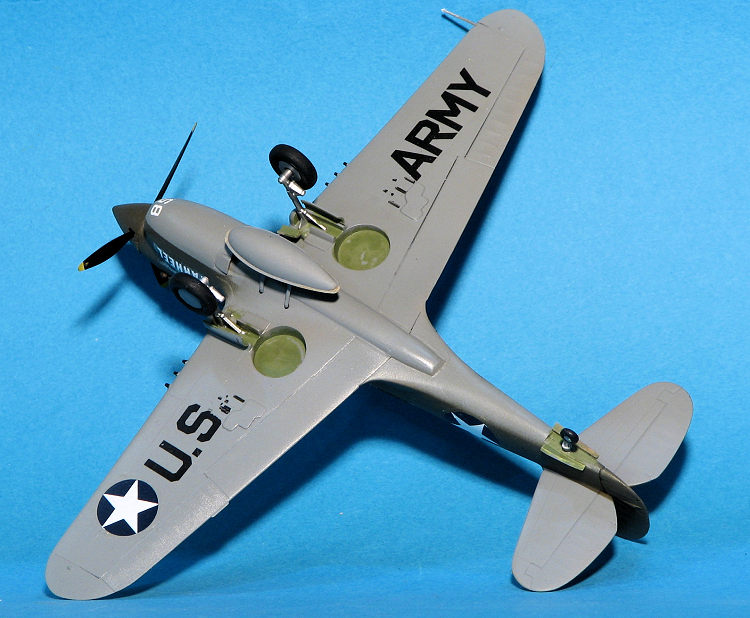 When that was done, the prop (which was painted black with yellow tips) was
attached to the front of the kit. Main landing gear was then glued in place.
It was then time for adding the decals. For this, I used up another scheme
on a Microscale sheet I bought back in 1982. Sheet 72-341 has a bunch of
nice P-40 options of which I've used most in the last nearly 40 years. There
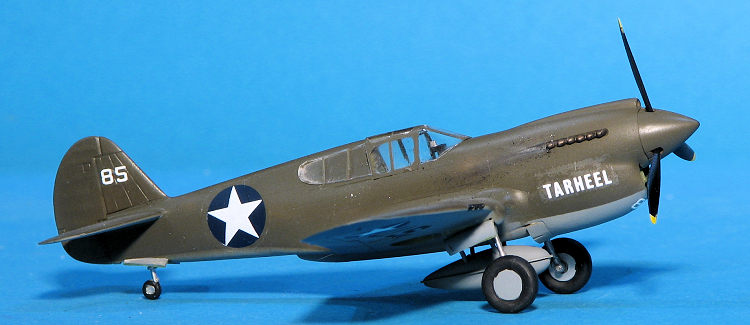
has been some discussion as to whether the name 'Tarheel' was on both sides.
Some state there was a dragon on the right side of the nose, which seems to
be proven by a photo of the right side with the nose number 85. This is the
same number with the decals. Well, the sheet does not provide the dragon so
I did things as were offered on the sheet. Despite their age, the decals
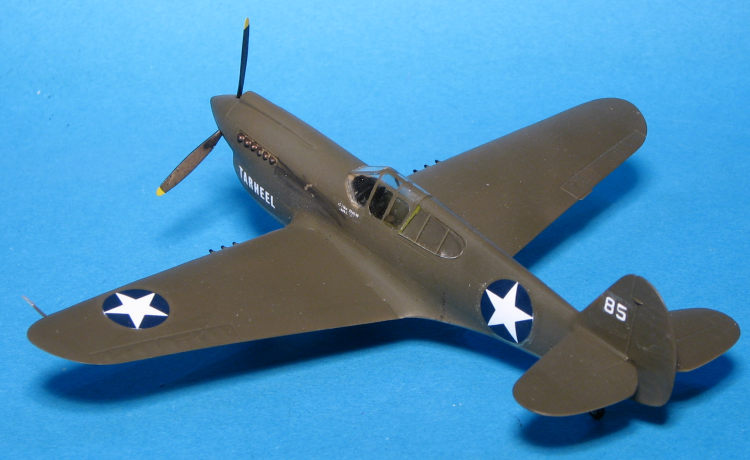
worked just great. What the sheet did not include was the US Army that goes
on the underside. That was gleaned from an Academy kit.
When that was done, the prop (which was painted black with yellow tips) was
attached to the front of the kit. Main landing gear was then glued in place.
It was then time for adding the decals. For this, I used up another scheme
on a Microscale sheet I bought back in 1982. Sheet 72-341 has a bunch of
nice P-40 options of which I've used most in the last nearly 40 years. There
has been some discussion as to whether the name 'Tarheel' was on both sides.
Some state there was a dragon on the right side of the nose, which seems to
be proven by a photo of the right side with the nose number 85. This is the
same number with the decals. Well, the sheet does not provide the dragon so
I did things as were offered on the sheet. Despite their age, the decals
worked just great. What the sheet did not include was the US Army that goes
on the underside. That was gleaned from an Academy kit. | CONCLUSIONS |
In case you haven't figured it out, this is not the best 1/72 P-40 on the market. However, it can be found for very little money on the second hand market and unless you drop the nearly completed kit, will be fairly fuss free. A nice one for the shelf. Save the Academy and Special Hobby kits for the contest room.
5 June 2020
Copyright ModelingMadness.com. All rights reserved.
If you would like your product reviewed fairly and quickly, please contact the editor or see other details in the Note to Contributors.