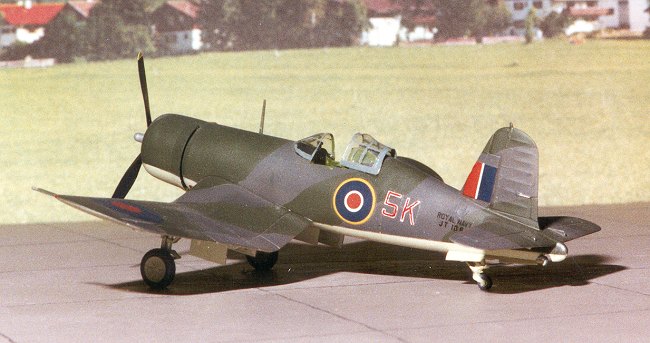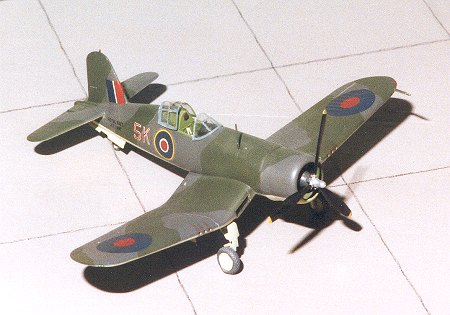
Minicraft/Hasegawa 1/72 F4U-1A Corsair
Kit Number: 1179
Price: $4.00
Media: Injected plastic
Decals : One version; a USMC plane in three-tone camo
Date of Review: 30 March, 1996

Comments: The Birdcage Corsair was the first version to enter service with the USMC in combat in 1943. They quickly built up a reputation as a fast rugged aircraft. Most modelers know that it took a long time for them to be approved for carrier duty, but not many know that the British FAA also used them in the Atlantic.
A desire to build a FAA version without clipped wingtips as well as the release of True Details excellent resin interior, led me to dig through the old kit boxes to unearth a Minicraft version of this kit. While I was at it, I also ordered Squadron's vac canopy set and a set of True Details resin wheels. the first thing to do was to detail and assemble the resin interior. Then the plug was sawed from the bottom of it and it was superglued into the interior. The rest of the kit was built in the normal way.
 If you have ever built Hasegawa's Corsair, then you know how effortless this kit is to build. The fuselage/ wing joint went together very well and I used almost no filler when building this kit. True Details has done a bang-up job choosing which kits to have resin interiors for, as these second-generation Hasegawa kits are all in great need of an accurate interior. Once the aircraft was ready to paint, I blocked off the interior, masked the canopy and got ready to go.
The undersides were painted with Gunze Sky. When dry it was masked and the upper colors were applied. First Dark Sea Grey was sprayed and masked when dry. Then the sea green was applied. When the masks were all pulled away, any glitches were touched up and the entire aircraft sprayed with Future floor wax in preparation for the decals. All the decals including the serials came from various Modeldecal sheets. Thanks to the most recent (1993) sheets of SEA codes and roundels, the unusual FAA code letters and numbers were available. The only problem I had was that the aircraft number was red with a white border. My only choice was to hand-paint the red. It needs to be replaced with a decal when one comes available. I also had to hand paint the canopy as I made a real mess of the first one. Unfortunately, when one brushes a color it is often a different shade than when it is airbrushed and this is what happened to me. Not willing to buy another canopy, I left it as it was and will just say that it is a replacement! The last steps were to add the resin wheels and to attach the vac canopy with 5 minute epoxy.
I would highly recommend the base kit to any builder who has graduated from snap kits. The addition of the True Details resin bits makes the Corsair a real masterpiece.