Kit: Spitfire I
Scale: 1/72
Kit Number: 1071
Manufacturer: Airfix
Price: $3.00
Media: Injected Plastic
Decals: One version, RAF Battle of Britain
Reviewer: Scott Van Aken
Date of Review: 13 August 1997

Another image at the bottom of the review
When you think of Britain's most famous aircraft of WWII, you think of the Spitfire, hero of the Battle of Britain. Actually, like most of history, this is inaccurate, as the Hurricane was much more successful and plentiful during the battle, it just didn't get the media coverage that the Spitfire did. Now that I've ruined your day, on to the review.
Other than the typical grey plastic with raised panel lines, the first thing that strikes you upon opening the box, is that this is a snap kit! It even has stickers instead of decals!! Talk about a shock. It actually can be assembled without using any glue at all. The mating points are very large as you would expect and the detail is minimal as befits a kit of this genre. It is a good thing there is minimal interior detail, as little could be seen through the thick plastic of the cockpit.
The interior consists of an instrument panel and a combination floor, seat and armor plate. No sidewall detail, no control stick. Once that is snapped into place (after painting the interior a nice interior green), then the fuselage halves can be snapped together, trapping (if you wish), the propeller. Next the wings are snapped together and then snapped to the fuselage. There is no wheel well detail. One surprising bit of accuracy is the gull wing shape of the underfuselage that is often missing on kits costing several time more. There is also an ID lamp that must be put into the wing center section prior to assembly to the fuselage. The tailplanes are snapped in as is the canopy, which is then masked and the kit is ready for paint.
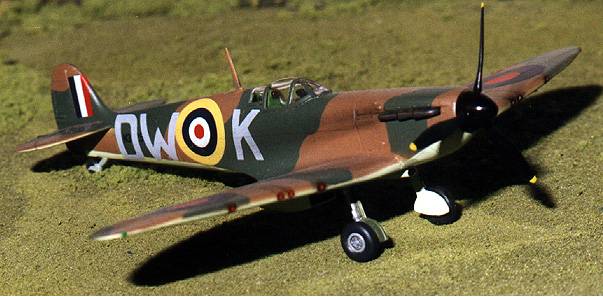
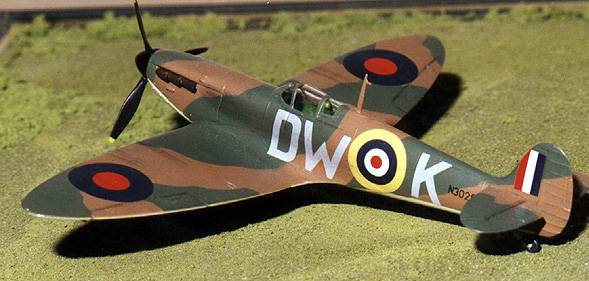
Now I really did not snap these assemblies together. Cement was used as was a bit of filler. Actually, very little filler for a snap kit, whose tolerances need to be broad for the young and fumble-fingered. Just prior to painting, the antenna was glued into place. I used a set of Carpena decals for this kit and the decals are just superb. They represent the often photographed DW*K and are very translucent allowing none of the underside colors to bleed through. Paint was Gunze RAF colors of Dark Green, Earth with Sky undersides.
While the paint was drying, the propeller was painted gloss black with yellow tips. The exhaust was painted a suitable color and the landing gear was aluminum with black wheels. Once the paint was dry and decals applied and dry, the gear was snapped (again, glued) into place, as was an underwing pitot tube. The propeller was then glued in place as I did not attach it during fuselage assembly for fear of breakage.
What I got was a surprisingly excellent kit of a Spitfire I. It is a much better representation that that of Revell, Heller or Hasegawa. Buy it if available. Suitable for all ages.
