ICM 1/48 BQM-34A Firebee
| KIT #: | 48401 |
| PRICE: | $20.99 |
| DECALS: | Four options |
| REVIEWER: | Dan Lee |
| NOTES: |
| HISTORY |
 The Ryan
BQM-34A was the first in a series of drones used for military purposes. They
were used for target emulation, high and low altitude recon, ECM, E-LINT
missions and defense/radar suppression during the beginning of the Cold War to
the hot wars of Vietnam and Iraq.
The Ryan
BQM-34A was the first in a series of drones used for military purposes. They
were used for target emulation, high and low altitude recon, ECM, E-LINT
missions and defense/radar suppression during the beginning of the Cold War to
the hot wars of Vietnam and Iraq.
It is the great grandaddy or grandaddy (depending on how you look at it) of the drones currently used in the Ukraine/Russia War.
| THE KIT |
See DaBoss’ excellent preview of the kit to see what is in it as well as more history of the Firebee.
| CONSTRUCTION |
Thankfully there is no cockpit to speak of, but the first thing to build was the intake/exhaust. I did what I could to minimize the seams, but considering how small the intake was I just filled those seams with Vallejo Plastic Putty and removing the excess with damp Q-Tips before painting it.
 Next, I
added the intake into the fuselage and glued the halves together using a thin
bead of CA glue at the seams. Once the glue hardened after about 20 minutes, I
sanded the seams down using various grades of wet/dry sandpaper ranging from
400-1000 grit.
Next, I
added the intake into the fuselage and glued the halves together using a thin
bead of CA glue at the seams. Once the glue hardened after about 20 minutes, I
sanded the seams down using various grades of wet/dry sandpaper ranging from
400-1000 grit.
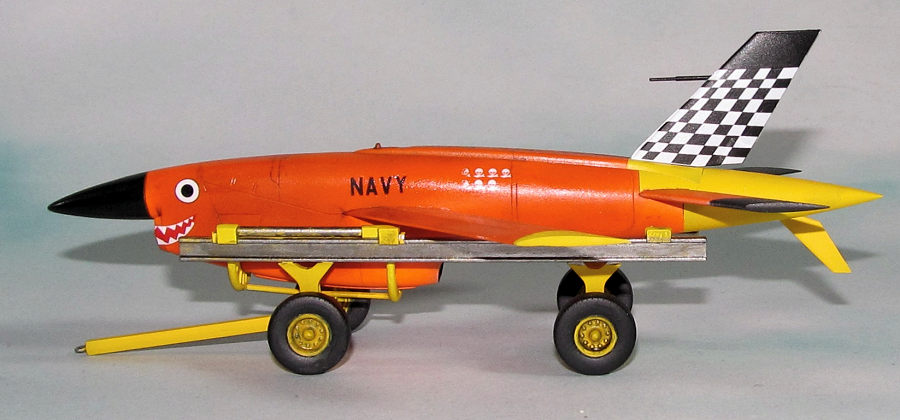
I left off remaining parts as the scheme I wanted to do (US Navy #2 with the checkerboard tail) was going to require a lot of masking.
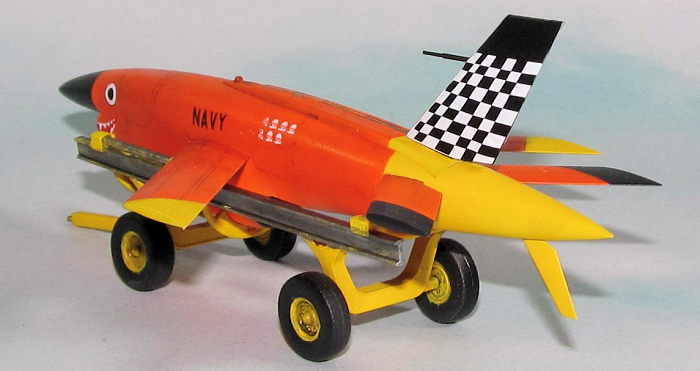
Finally, assembled the trolly. This turned out to be more difficult than the actual drone. Also, the parts of the trolly seemed to have more flash than the drone. Regardless, I managed to clean off the parts of flash then glue it together.
| COLORS & MARKINGS |
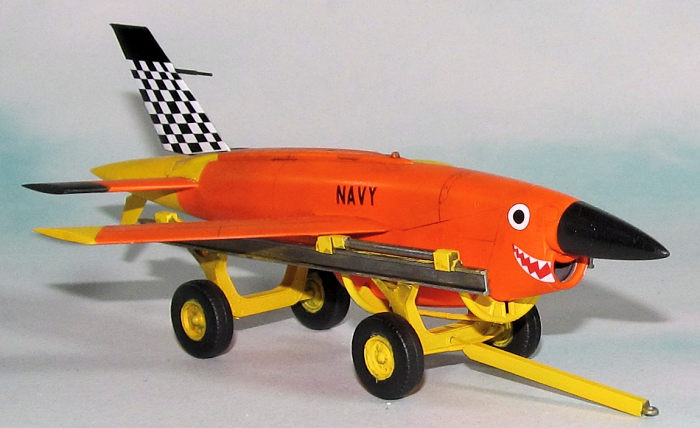
Both the trolly, drone fuselage, and various parts were first painted with black primer. The nose of the drone was then painted Gunze gloss black and masked off with tape as the majority of the parts were sprayed first with Tamiya Flat White to provide a good undercoat for the dayglo and/or yellow bits.
Once the undercoat was
dry, I sprayed on Vallejo Day glo, but I found the coverage kind of crappy. I
would later discover that I would need about 7-8 very thin coats to get the day
glo color to appear instead of the 2-3 that I had used. I decided to go with the
International Orange because it was close
 enough and I
was kind of running out of patience as I wanted to get this model done (I was
working on a bunch of models that turned out to be slow and frustrating at the
time.)
enough and I
was kind of running out of patience as I wanted to get this model done (I was
working on a bunch of models that turned out to be slow and frustrating at the
time.)
The orange areas of the drone parts were masked off on various parts and sprayed yellow or black depending on the color scheme.
The trolly was also sprayed with Tamiya flat white then when the coat was dry, Tamiya flat yellow. I brush painted the wheels with NATO black and the various parts with Vallejo Aluminum.
I sprayed on Gunze flat coat on the trolly and Vallejo Gloss onto the Firebee drone itself.
After the Firebee gloss coat was dry, I put on the decals. I thought the checker board decals on the tail would be a pain, but it turned out they went on without much difficulty. It was the mission markings that gave me the hardest time. I ended up having to trim the decal after it folded on itself and couldn’t unfold it without ruining part of it. I used MicroSet to get the decals to snuggle into the detail.
Once the decals were dry, I wiped down the drone parts and then added a light panel wash using Tamiya Enamel Panel Highlighter. The excess was removed using a paper towel dipped in some mineral spirit. As the last step parts were sprayed with flat coat.
The drone was completely assembled and placed in the cradle.
| CONCLUSIONS |
I highly recommend the Firebee as it is a simple kit to build and paint. A fine model of the first generation of military drones.
Dan Lee
4 June 2026 Copyright ModelingMadness.com. All rights reserved. No
reproduction in part or in whole without express permission from the editor.
If you would like your product reviewed fairly and fairly quickly, please
contact
the editor or see other details in the
Note to
Contributors.