Tamiya 1/48 Sea Harrier FRS.1
| KIT #: | 61026 |
| PRICE: | 69$ |
| DECALS: | Two options |
| REVIEWER: | Francisco Santoro |
| NOTES: |
Condor Decals 48047 |
| HISTORY |
 The
Sea Harrier is possibly the Royal Navy´s most famous aircraft. It originally
flew in 1978, and became famous for its battles during Guerra de Malvinas,
protecting the Royal Navy’s Task Force against Argentinian A-4 Skyhawks and
Mirage IIIEAs.
The
Sea Harrier is possibly the Royal Navy´s most famous aircraft. It originally
flew in 1978, and became famous for its battles during Guerra de Malvinas,
protecting the Royal Navy’s Task Force against Argentinian A-4 Skyhawks and
Mirage IIIEAs.
Its main novelty, compared to other aircraft, is its ability to take off and land vertically, negating the need for concrete runways, thanks to the aircraft’s pivoting exhausts.
Total production run was of 98 machines, including the single prototype. Major users were the British Royal Navy, and the Indian Navy.
| THE KIT |
 The
Tamiya Sea Harrier was released a year after Malvinas, in 1983. As such, the kit
is a vintage of its time, with a barren cockpit, a decal for the instrument
panel, raised panel lines, and playable features like an opening engine cover,
and movable exhausts. The plane is molded in light grey, and hard plastic. The
model has four sprues, three in grey and a single clear one. Decals are offered
for three Sea Harriers, one based at Yeovilton, and two serving on aircraft
carriers Hermes and Invincible. The three are painted in Extra Dark Sea Grey
uppers and white lower surfaces.
The
Tamiya Sea Harrier was released a year after Malvinas, in 1983. As such, the kit
is a vintage of its time, with a barren cockpit, a decal for the instrument
panel, raised panel lines, and playable features like an opening engine cover,
and movable exhausts. The plane is molded in light grey, and hard plastic. The
model has four sprues, three in grey and a single clear one. Decals are offered
for three Sea Harriers, one based at Yeovilton, and two serving on aircraft
carriers Hermes and Invincible. The three are painted in Extra Dark Sea Grey
uppers and white lower surfaces.
| CONSTRUCTION |
I
started by painting as many parts as I could on the sprues. Then I built the
cockpit, which was subsequently painted in Light Grey (Revell 76). The seat was
painted light grey with brown and black details. The fuselage was also painted
light grey where the cockpit would go. Once the paint had dried, I dry fitted
the fuselage halves, and then added the cockpit to the left side (the left half
has a pin where the cockpit is glued). The en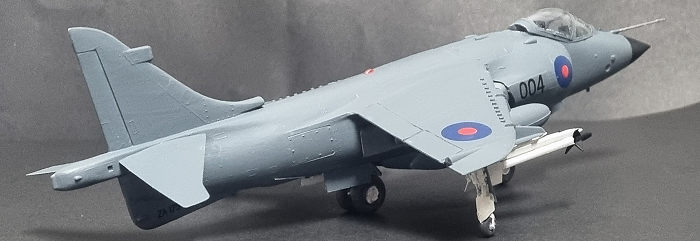 gine
was then assembled, trying to fit the moving arms of the exhausts free of glue,
so I could try to move them once the plane was finished. After that, I glued the
fuselage halves and added the intakes. Once the glue on the fuselage had dried,
I glued the Aden 30mm cannon pods and glued the speedbrake in the closed
position.
gine
was then assembled, trying to fit the moving arms of the exhausts free of glue,
so I could try to move them once the plane was finished. After that, I glued the
fuselage halves and added the intakes. Once the glue on the fuselage had dried,
I glued the Aden 30mm cannon pods and glued the speedbrake in the closed
position.
While the fuselage cured, I glued the wings and taped them together. A short dry fitting time showed the right wing fitted without gaps, while the left one would need filler. After that, I glued both wings to the fuselage, and then I added the horizontal stabilizers.
Next step was to add the engine cover. Dry fit showed i´d end up with a horrid step, and gaps, if I glued the cover as is. I decided to add four slivers of sprue onto each attaching point, effectively eliminating the former step.
| COLORS & MARKINGS |
 I used
Vallejo’s plastic putty to fill the most obvious gaps, such as the ones on the
fuselage, engine cover and wings. The model was then wiped with IPA before
painting. My Sea Harrier would be a veteran of 1982, so I chose Condor Decals
set 48047 “Guerra de Malvinas 3” in 1:48. This sheet came with options for three
different Sea Harriers. The entire model was painted in Extra Dark Sea Grey (Revell
79 Greyish Blue), and then glossed. Since the wings already come with open holes
to glue the supports for the fuel tanks and missiles, I decided to cut the lower
wing decals in half, and applied them. The decals then received some brushes
with Microsol. Once the decals had cured, I matt coated the model.
I used
Vallejo’s plastic putty to fill the most obvious gaps, such as the ones on the
fuselage, engine cover and wings. The model was then wiped with IPA before
painting. My Sea Harrier would be a veteran of 1982, so I chose Condor Decals
set 48047 “Guerra de Malvinas 3” in 1:48. This sheet came with options for three
different Sea Harriers. The entire model was painted in Extra Dark Sea Grey (Revell
79 Greyish Blue), and then glossed. Since the wings already come with open holes
to glue the supports for the fuel tanks and missiles, I decided to cut the lower
wing decals in half, and applied them. The decals then received some brushes
with Microsol. Once the decals had cured, I matt coated the model.
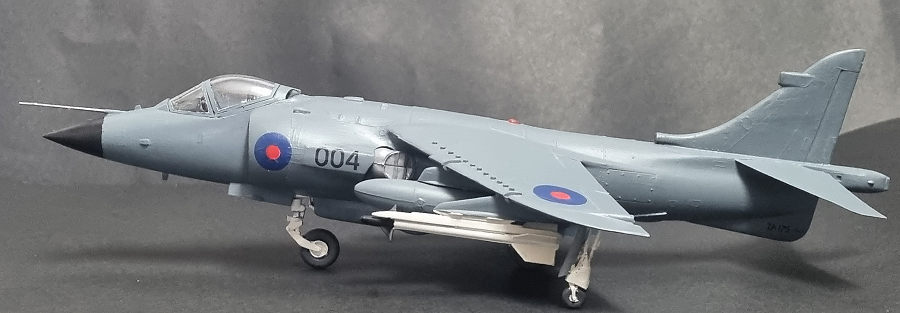
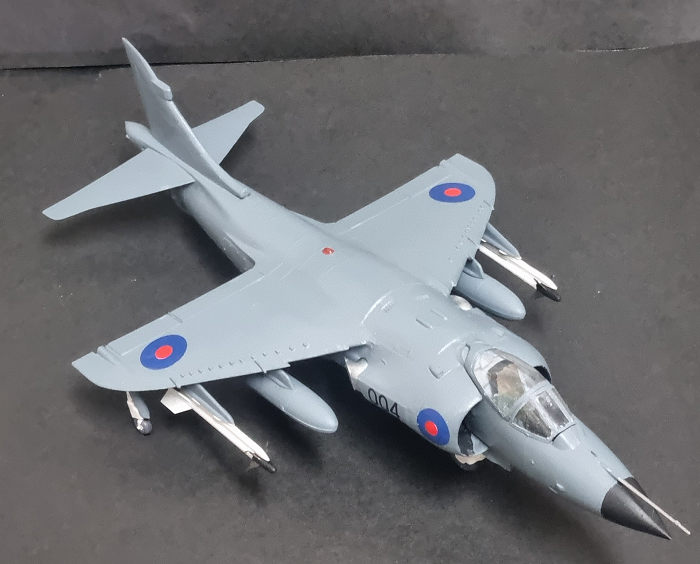
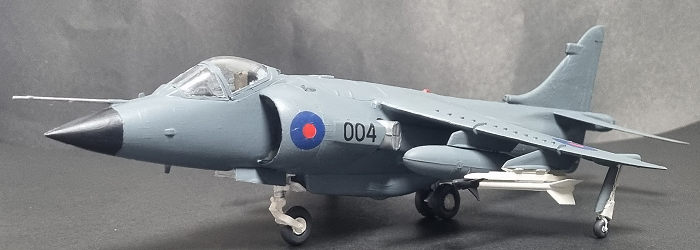
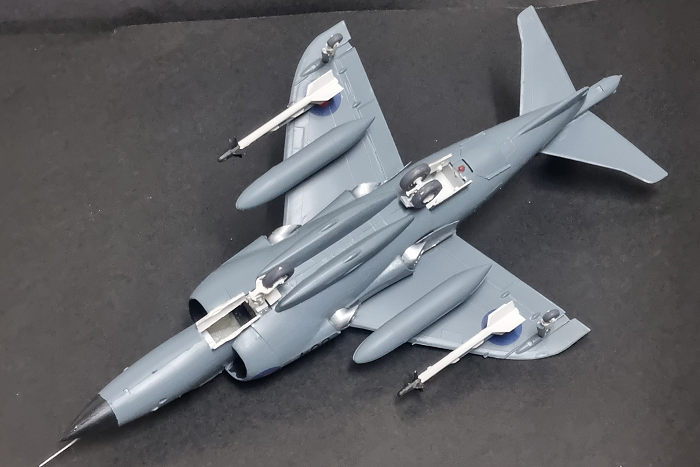
I painted the Wheel Wells matt white, added the fuel tanks, missiles, landing gear, gear doors and canopy. Like that, I could call my first Sea Harrier finished.
| CONCLUSIONS |
This kit is ancient, and has been effectively replaced by the Kinetic offering. The only way this kit can compete with the modern tooling is by checking prices, since it’s 40$ cheaper than Kinetic’s. As such, consider buying this kit if you enjoy quick builds and like detailing them.
2 November 2023 Copyright ModelingMadness.com. All rights reserved. No
reproduction in part or in whole without express permission. If you would like your product reviewed fairly and fairly quickly, please contact the editor or see other details in the
Note to
Contributors.