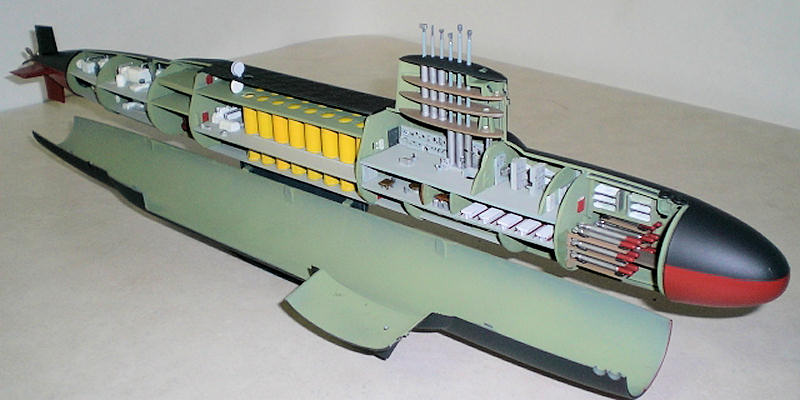
Renwal 1/200 USS George Washington
| KIT #: | 651 |
| PRICE: | $2.98 when new |
| DECALS: | One Option |
| REVIEWER: | Mike Kleber |
| NOTES: |
All parts injection
molded. (One small steel coil spring for missile launching.)
Final length: 24 inches.
Stand included. |

| HISTORY |
The USS George Washington was a nuclear powered ballistic missile submarine built by General Dynamics and commissioned by US Navy in 1959. It was the first submarine capable of launching an intermediate range ballistic missile (Polaris). The submarine was 380 feet long with a submerged displacement of 6,700 tons. She was de-commissioned in 1985.
| THE KIT |
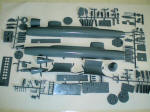 The kit consists of 124
discrete part numbers and a total piece-part count close to 200.
The kit had already been opened when I received it (thanks for the
kit Ray), so I do not know how the parts
 were originally packaged. The parts
are of good quality and molded in grey.
The model is designed with
the starboard half of the hull hinged, allowing it to swing down from the
closed position and reveal the complete interior of the submarine.
One missile tube can be assembled
with a small coil spring to allow for the launch of a missile provided with
the kit.
A detailed two sided
instruction sheet accompanies the kit. Part names are given and basic colors
are called out. Detailed art
work of the subject is on the box cover.
The small decal sheet contains the submarine’s name and number for the sail.
| CONSTRUCTION |
 Note:
To facilitate painting the exterior of the sub, I deviated from the
assembly sequence in the instructions.
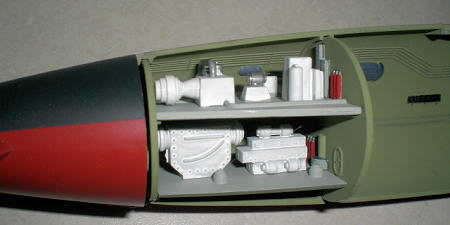
I started out by painting the bulkheads and
interior of both hull sections.
I fully assembled the stern section first
(instruction step #9). Next,
the hulls were taped together and the stern assembly and bow were glued in
place to the port hull only.
After the glue dried, the starboard hull was removed.
This process ensured the starboard hull would open and close with a
minimum of fit work later.
At this point, the submarine’s exterior was
painted. My thought was that it would be much easier to mask an empty port
hull rather than trying to mask over the interior bulkheads and other
fixings after assem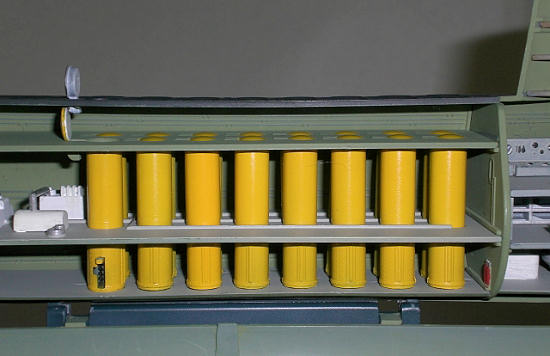 bly was complete!
With the kit completed, I believe this was the right move.
The other out of sequence
move was the installation the sail decks at the end of the build instead of
at step #2. My reasoning was
that all of the handling of the model during the build process would likely
have broken them off.
I test fit everything prior
to gluing. Many of the decks
needed to have their ends sanded in order to slide smoothly into the
bulkhead slots.
Assembly of the missile
tubes/decks required some extra work.
There are 3 decks and two rows of 8 tubes.
I drilled the mid-deck missile tube holes open to attain a loose slip
fit for the tubes. At this
point I painted the tubes and decks.
The ends of the decks needed to be sanded to obtain a loose sliding
fit into the bulkheads.
After an unsuccessful attempt
at assembling all 16 tubes with the decks at one time, a new strategy was
used. I first glued the 4
corner tub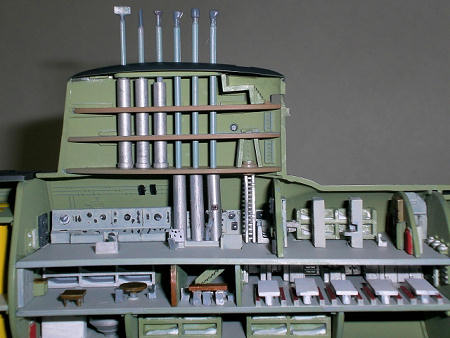 es into place on the lower deck, slid the mid deck over the tubes
(There is a rib on the tube about two thirds of the way down that the mid
deck rests on) and carefully slid this assembly temporarily into the hull to
attain proper alignment before the glue on the tubes was fully dried.
When the tubes were fully dried, the assembly was removed from the
hull. With the mid deck off the
tubes and working upside down, I dropped the remaining tubes in place in the
mid deck and placed the bottom deck over the bottoms of the tubes.
Turning the whole assembly right side up, each tube was tweaked as
needed to locate it properly in its spot on the lower deck.
I used a drop of white glue where the back side of each of the tubes
contacts the mid deck to hold them in place.
The tube/deck assembly and top missile deck were then glued into the
hull.
The stand required some extra effort as
well. The port half of the
stand glues to the port hull and the starboard half of the stand captures
the hinge pins on the starboard hull and is then glued to the port stand
half. Prior to gluing anything
here, a test-fit revealed that the starboard stand half needed to be trimmed
and sanded to allow the hulls to fit together.
I sanded the starboard hull ends a small amount as well to allow the
hull to rotate open smoothly.
| COLORS & MARKINGS |
Painting:
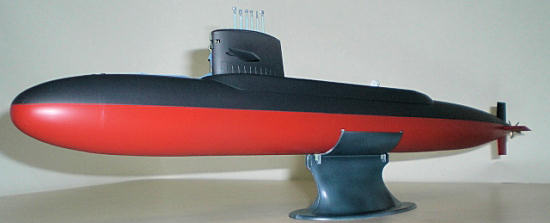
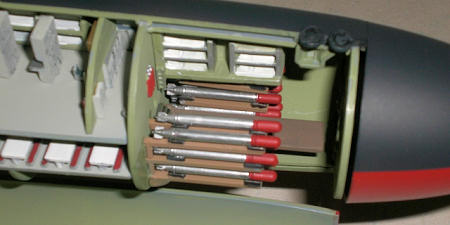 Plastic enamel was used for the entire
model. For the topside color I
added a bit of grey to black. For the lower surfaces anti-fouling paint, I added a bit of orange to red.
The instructions referenced colors for most
of the parts.
Decals:
Some photos I found showed no numbers painted on the sail so I opted to leave them off. With the hull in the open position, the exterior of the sail doesn’t show.
| CONCLUSIONS |

| REFERENCES |
Federation of American Scientists.
February 2010
If you would like your product reviewed fairly and quickly, please contact me or see other details in the Note to Contributors.