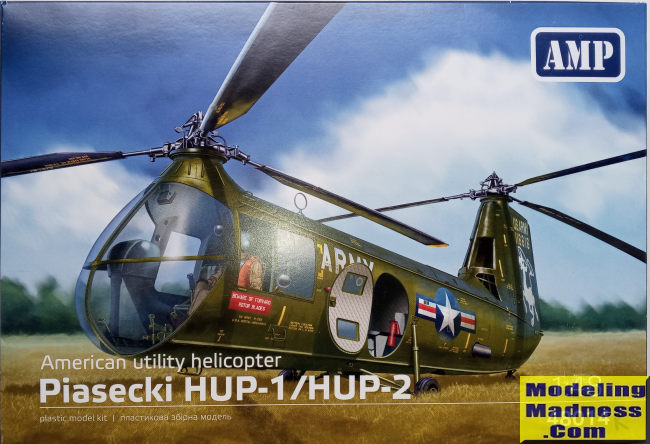
AMP 1/48 Piasecki HUP-1/2
| KIT #: | 48014R |
| PRICE: | $59.99 |
| DECALS: | Three options |
| REVIEWER: | Rob Hart |
| NOTES: | Short run with masks, photo-etch, and 3D printed parts |

| HISTORY |
The Piasecki HUP Retriever or H-25 Army mule is a compact, single engine, tandem rotor, utility helicopter. The design was the product of a U.S. Navy competition. The helicopter was produced from 1949 to 1954 and was also used by the U.S. Army and foreign navies. Total production was 339 examples divided between five variants. The last HUP-2 in U.S. service was phased out in 1964. The HUP was the first helicopter to be built with an autopilot and the first to perform a loop.
| THE KIT |
 The
Ukrainian firm, AMP, released a kit of the Piasecki HUP-1/HUP-2 in 2020. In
2023 they re-released the kit with the inclusion of 3D printed parts. The
re-released kit can be identified by the “R” suffix on the kit number and
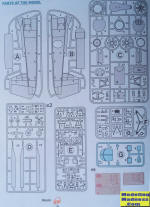
this kit is the subject of the preview. The kit has 113 gray styrene parts,
seven clear styrene parts, 71 photo-etched copper parts, and eight 3D
printed parts. Also included are a set of vinyl masks and a sheet of water
slide decals. The 3D printed parts are for the rotor heads, the engine, the
engine exhaust manifold, the engine mounts, and the engine bay cover. The
photo-etched parts provide the instrument panels, webbed cabin seat pads and
backs, cockpit seat side braces, rotor blade brackets, blade antennas,
exterior access panels, tow rings, instrument console tops and sides, and
anti-torque pedal foot pads. The 10 page color instruction booklet
illustrates 24 assembly steps and includes painting and decal placement
guides. Decals are provided for two U.S. Army H-25As in overall olive drab
and a U.S. Navy HUP-2 in overall yellow with an orange fuselage band.
Construction starts with assembling the cockpit and passenger/cargo cabin. Surprisingly, the tail wheel and the main wheels are the next sub-assemblies to be completed. Building the engine and engine bay are up next and this is where most of the 3d printed parts are used. Some extra care and effort here may payoff as the engine bay cover can displayed open or closed. All of the various cabin and tail rotor pylon windows join to the insides of the fuselage halves and need to be attached before the fuselage is closed. With cockpit, cabin, and engine bay completed, the fuselage is closed.. The rotors are now assembled. The instruction have you attach the completed rotors to the fuselage at this point, but personally, I would leave them off until the very last. The final assembly steps are for attaching the landing gear, canopy, fuselage access hatches, antennae, landing lights, and cabin door. At this point the builder can permanently attach the rotors or leave them loose for easier storage and/or transport.
| CONCLUSIONS |
This is a very detailed kit of a lesser known, but fairly widely used helicopter. It is not a kit for beginners due to the high parts count (many of which are very small), complex engineering, and mixed media materials. There are also rumors on some internet forums about shape issues on the fuselage and the top of the tail, I did not compare the kit parts to drawings or photos, so potential buyers may want to do additional research. Recommended for helicopter enthusiasts with experience building short run kits.
April 2025 Copyright ModelingMadness.com. All rights
reserved. No reproduction in part or in whole without express permission from
the editor. If you would like your product reviewed fairly and fairly quickly, please contact the editor
or see other details in the
Note to
Contributors. Back to the Main Page
Back to the Review
Index Page
Back to the Previews Index Page