Hobby Boss 1/48 FJ-4 Fury
| KIT #: | 80312 |
| PRICE: | $33.99 SRP |
| DECALS: | Two options |
| REVIEWER: | Tom Cleaver |
| NOTES: |
|
| HISTORY |
I
once listened to a very senior retired Marine aviator state unequivocally that
the best fighter he ever flew in his entire career - which spanned from World
War II to past Vietnam - was the North American FJ-4 "Fury."
He went so far as to say that "if they'd have put an
afterburner in it, I could've waxed any Crusader in the sky."

The FJ-4 was powered by
the same J-65 development of the English Sapphire jet engine as the FJ-3, with a
completely redesigned fuselage that was shorter and deeper than the previous
models, with a wing that was increased in size 40 percent, doing away completely
with the leading edge slats.
While the FJ-4 was heavier
 than the
earlier airplanes, with a resultant loss of climb rate and ceiling, that wing
gave it the maneuverability referred to by the retired Marine above, to "wax the
tail of anything in the sky."
than the
earlier airplanes, with a resultant loss of climb rate and ceiling, that wing
gave it the maneuverability referred to by the retired Marine above, to "wax the
tail of anything in the sky."
The FJ-4 was equipped
with four under wing pylons for external fuel and sidewinder missiles.
In 1957, the Fury was the first Navy attack aircraft to
fire the Bullpup air-to-ground radar- guided missile.
The FJ-4B was also cleared to carry a nuclear weapon.
| THE KIT |
 The Hobby
Boss FJ-4 was released in 2008.
As noted in other reviews, it is a simple design as a
kit with a minimum of parts, all cleanly molded.
The FJ-4 kit manages to give markings for one FJ-4 and
one FJ-4B, and the parts one would use for either are all in the kit.
There are better decals that were released by Eagle
Strike, but these are no longer in production.
The Hobby
Boss FJ-4 was released in 2008.
As noted in other reviews, it is a simple design as a
kit with a minimum of parts, all cleanly molded.
The FJ-4 kit manages to give markings for one FJ-4 and
one FJ-4B, and the parts one would use for either are all in the kit.
There are better decals that were released by Eagle
Strike, but these are no longer in production.
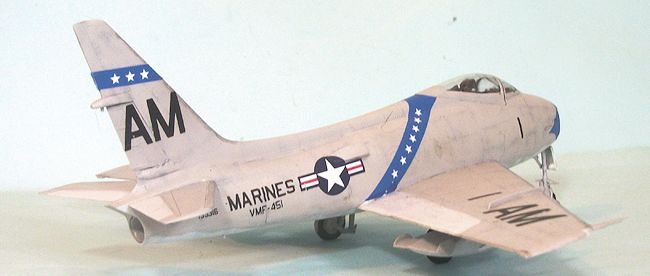
| CONSTRUCTION |
Assembly was far easier
than the GP kit, since everything fits.
It all fits better if you want to do it with the gear
doors and dive brakes open, and is "fiddly" if you want to close things up, as I
did.
If I was doing it
 again, I
would close up the main gear doors before assembling the wing, so I could glue
the doors closed from inside, which is far easier than doing it from the
outside, as I did.
again, I
would close up the main gear doors before assembling the wing, so I could glue
the doors closed from inside, which is far easier than doing it from the
outside, as I did.
If you choose to do the
FJ-4, you need to fill and sand off the dive brakes on the lower fuselage behind
the regular dive brakes.
You also want to use the nose gear door that does not
have the raised portion.
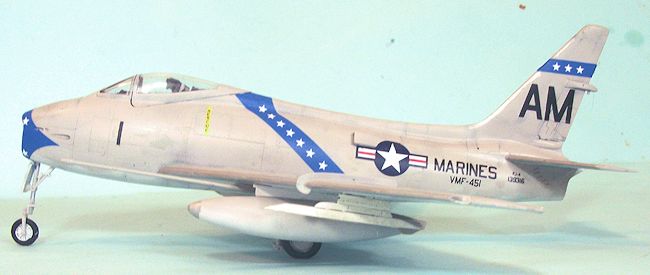
The cockpit is very
simple.
There is a very good AMS Resins cockpit set, which is still available.
I chose to close up the canopy, which I think gives a
better overal look, since the open canopy ruins the lines of the airplane. I
attached the landing gear before painting, and was pleased to note that the main
gear legs are correct (which they aren't in the GP kit).
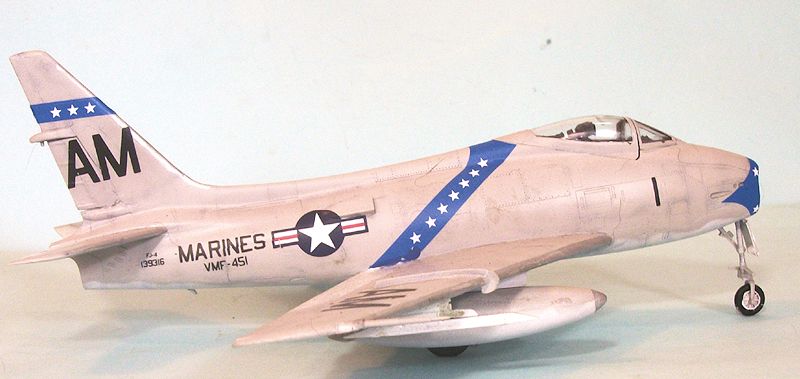
| COLORS & MARKINGS |
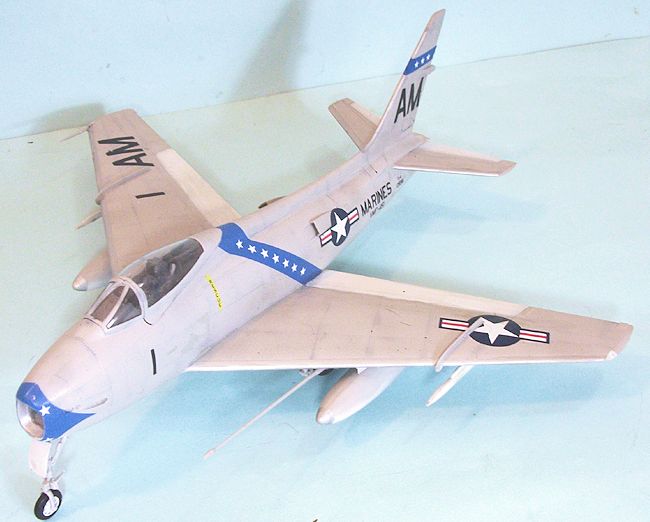
The decals go on
easily, but the stripe on the central fuselage is a little short.
I ended up matching the blue and filling in the narrow
area at the join of fuselage and wing.
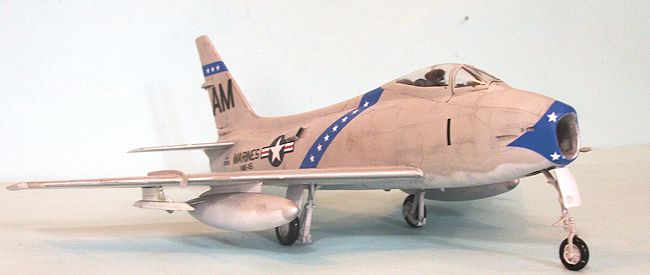
| CONCLUSIONS |
A far far better model
than the Grand Phoenix kit.
If you have an unbuilt Grand Phoenix kit, you can use
the resin cockpit in this kit to good effect.
The decals in that kit are also superior.
So far as I know, the kit is now out of production, but
I note that you can still find it in stock.
Recommended for fans of Fifties jets and Naval Air in
general.
May 2014
If you would like your product reviewed fairly and fairly quickly, please contact the editor or see other details in the Note to Contributors.