Art Model 1/72 MiG-9 (I-210)
|
KIT #: |
7207 |
|
PRICE: |
$17.00 when new |
|
DECALS: |
One option |
|
REVIEWER: |
Peter Burstow |
|
NOTES: |
Short run |
A re-engined
MiG-3, with a
Shvetsov
ASh-82
14 cylinder radial engine, a small series of five Mig-9s were built. The first
flew on 23 July 1941. Production was disrupted by the evacuation of the factory
in Moscow, and performance was disappointing.
On
June 1942, 3 Mig-9s were sent to the 34th IAP,6th PVO
Fighter corps on the Kalinin front for operational trials, returning to the OKB
in October 1942.
The
design lead to the much improved I-211.
There are
32 parts moulded in a dark grey, soft plastic. The plastic has a slightly rough
surface appearance, some flash, and a few lumps and bumps, but the pieces seem
to be well shaped and finely detailed with recessed lines. There is a fabric
effect on the ailerons and tailplane, and some detail in the cockpit and wheel
wells. Th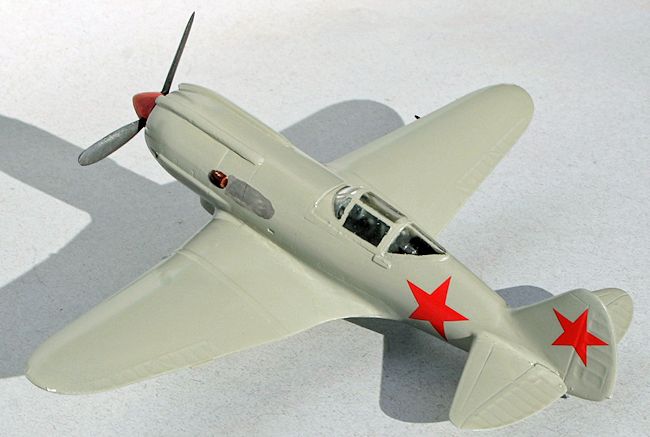 ere are small sink marks on several parts. There is a small mould joint
line on most parts. There are two pairs of tailplanes supplied, apparently
identical in shape, size and moulded detail. The kit is small, spanning 142 mm
or about 5½ inches.
ere are small sink marks on several parts. There is a small mould joint
line on most parts. There are two pairs of tailplanes supplied, apparently
identical in shape, size and moulded detail. The kit is small, spanning 142 mm
or about 5½ inches.
The
engine is supplied as a resin casting, in a rather attractive blue. It is nicely
detailed, but will be invisible in the tight cowling, behind a large spinner and
cooling fan. There are two clear parts, a canopy and a landing light lens. The
decal sheet has six plain red stars in two sizes, and three instrument panel
decals.
The
instruction sheet is a single page, clearly printed on glossy paper, with nine
photographic construction steps, a parts layout, a colour profile, and a short
history in English and Russian. The paint colours are specified as Humbrol
numbers only, there is no information about detail painting. The profile does
not match the box art, which shows an all-over light grey aircraft.
Building
commenced with the cockpit, the seat, side walls and a control column were added
to the floor. The instrument panel, seat back and panel with some unidentified
boxes were then fitted to the tub. The location of most of the parts was not
clear, and not obvious from the instructions. Much of the detail is visible
through the large cockpit opening.
 The
cockpit was painted light blue-grey to match the instrument decals background,
then given a dark wash to pick out the frame detail. I painted the control
column black, added the decals then some spare photo-etched belts, and picked
out details in silver.
The
cockpit was painted light blue-grey to match the instrument decals background,
then given a dark wash to pick out the frame detail. I painted the control
column black, added the decals then some spare photo-etched belts, and picked
out details in silver.
The
next sub-assembly was the propeller, comprising the blades, a spinner, hub and
cooling fan. A dry fit at this point confirmed the engine would be invisible, I
added a piece of card to accept the prop shaft. The engine would be better off
in my spares box till I find a project where it can be seen.
Then
closed up the fuselage halves, I had to trim the cockpit floor to make it fit.
The fuselage halves had a step
moulded into the joining faces, I didn't sand it off as that would have made the
fuselage far too narrow, instead I had to deal with a long, ugly and very
visible seam line. Needed a lot of filling and sanding to fix, losing all the
fine moulded detail in the process.
Then
added the one piece wing, again a fair bit of trimming and sanding the fuselage
wing roots for a good fit. Needed a lot of filler around the trailing edge of
the wing roots.
 The
tailplane halves had a moulded tab, but there was no corresponding slots in the
fuselage. I cut the tabs off and butt joined the tailplanes.
The
tailplane halves had a moulded tab, but there was no corresponding slots in the
fuselage. I cut the tabs off and butt joined the tailplanes.
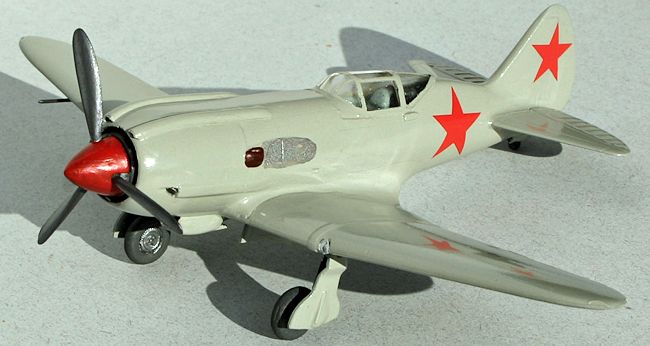
Then
I added two long fairings to the top of the cowling, they didn't fit well and
needed a bead of filler to fair them in. Then added what appears to be a
radiator (on an air-cooled engine?) under the cowling. Again it needed filler to
close up the joints.
Gave
the very clear cockpit canopy a dip in floor wax, then added it to the fuselage.
I needed to trim the opening a little to help the fit. The framing lines were
clear and sharp, and moulded on the inside as well as the outside of the canopy.
The inside and outside frame didn't match up very well.
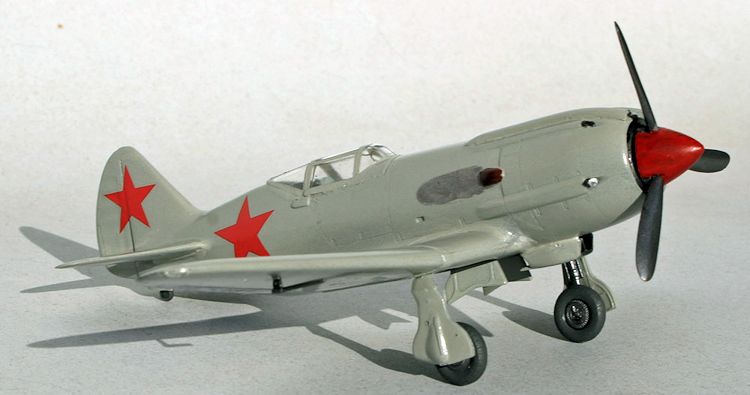
 After
masking the cockpit, priming and glitch repair, I painted the model overall
medium sea grey using a Tamiya rattle can AS-11.
After
masking the cockpit, priming and glitch repair, I painted the model overall
medium sea grey using a Tamiya rattle can AS-11.
The
red star decals worked with no problem on the semi-gloss surface. I used a
little setting liquid to make sure they stayed put. Once dry they were sealed
with floor polish.
The last bits were to
add
the undercarriage legs, wheels and doors. Then the propeller assembly and
finally a pitot. A little bit of touch up and detail
painting, then an overall coat of floor polish and it was made.
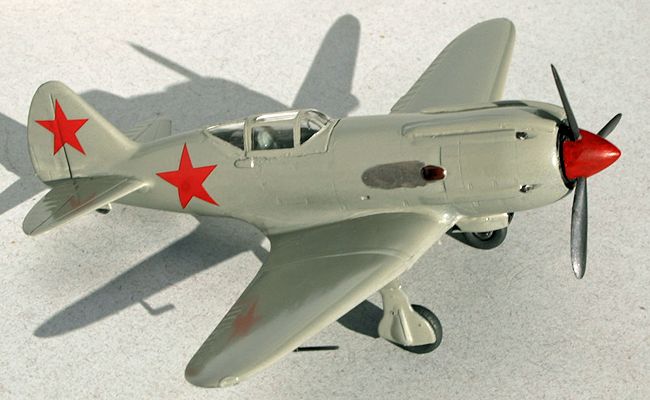
It
turned out a nice little model, and a good exercise of basic modelling skills.
Recommended for all except beginners. Needed a large
amount of joint filling and sanding, more than usual for a short run kit. The
kit required plenty of dry-fitting and trimming to get it all together.
http://en.wikipedia.org/wiki/Mikoyan-Gurevich_I-210
(redirects to MiG-3)
Yefim
Gordon & Keith Dexter, Mikoyan's Piston Engined Fighters, Red Star Vol 13,
Midland, Hinckley, 2003.
William
Green, Fighters Vol 3, Warplanes of the Second World War, Macdonald, London 1961
(Listed as MiG-5)
Kit
Instructions.
Peter Burstow
February 2014
If you would like your product reviewed fairly and fairly quickly, please
contact
the editor or see other details in the
Note to
Contributors.
Back to the Main Page
Back to the Review
Index Page