Eduard 1/48 F6F-3 Hellcat
| KIT #: | 8227 |
| PRICE: | $55.00 |
| DECALS: | Five options |
| REVIEWER: | David C Jones |
| NOTES: | Ultracast wheels and prop. |
| HISTORY |
 Grumman’s F6F
Hellcat is widely known for its contributions in the Pacific Theatre of
Operations and needs little introduction. Replacing the Grumman F4F Wildcat on
carrier decks, it racked up an 18 to 1 kill ratio against the Japanese, and many
aces flew the type. Hellcats were credited with 5,223 kills during WW2.
Grumman’s F6F
Hellcat is widely known for its contributions in the Pacific Theatre of
Operations and needs little introduction. Replacing the Grumman F4F Wildcat on
carrier decks, it racked up an 18 to 1 kill ratio against the Japanese, and many
aces flew the type. Hellcats were credited with 5,223 kills during WW2.
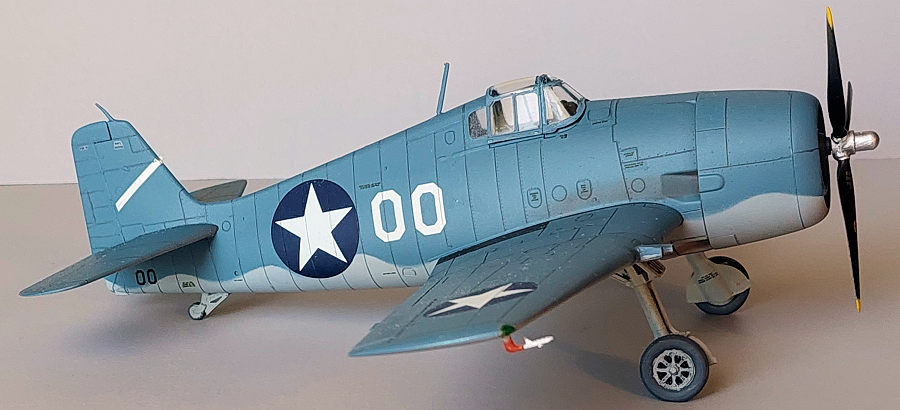
I wanted to do an early aircraft in Blue Gray over Gray just to be a little different. I chose BuNo. 4872 in May of 1943 aboard U.S.S. Yorktown. It was flown by Commander James H. Flatley who was the Commander Air Group on the Yorktown at the time.
| THE KIT |
 The F6F has
been kitted by many companies include Hasegawa and Otaki among others. The
Eduard kit is very simple and straightforward in contrast with their other kits.
It has photo etch parts in the cockpit, but they are mostly hidden under the
closed canopy.
The F6F has
been kitted by many companies include Hasegawa and Otaki among others. The
Eduard kit is very simple and straightforward in contrast with their other kits.
It has photo etch parts in the cockpit, but they are mostly hidden under the
closed canopy.
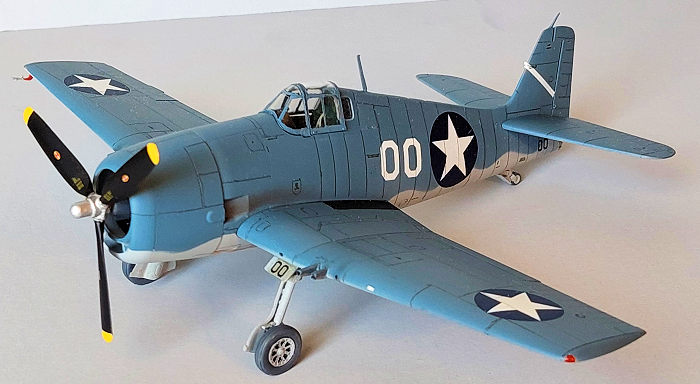
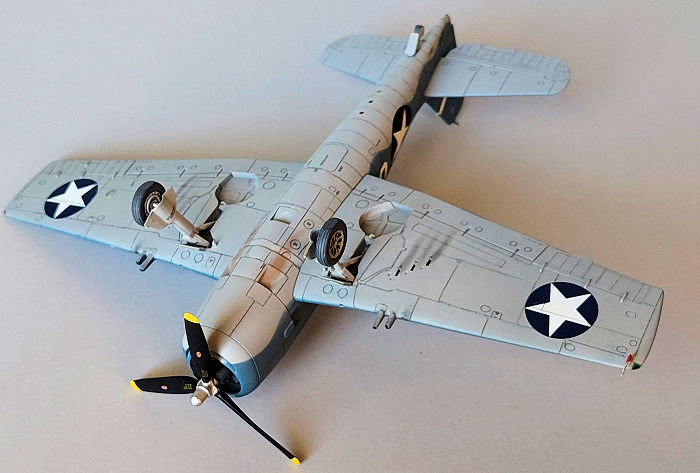
The wheels and propellor are weak points but there are several aftermarket options to remedy these. I chose my go-to, Ultracast, to replace them. This kit was as close to out-of-the-box as I get.
| CONSTRUCTION |
 The kit
basically falls together if you follow the instructions. The major deviations
from the instruction manual on the very early F6F were colors. The first Hellcat
cockpits were bronze green instead of interior green and other interior areas
were light gray.
The kit
basically falls together if you follow the instructions. The major deviations
from the instruction manual on the very early F6F were colors. The first Hellcat
cockpits were bronze green instead of interior green and other interior areas
were light gray.
Aside from replacing the wheels and prop, I added fairings crafted from white plastic around the machine guns and added a swept forward radio mast like the F4F Wildcat had. Both features were phased out quickly in service so check your references.
| COLORS & MARKINGS |
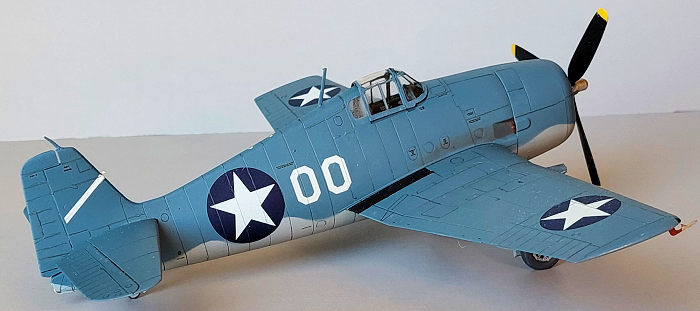
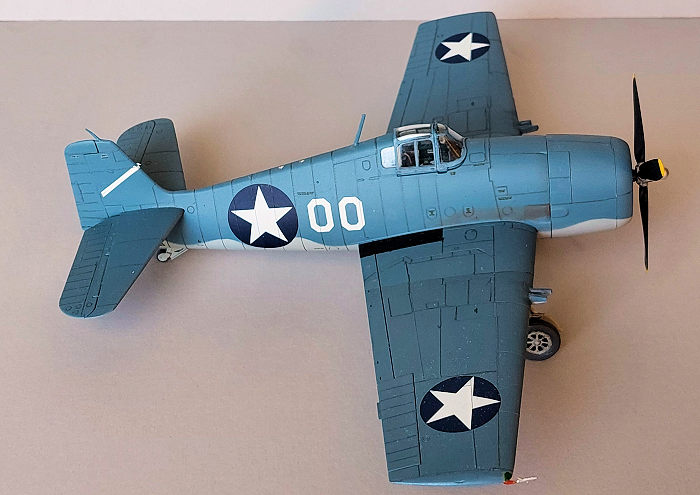 The model was
painted with a combination of Tamiya Acrylic paints. The Blue Gray and Light
Gray I already had mixed and on hand from previous U.S. Navy builds, so the
whole process painting and masking the camouflage was simple and done in a day.
After touching up, I let everything dry for 24 hours. Then I applied a Tamiya
Gloss coat and added the decals. They were spares from the decal dungeon and
went on without issue. Afterwards I sealed decals with Tamiya Flat.
The model was
painted with a combination of Tamiya Acrylic paints. The Blue Gray and Light
Gray I already had mixed and on hand from previous U.S. Navy builds, so the
whole process painting and masking the camouflage was simple and done in a day.
After touching up, I let everything dry for 24 hours. Then I applied a Tamiya
Gloss coat and added the decals. They were spares from the decal dungeon and
went on without issue. Afterwards I sealed decals with Tamiya Flat.
As the real airplane was brand new in the photos, I kept weathering to a minimum. I used pastel chalks and pencils to simulate exhaust stains and soot around the guns. Afterwards it was sealed with another coat of Tamiya Flat.
| CONCLUSIONS |
The Eduard Hellcat is a nice simple ‘therapy build’ between other more complex kits and can be completed in a weekend. The kit is well engineered and simple enough for beginners as well. It went together without any real issues and really captures the look of the Hellcat. Highly recommended.
| REFERENCES |
There are lots of Hellcat books out there but the primary ones I used for this model are:
F6F Hellcat in Action by Jim Sullivan
F6F Hellcat in Detail & Scale by Bert Kinzey
Happy Modeling!
3 November 2025
Copyright ModelingMadness.com. All rights reserved. No reproduction in part or in whole without express permission from the editor.
If you would like your product reviewed fairly and fairly quickly, please contact the editor or see other details in the Note to Contributors.