Hobbycraft 1/48 Hawk 75 (P-36)
| KIT #: | HC1415 |
| PRICE: | $25.29 |
| DECALS: | Six options |
| REVIEWER: | H.Davis Gandees |
| NOTES: | The options for 6 aircraft were a nice feature. Manufacturers should offer more than just one or two aircraft options |

| HISTORY |
 I decided to
build something different from my usual WWII aircraft and thought this colorful
fighter would look good on the contest table and it did at the PAMSCON 2024
contest winning a bronze award.
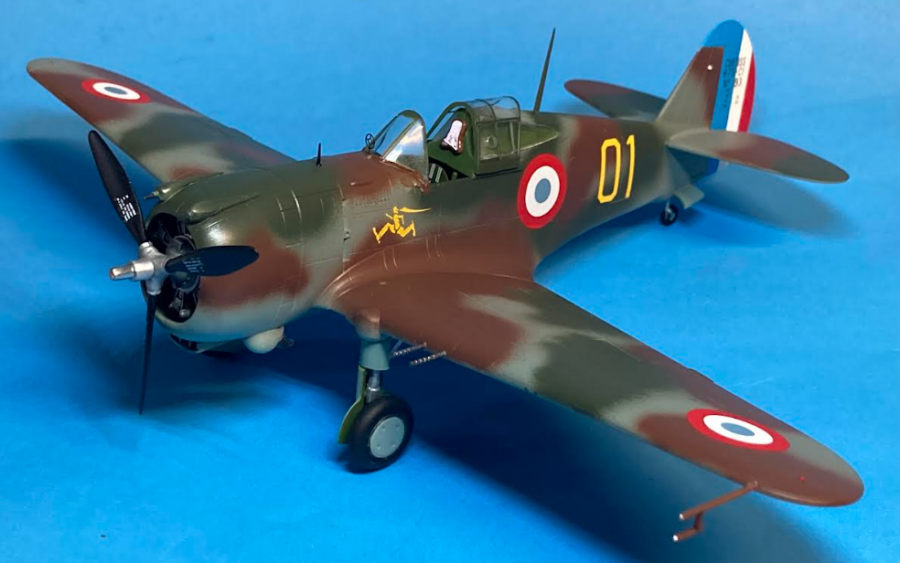
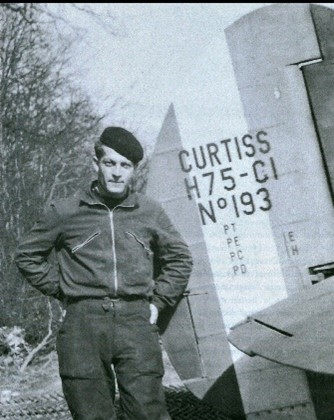
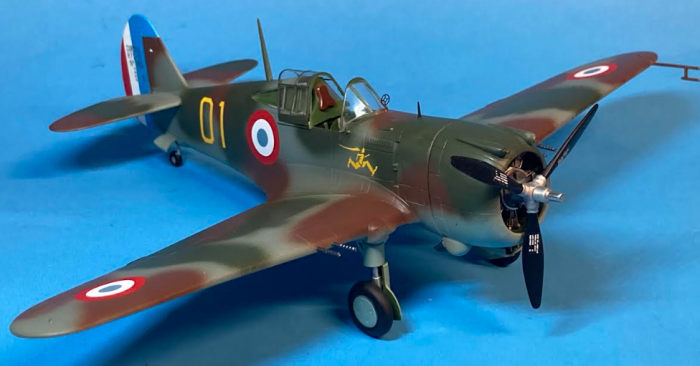
This model represents the Curtiss H-75C-1 flown by French ace Max Vincotte during the Battle of France, May-June 1940. He also flew it with the Vichy French in N. Africa in1941. Vincotte later flew P-47s with the Free French and ended WWII with 5 confirmed victories. The Curtiss Hawks were another maligned aircraft of WWII, but during my research I learned the French shot down over 200 Luftwaffe aircraft flying the H-75 including Werner Molders a future Luftwaffe ace. Although underpowered the Hawks could out-turn anything the Germans had. The French Hawks claimed a kill ratio of 2.35:1 during the short Battle of France.
| THE KIT |
The Hobbycraft line of P-36s began in the early 1990s with multiple releases of export versions of the American P-36. The five-page instruction sheet was very clear and color callouts were good. This is kit HC 1415 that included decals for 6 aircraft. It has been in my stash for 15 years.
| CONSTRUCTION |
 The kit is
pretty basic, but devoid of serious flash or sink marks. My intension was to
build it out-of-box. The shape is quite correct, and the panel lines well done.
The only problem I had with the kit was the engine mount was too short leaving
the engine too deep in the cowling. The solution was to add a 3/16-inch spacer
that moved the crankcase nose even with the cowling lip. The R-1830 engine was
painted engine gray with aluminum cylinders that were given a black wash to
bring out detail.
The sparse cockpit was painted interior green and dry brushed lightly with aluminum. The leather headrest was painted brown, and a decal seatbelt/harness was applied. The fuselage halves were closed up with little putty needed. The interior of the cowling was painted interior green, and the engine and interior cowling were masked with foam and tape in preparation to paint the model. The chin scoop and exhaust fairings were installed, and the exhaust stacks painted gunmetal with light steel dry brushing and left to install after the model was painted.
Before the wings were put together the machine gun ejector slots were drilled out and shaped with a small file. The assembled one-piece wing was attached to the fuselage and there was a large gap at the front that required filling. I positioned the model on its wingtips with lead weights to compress the wing gaps and provide the proper dihedral. The horizontal stabilizers were dry fit but left off until after painting the model. The wheel wells were painted interior green and masked.
| COLORS & MARKINGS |
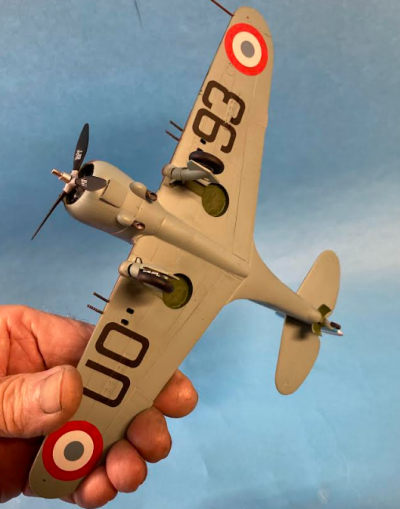
The model was thoroughly cleaned with alcohol to remove any dust or other contamination. The cockpit was masked with a block of foam and the freehand airbrushing began. Since the demise of Model Master paint, I have switched to Tamiya acrylics and have been very pleased with them. My research indicated there were no two H-75s exactly alike. My plan was to replicate the beautiful box art. The underside was painted XF-23 Light Blue. The upper surfaces were sprayed with XF-25 Light Sea Gray, XF-13 JA Green and X-9 Brown with soft edges.
 Eduard masks
were used for the wheels/tires as well as the canopy. I think masks are one of
the greatest additions to the modeling hobby, providing nice sharp edges!
The rudder tricolor was masked and painted rather than deal with the kit decal that I can never make look right. When the model was dry a wet coat of Tamiya TS-13 Clear Gloss was applied and allowed to dry overnight. The next day, I began my favorite part of modeling. Decaling began and took most of the day to complete. The 20-year-old kit decals were perfect. I find using warm water makes old decals separate from the carrier paper easier and they usually donít crack when positioning.
The prop was painted gloss black, and the prop data info applied but no logos or yellow tips as period photos show. The hub was painted aluminum and the prop dome chrome.
The decals were left to dry overnight and then a final coat of Tamiya Semi-gloss Clear was applied leaving the desired finish.
The landing gear was painted aluminum and the oleos chrome. The various struts and gear doors were applied, and the main landing gear and tail wheel attached and carefully aligned. Lastly, the headrest, machine gun barrels, pitot, ring and bead sight, and radio mast were installed and the red, green and white nav lights on the tail were painted with a sharp toothpick, finishing the model in 35 hours.
| CONCLUSIONS |
This was a pleasurable build, and I now have a colorful WWII French fighter in my display case. The Hobbycraft kits are easy to build, and I recommend this one for a beginning modeler.
| REFERENCES |
Osprey #80 P-36 Hawk Aces of World War 2
21 March 2025
Copyright ModelingMadness.com. All rights reserved. No reproduction in part or in whole without express permission.
If you would like your product reviewed fairly and fairly quickly, please contact the editor or see other details in the Note to Contributors.