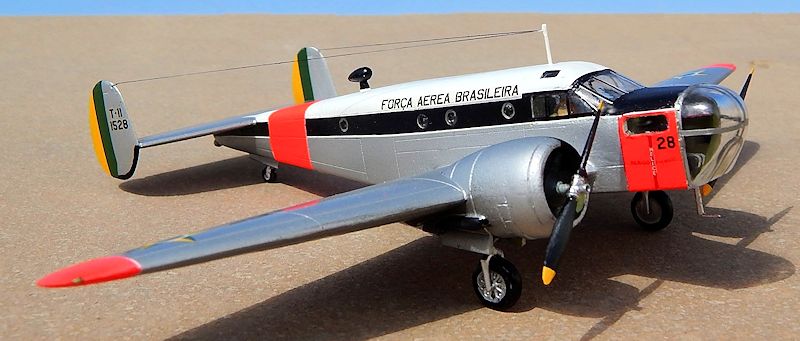
Matchbox 1/72 AT-11 Kansan
| KIT #: | 40201 |
| PRICE: | 7 Euros |
| DECALS: | One option |
| REVIEWER: | Carmel J. Attard |
| NOTES: | Reboxed Pioneer kit from 1995. |

| HISTORY |
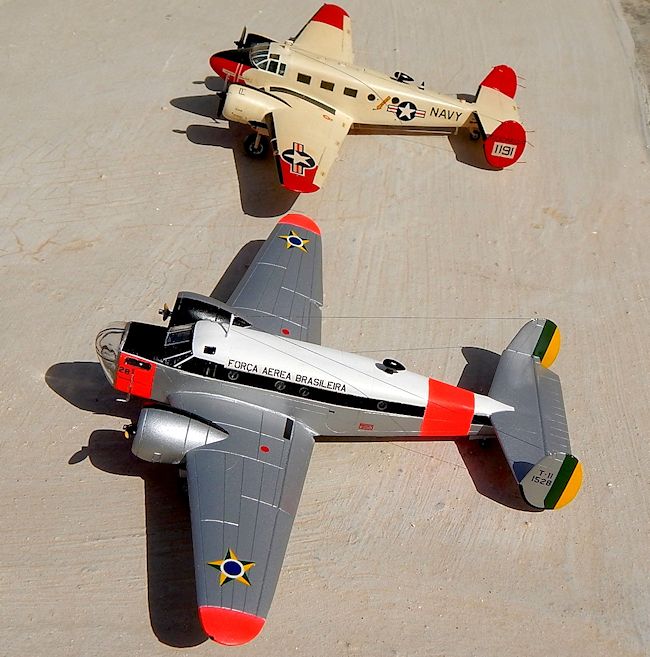 The United States forces used purchase-built impressed model 18s as light
transports under the overall designation C-45 (1,401 USAAF aircraft) and JRB
(377 US Navy aircraft). The same basic airframe was used in considerably larger
numbers as a trainer.
| THE KIT |
 The Matchbox kit of the Kansan has the definite hallmarks of a similar injected
kit released by Pioneer 2 of some 24 years ago. The kit also has close
resemblance to the C-45 released by same brand. A basic mold appears to be
adapted to a type used for navigation, bombing trainer. The kit could have also
been adopted for gunnery trainer if a gun turret is applied to the upper
fuselage.
The principal difference from the C45 was the large glazed nose and the round
windows rather than the rectangular ones. The fit of parts was reasonable with
heavy engraved panel line detail and clean mold parts.
Overall the kit is acceptable in spite of its few short falls such as lack of
engine exhaust pipes, missing rectangular cabin roof window and the detail is
confined to a floor, two bulkheads, 2 seats, and two control column. Behind the
big glass nose there is nothing to display, which should at least have a
bombsight and some side console instruments.
| CONSTRUCTION |
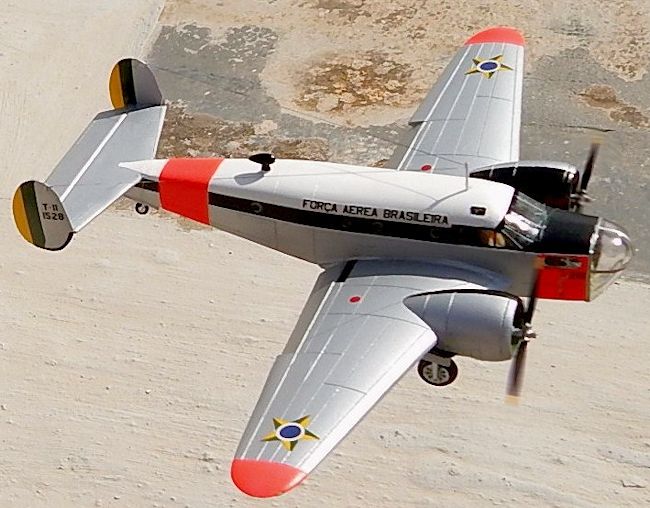
The excellent box art illustration was a good source of reference to show
details of the aircraft as operated by the Brazilian AF for which decals are
issued. Coincidentally I came across a photo of the
 very same Kansan in an old
issue of Air Pictorial with a difference that at the time the picture was taken
the aircraft carried high visibility day glow areas and in my opinion this made
the kit alive.
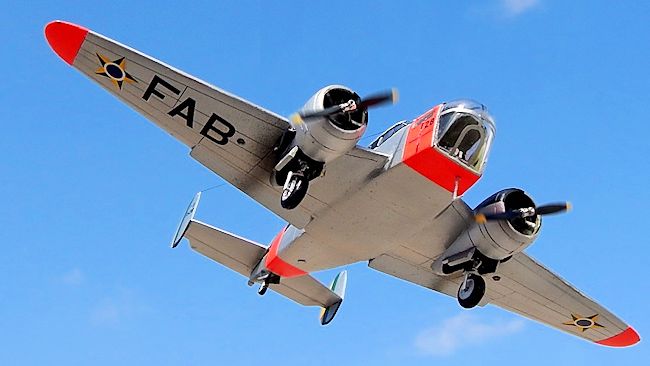
The following is the extra work done to the kit: Flaps were parted from the
upper and lower wing parts, the upper wing flap retained while the lower wing
flap part was replaced with a much thinner part from plastic card which was then
glued to the upper wing flap. When wings were assembled the flaps were then
glued at a lowered angle.
Exhaust pipes were shaped out of stretch sprue and the end made hollow using a
hand drill. The engine flaps were refreshed as these were very lightly scribed.
The aft tail wheel doors were replaced with ones made from thin plastic.
Two rectangular windows were marked, drilled and shaped with a fine rectangular
file. Other extra works involved adding two aerials and wireless and added two
wing tip lights. The main wheel well doors were also engraved for detail. The
rest of assembly followed the kit instructions.
| COLORS & MARKINGS |
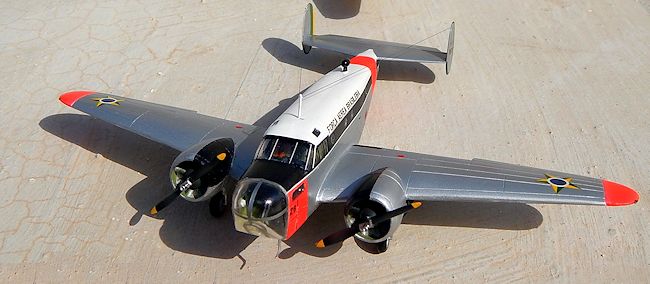
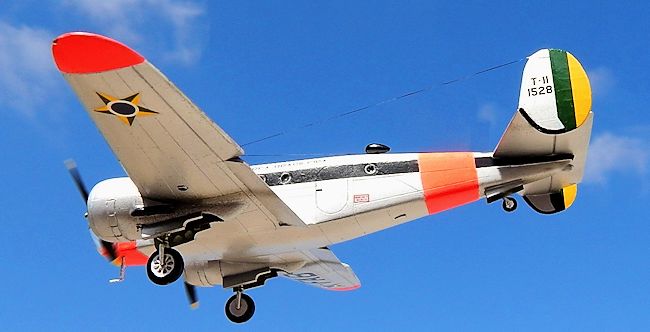 Areas to receive da-glo
were first given a white undercoat and allowed to dry, then airbrushed in da-glo
red /orange and then masked using Tamiya tape. The rest of kit was painted white
upper fuselage and silver for the rest of wings and fuselage. All of the
interior and wheel wells were painted cockpit green. Anti glare panels at front
of cockpit and side of engine cowlings were painted semi matt black. Other areas
were given a coat of Klear. The kit decals were good and applied with no
difficulty.
| CONCLUSIONS |
Completing the AT-11 in Brazilian Air force colors was a change from the normal USAF or US Navy livery that one that we normally see on the type. In fact, discovering South American aircraft opens a wide variety of western type aircraft finished in colourful post war air force liveries.
October 2014
If you would like your product reviewed fairly and fairly quickly, please contact the editor or see other details in the Note to Contributors.