| KIT #: | A05126 |
| PRICE: | $23.00 |
| DECALS: | Three options |
| REVIEWER: | Francisco Santoro |
| NOTES: |
| HISTORY |
 From the
kit instructions: "The Supermarine Spitfire is arguably the most famous and most
beautiful fighter aircraft ever to grace the skies. First flying in 1936, R.J
Mitchell's masterpieces was, by 1940, the interceptor of choice for Fighter
Command, and the envy of many of the world's air arms. Powered by the equally
famous Rolls Royce Merlin V12, the Spitfire was capable of speeds of over 360mph
and had exceptional maneuverability. The Spitfire was an excellent dogfighter,
with its ability to turn inside an opponent a great strength in the struggles
over Southern England and English Channel during the Battle of Britain in the
Summer of 1940. The Spitfire Mk.I has come to be seen as a symbol of "The Few,"
vital to the defence of the United Kingdom against the previously all-conquering
Luftwaffe. Along with the Hurricane, it cemented its place in history during the
Battle of Britain and continues now to be a hugely desirable "warbird" at air
shows."
From the
kit instructions: "The Supermarine Spitfire is arguably the most famous and most
beautiful fighter aircraft ever to grace the skies. First flying in 1936, R.J
Mitchell's masterpieces was, by 1940, the interceptor of choice for Fighter
Command, and the envy of many of the world's air arms. Powered by the equally
famous Rolls Royce Merlin V12, the Spitfire was capable of speeds of over 360mph
and had exceptional maneuverability. The Spitfire was an excellent dogfighter,
with its ability to turn inside an opponent a great strength in the struggles
over Southern England and English Channel during the Battle of Britain in the
Summer of 1940. The Spitfire Mk.I has come to be seen as a symbol of "The Few,"
vital to the defence of the United Kingdom against the previously all-conquering
Luftwaffe. Along with the Hurricane, it cemented its place in history during the
Battle of Britain and continues now to be a hugely desirable "warbird" at air
shows."
| THE KIT |
Airfix's newly tooled Spitfire comes in three sprues of soft light grey plastic, with a clear sprue coming separately bagged. The parts are well moulded with little flash present. Sprue gates are thick and on the smaller parts that may be an issue with breaking them.
 Instructions
consist of a booklet with 62 steps in black and white. Steps previously done are
marked in red, to avoid confusion with between steps.
Instructions
consist of a booklet with 62 steps in black and white. Steps previously done are
marked in red, to avoid confusion with between steps.
There're three decal options present:
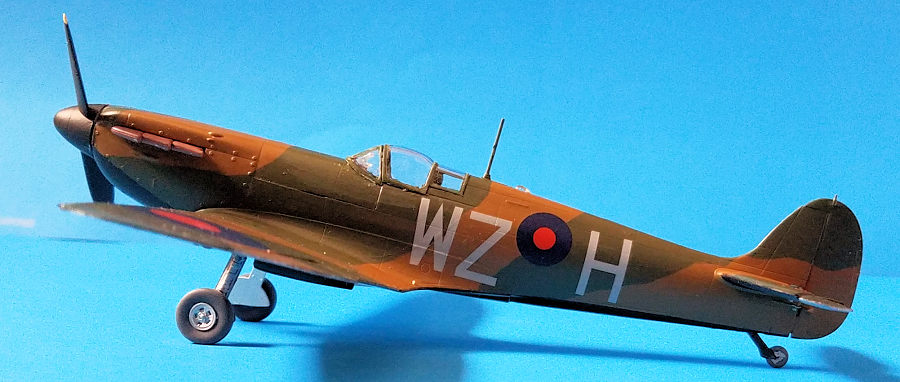
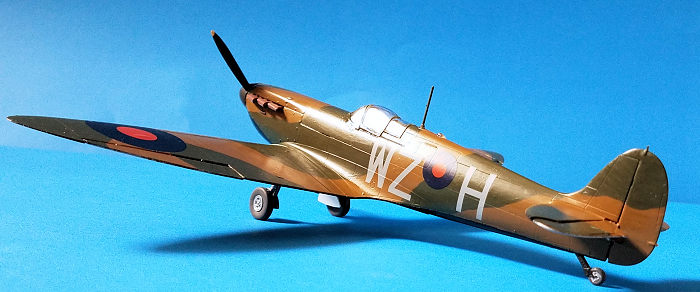
Supermarine Spitfire Mk.I WZoH, 19th Squadron, Duxford, August 1938. Painted in Dark Earth, Dark Green, with the undersides in white and black.
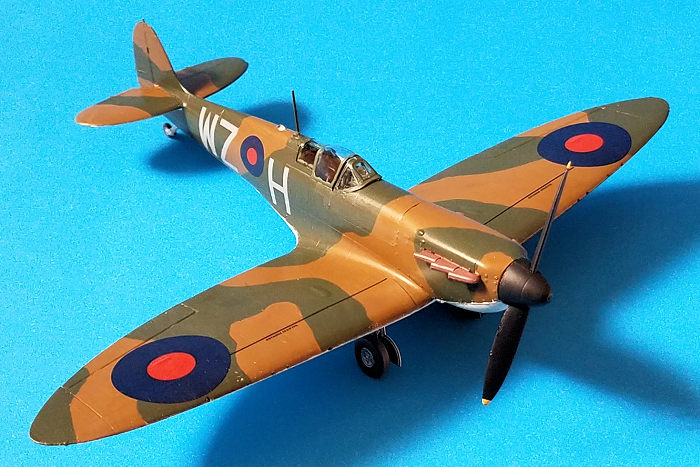
Supermarine Spitfire Mk.I LVoN, 57th OTU, Hawarden, 1941. Painted in Dark Earth, Dark Green and Sky undersides. It also has a yellow nose.
Supermarine Spitfire Mk.I LOoG, 602nd Squadron, Westhampnett, August 1940. Painted in Dark Green, Dark Earth and Sky undersides.
| CONSTRUCTION |
I began by painting all the cockpit parts with
Interior Green, then I built up the cockpit. Due to the tight tolerances of the
kit parts, I had some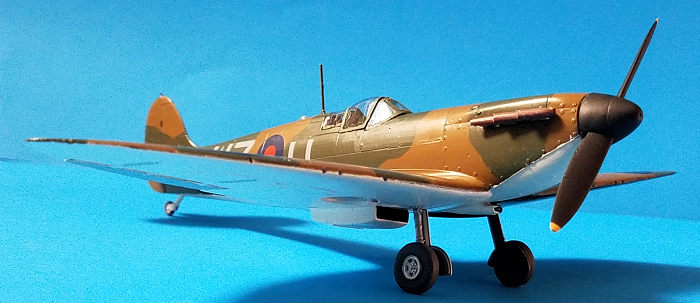 troubles in trying to join some of the parts, but I successfully had a fully
built cockpit by the end of the day. The cockpit was then glued to the fuselage
and left to dry. When dried, I joined both fuselage halves together.
troubles in trying to join some of the parts, but I successfully had a fully
built cockpit by the end of the day. The cockpit was then glued to the fuselage
and left to dry. When dried, I joined both fuselage halves together.
I then began work on the wings. Airfix offers you the option of displaying the gun panels open or closed, and it indicates what you have to do on step 20 of the instructions. I was building an aircraft with everything closed, so I dismissed steps 26 to 38. Work on the wings actually began with painting the main spar in aluminium, together with the placement of the wheel wells. In this step you have to glue the support struts for the landing gear, something I did and left to dry. Then, the two upper halves of the wings were glued to the lower half, and I had a fully assembled wing. When the wings were dry, I glued them to the fuselage, a process which was uneventful. The horizontal stabilizers were then glued to the aircraft. With that done, I began planning the painting stage.
| COLORS & MARKINGS |
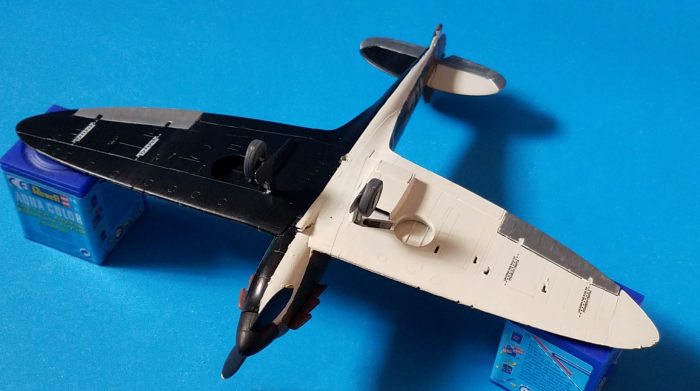 I traced
the camouflage pattern first with a pencil. Then, I painted the Dark Earth (Revell
82) in several thin coats, when I achieved full opacity, I left the paint to
cure, and then painted the Dark Green (Revell 68). After the dark green had
dried, I masked the undersides and painted them with white first, and then
black. The model was then coated with two coats of Revell's gloss varnish for
the decals.
I traced
the camouflage pattern first with a pencil. Then, I painted the Dark Earth (Revell
82) in several thin coats, when I achieved full opacity, I left the paint to
cure, and then painted the Dark Green (Revell 68). After the dark green had
dried, I masked the undersides and painted them with white first, and then
black. The model was then coated with two coats of Revell's gloss varnish for
the decals.
My option was the first one, Spitfire Mk.I from the 19th Squadron with the Watts two bladed propeller, so I used the decals of that option. They performed well and settled down nicely into the panel lines. After the decals were dry, I applied two coats of Revell's matt varnish.
I painted the landing gear, wheels and canopy, and glued all of them to their respective areas on the model. With that done, the model was finished.
| CONCLUSIONS |
Airfix's Spitfire is an easy assembly kit which shouldn´t surprise the modeller with moderate experience. The three decal options provide a good value for the money.
7 August 2020
Copyright ModelingMadness.com
If you would like your product reviewed fairly and fairly quickly, please contact the editor or see other details in the Note to Contributors.
Back to the Main Page Back to the Review Index Page Back to the Previews Index Page