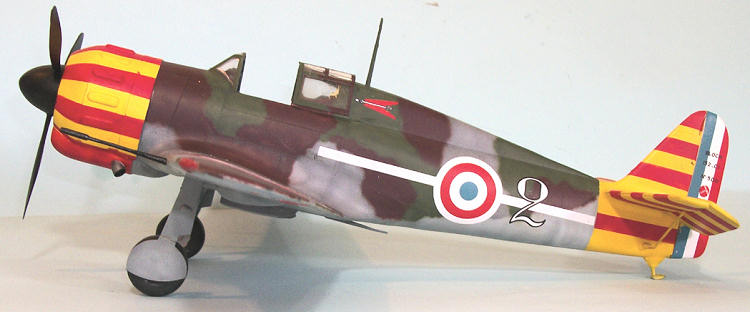
Azur 1/32 Bloch MB.152C-1
| KIT #: | AZ094 |
| PRICE: | 4800 yen from Hobby Link Japan |
| DECALS: | Three options |
| REVIEWER: | Tom Cleaver |
| NOTES: |

| HISTORY |
The M.B.152 entered production in late 1939, but a combat-worthy example
wasn’t produced until March 1940.
The airplane equipped nine Groupes de Chasse in the
The M.B. 151s and 152s were stranded in Metropolitan France at the
Armistice due to their lack of range which prevented them being flown to North
Africa, Six Groupes continued to fly the aircraft in the Vichy French Air Force
in the Unoccupied Zone until this Vichy was invaded by the Germans on November
13, 1942, following the successful invasion of French North Africa by t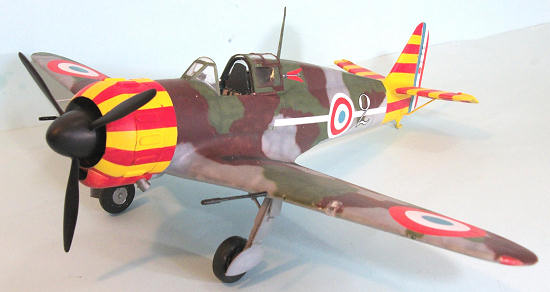 he
Allies. The surviving aircraft were
mostly turned into fighter trainers for the Luftwaffe, though 25 were given to
the Romanians; what use was made of them in
The Greek government ordered 25 MB.151s, though only nine actually
arrived. They were used by the 24th Moira Dioxis (Fighter Squadron) of
the Royal Hellenic Air Force in Elefsina against the Italians and Germans and
scored several air‑to‑air victories until
In 1944, several surviving MB.152s were liberated at an airfield in
southern
| THE KIT |
Azur released the M.B.152 in 2008 and Bill Koppos reviewed his build of the kit at this link.
This kit differs from that one only in the decals offered, which provide markings for three different M.B. 152s operated by the Armee de l’Air de l’Armistice.
| CONSTRUCTION |
Having read Bill Koppos’ review, I first assembled the wheel wells with
the separate rib sections, then glued that into the lower wing.
When that was set, I glued the upper wing parts on and set that
sub-assembly aside.
 I glued the fuselage together and attached the horizontal stabilizers,
with the separate elevators dropped.
I painted the cockpit in Tamiya Field Blue and assembled it.
I used Airscale instrument decals for the instrument panel.
When all was set, I inserted it in the fuselage and glued it into
position.
Fortunately my kit did not have the warp in the wing fairing Bill’s did,
so gluing the wing and fuselage sub-assemblies was easy.
I used cyanoacrylate glue and Tamiya White Putty on all the joints and
seams, sanded them smooth and rescribed detail where needed.
I assembled the five-part cowling and set it aside.
| COLORS & MARKINGS |
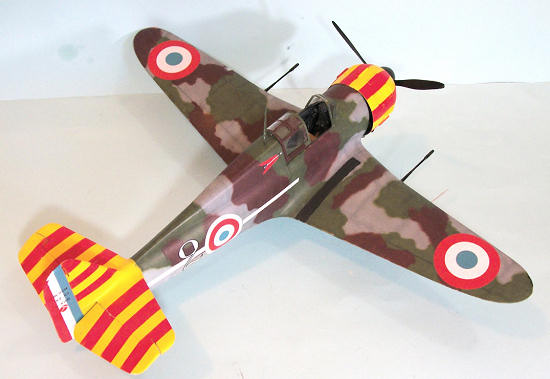
I mixed a light grey-blue with Tamiya paints for the lower color, then
used Tamiya Neutral Grey, NATO Green and
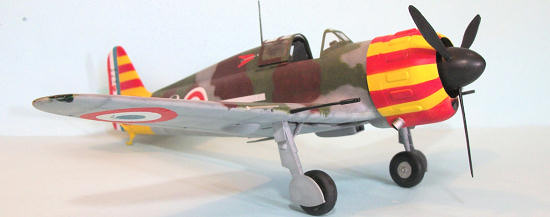
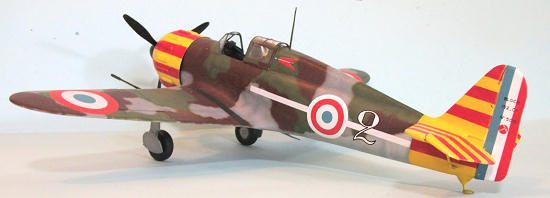 I then painted the tail and the cowling flat white, followed by Tamiya
Flat Yellow. When dry, I masked off
the stripes. Each of the markings
options is different as to the order of the stripes and their placement, and
photos show that the “slave’s pajamas” were not applied with consistency or
neatness as a goal, so I followed suit.
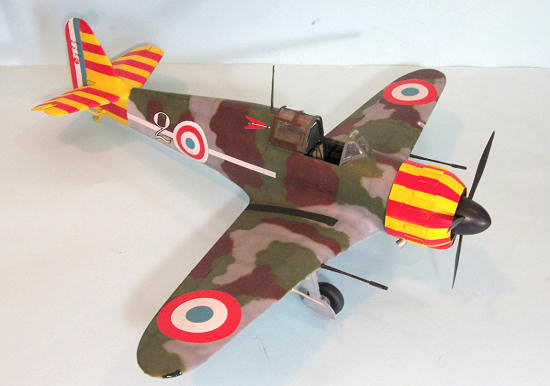
The markings choice I chose had a black prop and spinner, so I did that
with Tamiya semi-gloss Black.
I gave the model a good coat of Xtracrylix Clear Gloss.
The kit decals went on without problem.
When set, I washed the model and applied a good coat of Xtracrylix Clear
Flat.
| FINAL CONSTRUCTION |
| CONCLUSIONS |
Thanks to HobbyLink Japan for the review kit. Order yours at this link.
If you would like your product reviewed fairly and fairly quickly, please contact the editor or see other details in the Note to Contributors.