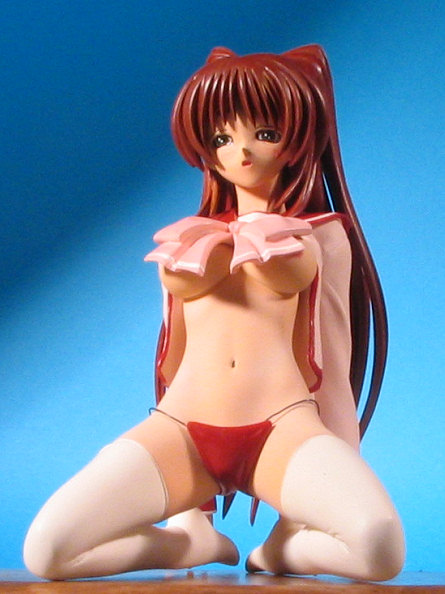
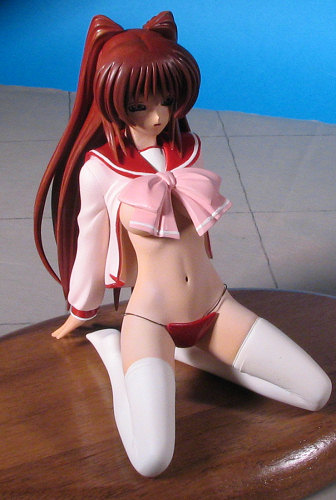
| KIT: | 1/8 Tamaki Kousaka on knees |
| KIT #: | FG 3626 |
| PRICE: | $27.43 plus shipping from Hong Kong (around $8.00) |
| DECALS: | none |
| REVIEWER: | Scott Van Aken |
| NOTES: | Resin anime kit |
| BACKGROUND |
This is another figure from the 'To Heart 2' series. For some odd reason, I found that the last four figure kits I've completed have all been from this particular series. Quite unusual considering they have all been started about 5-6 months apart. One really doesn't often realize why one does things like this as there are a considerable number of other kits from other series that I could have done. Most odd and I'm sure a psychiatrist would make a fortune from me were I prone to seek such advice.
| THE KIT |
The kit itself is really quite simple, with only 19 parts, four of them being hair sections. There is a lower torso with separate legs, the join line being right where the stockings meet. The section with the jacket is separate from the rest of the body, as is the flap, hands, and head/hair pieces. This makes it very easy to paint. There is a large bow and a bikini bottom that are separate and can be added in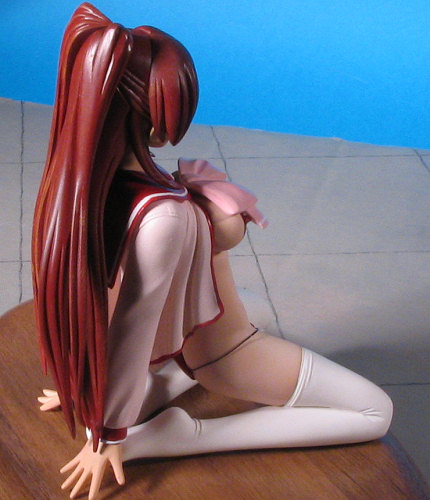 case the builder is a bit squeamish about such a nude figure. Two separate head pieces are provided, each with a different expression.
Overall, the fit of the kit and the way it is engineered makes for what seems to be a very trouble-free construction. I also tend to choose poses like this as though the alignment of parts is more critical, they don't tend to fall over or be difficult to place on bases.
| CONSTRUCTION |
Clean-up on this kit is minimal, consisting of removing the remnants of the pour stubs and cleaning the mold seams. Thanks to the color of the resin and its gloss, it is difficult to see all the mold seams, so once I'm done with what I think is the clean-up, a coate of matte white is sprayed on. This will show the stuff that is missed and also provides an excellent primer coat for the light colors (such as skin tones).
I first started by assembling the lower torso. There are keyways to help when one drills them out and installed short sections of rod. I use paper clips for this as it works quite well and is easily available. Though I didn't find out until final construction, I'd not mounted the lower legs perfectly and there were some wobble and fit problems that came later on. I guess the smart thing to do in these cases is to pin all the parts and assemble them to see where the fit problems might arise. Perhaps I'll remember that on the next one!
I then added more white to this part and then sprayed several coats of clear gloss acrylic (Future) on the stocking section, leaving that to dry for several days. The jacket/arm piece was also painted white, then I mixed some light pink and sprayed the jacket that shade. The most difficult part to paint was the sail (that 'sailor flap' piece). After painting white and spraying Future on the neck 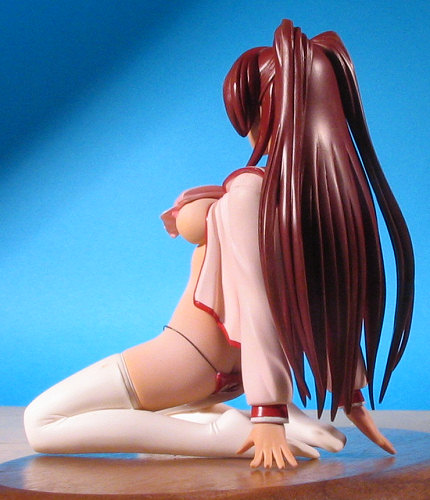 section, that part was masked off. I then mixed some brown and red acrylic to get the shade I wanted and sprayed that. The bikini bottom, and cuffs were also painted at this time. Masking the sail, the white stripe area was sprayed. Then I hand painted the outer reddish brown section. This took considerable time, as you can imagine, but the results were worth it. The big ribbon was painted with a darker pink from the jacket and the white stripe hand painted when all was dry. I also hand painted the stripe on the cuffs.
The stockings on the torso section were then masked completely as were the cuffs. The torso, hands and head were then painted a lightened flesh shade using Badger Accuflex acrylic. I like this paint as it is ready to spray, and while it does clog the airbrush doing fine work, it is great for overall stuff that is masked. I used lighter and darker shades to lightly do other sections of the body. I'm not into the heavy demarcation lines that you see with most figure painters.
 During this time, the hair pieces were primed with Reefer White as I'd done the rest of the figure bits. Then they were painted with Vallejo acrylics. I used a reddish maroon color. Nice thing about Vallejo acrylics is that both airbrushed areas and hand brushed areas dry the same shade, making touch-up easier.
The head was further detailed by painting the eyes in a method I'd learned from an on-line anime' painting site. It turns out to be easier each time, though I still haven't gotten things down as well as I'd like. More detail painting followed, then it was time to do some more cementing. I attached the jacket portion and then glued the sail in place. No problems yet. The hair was complete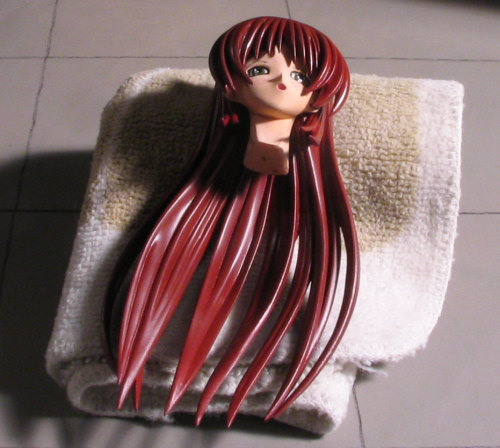 ly attached to the head and then the head was glued on. Or should I say, I tried to glue it on. It doesn't fit flush, so I basically flooded the pin with superglue and then pushed the head in place, holding it while the glue dried. First time it popped right off but second time I added more glue and it seems pretty stable.
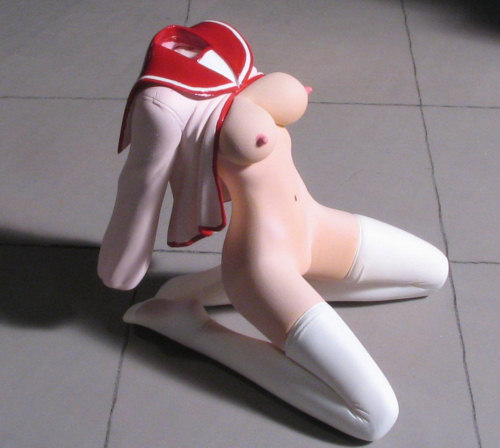
 I then went to install the hands. Here is where I discovered that I had alignment problems. One hand actually touched the ground (Yay!), but the other held the whole model in the air. Hmmm. Only fix was to pour very hot water over the fingers and then gently push the figure as flat as I could. This bends the fingers in a rather extreme angle, but it isn't an impossible one.
Final additions, for purposes of this review, were to tack in place the big bow over the bare breasts and to install the bikini bottom. Black wire is supplied for the side straps. This was glued to the back of the part and left unattached for the front, in case I wanted to remove the part.
The last thing I did was to add some tan streaking to the hair to give it a bit of interest. I then went to photograph the model before something fell off!
| CONCLUSIONS |
I have said before that these sorts of things are not everyone's cup of tea. Fine with me, and those people don't have to read these reviews. There are, however, a growing number of people who like to do figures like this and I am one of them. It does take me a while to get through them and sometimes (as with this and several others completed within the last month), I just have to set myself the goal to finishing what I started. It had been nearly two years since I'd actually finished one of these and now that so many have been finished, I wonder why that was!
If you'd like more information on these figures, feel free to contact me and I'll be glad to discuss the genre with you. If you want to chide me, save yourself the energy.
February 2007
#14 in a series
If you would like your product reviewed fairly and quickly by asite that has over 300,000 visitors a month, please contactme or see other details in the