Revell 1/32 Opel GT
| KIT #: | 07680 |
| PRICE: | $15.95 SRP |
| DECALS: | Numerous European Plate Options |
| REVIEWER: | Scott Van Aken |
| NOTES: | 2016 reissue of a 1974 snap kit. |
| HISTORY |
The Opel GT is a front-engine, rear-drive two-seat sports car manufactured and marketed by Opel in two generations — separated by a 34-year hiatus.
 The first generation Opel GT (1968-1973) debuted as a
styling exercise in 1965 at the Paris and Frankfurt motor shows.
The production vehicle used mechanical components from the contemporary Opel
Kadett B and two-door hard top bodywork by French contractor Brissonneau & Lotz.
The styling of the GT was often cited as similar to the 1968 Chevrolet Corvette
which went on sale in September 1967.
The first generation Opel GT (1968-1973) debuted as a
styling exercise in 1965 at the Paris and Frankfurt motor shows.
The production vehicle used mechanical components from the contemporary Opel
Kadett B and two-door hard top bodywork by French contractor Brissonneau & Lotz.
The styling of the GT was often cited as similar to the 1968 Chevrolet Corvette
which went on sale in September 1967.
Opel marketed a second generation GT (2007-2009) as a rebadged variant of the Saturn Sky/Pontiac Solstice two-seater convertible, manufactured in Wilmington, Delaware, USA. According to the kit box art, driving one of these ensures you will gain the attention of buxom bikini-clad babes.
| THE KIT |
 You get a one-piece body with a one-piece windscreen/backlight
piece. The interior is a full tub into which you install the seats, instrument
panel/dash and the steering wheel . There is no shifter. This fits into the
body. The undertray accepts two plastic axles. Wheels consist
of a rubber tire, an insert and then the wheel insert. Though the built model
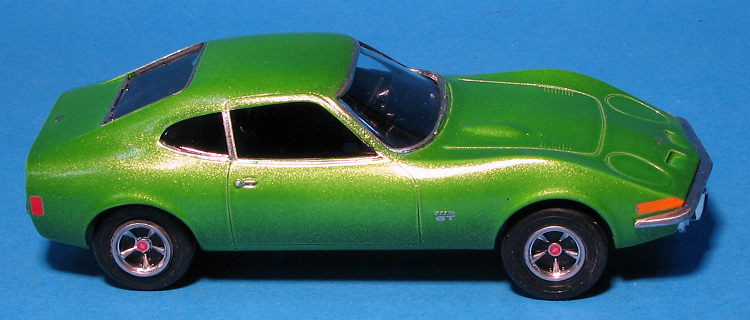
shows white wall tires, that is apparently the insert I previously mentioned.
How this works is unsure, but it looks nice on the build up.
You get a one-piece body with a one-piece windscreen/backlight
piece. The interior is a full tub into which you install the seats, instrument
panel/dash and the steering wheel . There is no shifter. This fits into the
body. The undertray accepts two plastic axles. Wheels consist
of a rubber tire, an insert and then the wheel insert. Though the built model
shows white wall tires, that is apparently the insert I previously mentioned.
How this works is unsure, but it looks nice on the build up.
As mentioned, the chrome all needs to be painted or covered with foil unless you are one of those modelers who cleans up the part and sends it out to be done by the pros. The instructions are quite large and full color so following the painting guide should be pretty straight forward. Things like the turn signals and chrome labels are decals and you are provided with a wide selection of European license plates.
| CONSTRUCTION |
 You would think that a kit that used to be a snap kit would be
really easy to build. Well, perhaps. First thing one has to do is some parts
clean-up. All the bits have some level of flash or 'gunk' on them. The body is
the most important part of all this and so I first started removing the mold
seam. On the left side near the base of the windscreen is a particularly nasty
seam that is really a bit of a chasm. Sanding did not get rid of it and it took
several applications of filler to finally get it properly smooth. Learn to
become one with your sanding stick/sandpaper as you will be spending quite a bit
of time with each other.
You would think that a kit that used to be a snap kit would be
really easy to build. Well, perhaps. First thing one has to do is some parts
clean-up. All the bits have some level of flash or 'gunk' on them. The body is
the most important part of all this and so I first started removing the mold
seam. On the left side near the base of the windscreen is a particularly nasty
seam that is really a bit of a chasm. Sanding did not get rid of it and it took
several applications of filler to finally get it properly smooth. Learn to
become one with your sanding stick/sandpaper as you will be spending quite a bit
of time with each other.
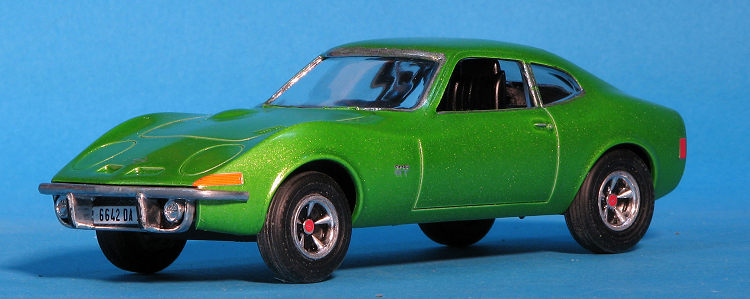
Once that was done it was time to give it a nice coat of primer in preparation for painting. Meanwhile, I cut the bumpers free from the sprues and painted them. These are supposed to be chrome and for this I used a paint pen from Liquid Chrome. It really seems to do the trick and looks a lot better than any other paint I've used for this purpose. You do need to be sure you get the plastic very slick. I did not and the close up shows this. Then again, I just wanted the parts to be chromed as I don't build contest models.
After the grey primer had dried, I sprayed on some white to
prep it for the top color. Meanwhile I glued i n the seats then painted the
interior in black along with the dash. The underpan and axles were painted NATO
Black.
n the seats then painted the
interior in black along with the dash. The underpan and axles were painted NATO
Black.
Next step was to attach the decals to the instrument panel and center of the steering wheel. These decals are superb and actually the highlight of the kit. Standard Microsol setting solution is all that is needed to get them to snuggle down.
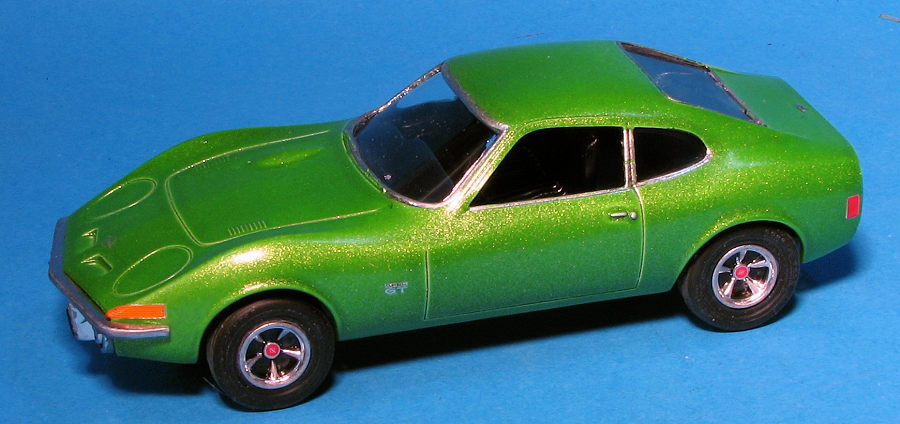
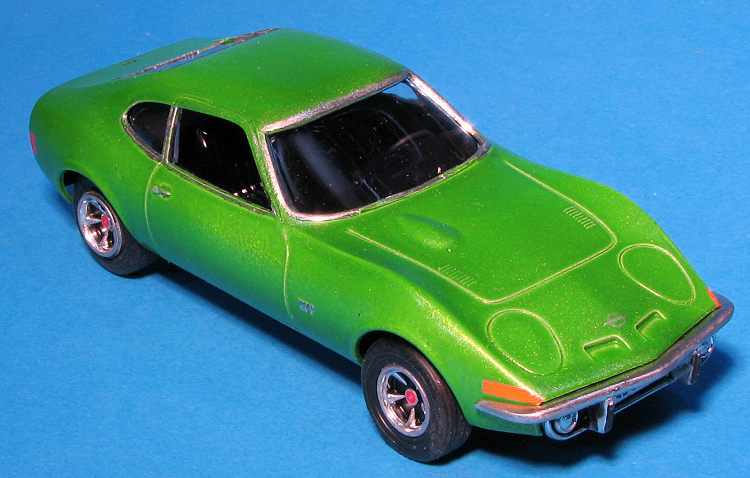
The body was then sprayed with the lime and gold metalflake from the Testors laquer line. This is a rattle can paint. When fully dry, I used the Liquid Chrome pens to do the trim, though it didn't go as well as I'd have liked as the detail along the roof of the side and front windows disappeared, leaving me with no line to follow.
That was also left to dry and then I snapped in the interior, the dash, and then the rest of the interior. This was a very difficult job and though I'm sure it was designed for kids, the amount of grunt this kid had to put forth to get the bits to click in place was considerable. The rear bumpers did not stay in place and had to be glued. Front bumper and grille, installed after painting the black areas, is not a good fit at all. Actually, the rear ones have rather large gaps where they fit as well.
 I then
attached all the rest of the decals, choosing French license plates for this
one. The tail lights were painted red and orange. For the wheels, I first
painted the black areas, then used the chrome pens for all the rest. These pens
are great when you have a car kit that does not provide chrome bits and should.
Inserting the wheels into the tires was another matter. The wheels are smaller
than the openings in the tires. The way I got around that was to put several
wraps of 5mm kabuki tape around them to beef them up. They are still a bit
loose, but nothing major and is something most of us can live with. The axles
were inserted in the wheels and threaded in place. Final act was to snap the
chassis in place. Again, an exceedingly tight fit that requires more grunt than
you'd think. For those wondering, there is no tailpipe assembly included, so the
adventurous will need to make one.
I then
attached all the rest of the decals, choosing French license plates for this
one. The tail lights were painted red and orange. For the wheels, I first
painted the black areas, then used the chrome pens for all the rest. These pens
are great when you have a car kit that does not provide chrome bits and should.
Inserting the wheels into the tires was another matter. The wheels are smaller
than the openings in the tires. The way I got around that was to put several
wraps of 5mm kabuki tape around them to beef them up. They are still a bit
loose, but nothing major and is something most of us can live with. The axles
were inserted in the wheels and threaded in place. Final act was to snap the
chassis in place. Again, an exceedingly tight fit that requires more grunt than
you'd think. For those wondering, there is no tailpipe assembly included, so the
adventurous will need to make one.
| CONCLUSIONS |
| REFERENCES |
https://en.wikipedia.org/wiki/Opel_GT
12 May 2017
Copyright ModelingMadness.com. All rights reserved.
If you would like your product reviewed fairly and fairly quickly, please contact the editor or see other details in the Note to Contributors.
Back to the Main Page Back to the Review Index Page Back to the Previews Index Page