Monogram 1/39 Wright Flyer
| KIT #: | PA 30 |
| PRICE: | Last release was about $12.00 |
| DECALS: | None required |
| REVIEWER: | Peter Burstow |
| NOTES: |
First released in 1958, this one was dated 1964. |
| THE KIT |
About
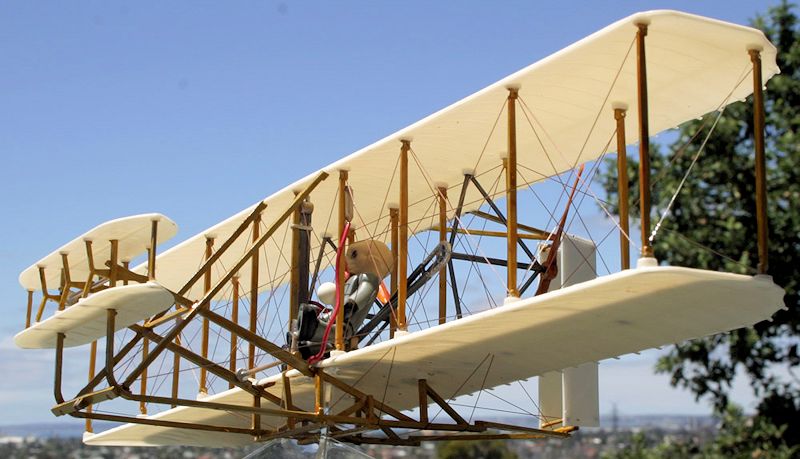
60 parts in a weak and tatty box. The parts are moulded in three colours,
the flying surfaces are white, and the rest of the parts in two shades of
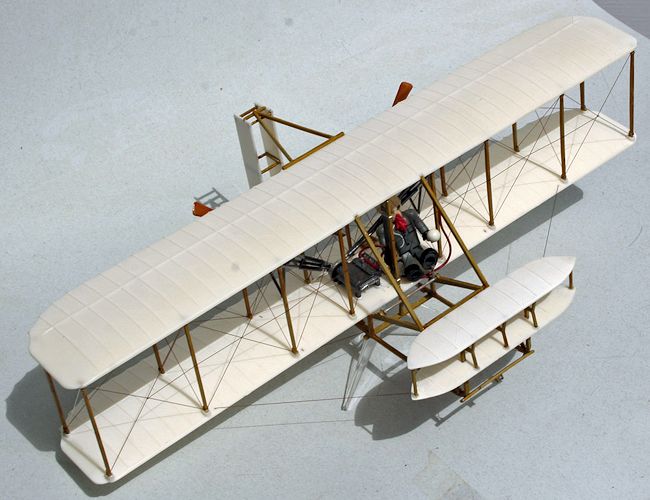
brown. Included are figures of Orville in a prone flying position, and
Wilbur waving his hat. The monorail and a few bits of clutter are included
to allow a diorama based on the famous photo at the top of the Wiki entry.
The kit includes a two piece stand.
 The
parts are all a little clunky, though the fabric effect on the flying
surfaces is better than a lot of more recent kits. The spars are all very
heavy and could do with a lot of thinning.
The
parts are all a little clunky, though the fabric effect on the flying
surfaces is better than a lot of more recent kits. The spars are all very
heavy and could do with a lot of thinning.
Many
of the parts are keyed, and can really only go together one way. Notches and
holes for the rigging are moulded, some need a clean out.
The scale is very odd, but was determined by the wings fitting in
what was the standard box of the time.
| CONSTRUCTION |
First
step was painting all the bits, the few parts needing detail painting were
removed from the sprues and dealt with separately.

Now a
couple of sub-assemblies, each with only a few parts.
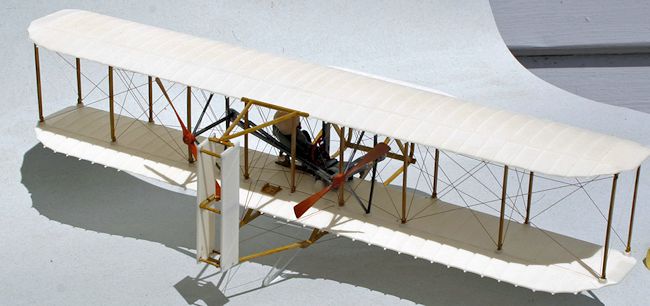
Then
the much more complicated front elevator assembly, two flying surfaces, and
seven spars, put together and jigged square.
After
it was all dry I did some paint touch ups, mainly on the wing spars, where I
had shaved off the moulded letters just before assembly.
| RIGGING |
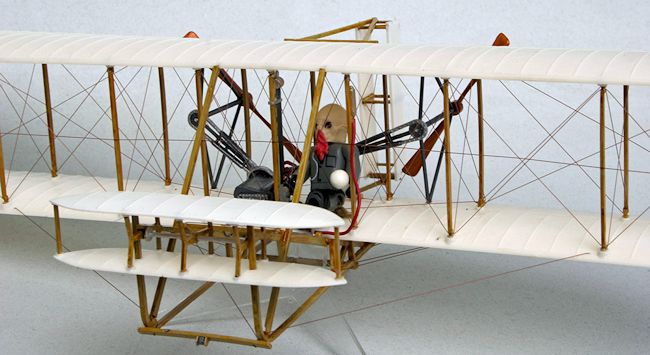
I
added the fore and aft cross rigging in the inner bays and elevator rigging,
which is visible in some photos, mainly to add strength and rigidity to what
is a flimsy structure. These wires were not in the instructions.
| CONCLUSIONS |
 The kit
gets re-released from time to time, and is often available at swap meets. Worth
looking for, especially if you are interested in early flight history. I have
seen it in contests many times over the years, including a few times on MM,
mostly better than my effort.
The kit
gets re-released from time to time, and is often available at swap meets. Worth
looking for, especially if you are interested in early flight history. I have
seen it in contests many times over the years, including a few times on MM,
mostly better than my effort.
A good
introduction to biplane kits and rigging, recommended for all who don't mind
fixing ejector marks.
| REFERENCES |
http://en.wikipedia.org/wiki/Wright_Flyer
January 2015
Copyright ModelingMadness.com. All rights reserved. No reproduction in any form without express permission from the editor.
If you would like your product reviewed fairly and fairly quickly, please contact the editor or see other details in the Note to Contributors.