RS 1/72 Praga E.13
| KIT #: | 92601 |
| PRICE: | ~$18.00 |
| DECALS: | Eight Options |
| REVIEWER: | Brian Baker |
| NOTES: | Nice little kit of a little known training aircraft. |
| HISTORY |
 The
Praga E.39 was one of those biplane trainers that was developed in the early
thirties to replace some of the World War I equipment that was still in use
by many air arms in the nineteen twenties. Designed in 1931, the E.39 was
ordered in a quantity of 8 by the Czech Air Force in 1933, powered by a 140
hp. Walter Gemma radial engine. In 1936, a later version was produced both
for the Air Force and for civil flying clubs, powered by a 160 hp. Armstrong
Siddeley Genet Major radial. A total of 95 was produced, plus 10 aircraft
for the Slovakian Air Force after Czechoslovakia was dismembered by the
Germans. A few were used by the Slovaks during the invasion of the Soviet
Union, and some found their way into Luftwaffe training establishments.
Hungary also received several, and few survived the war.
The
Praga E.39 was one of those biplane trainers that was developed in the early
thirties to replace some of the World War I equipment that was still in use
by many air arms in the nineteen twenties. Designed in 1931, the E.39 was
ordered in a quantity of 8 by the Czech Air Force in 1933, powered by a 140
hp. Walter Gemma radial engine. In 1936, a later version was produced both
for the Air Force and for civil flying clubs, powered by a 160 hp. Armstrong
Siddeley Genet Major radial. A total of 95 was produced, plus 10 aircraft
for the Slovakian Air Force after Czechoslovakia was dismembered by the
Germans. A few were used by the Slovaks during the invasion of the Soviet
Union, and some found their way into Luftwaffe training establishments.
Hungary also received several, and few survived the war.
| THE KIT |
 ue
is easy. Be careful, however, as one of the aircraft did not have “N”
struts, only parallel struts, which require rigging in between the struts.
This is shown in the instructions, but will be easy to miss unless you look
and the instructions carefully.
ue
is easy. Be careful, however, as one of the aircraft did not have “N”
struts, only parallel struts, which require rigging in between the struts.
This is shown in the instructions, but will be easy to miss unless you look
and the instructions carefully.
The kit instructions are on one double sheet of 8 ½ by 11 paper (4 sides) which includes a history in Czech, English, and German, an excellent sprue diagram, a color guide which is fairly useful, and six exploded assembly drawings. The second single sheet has two-view drawings of the eight aircraft covered by the decal sheet. The decal sheet provides national markings for Czechoslovakia, Slovakia, and the Slovakian HLG Hlinkova Letecka Garda, 1939, as well as unit markings for the represented aircraft. There is no rigging diagram as such, although the painting on the box front contains enough information for rigging the model accurately. Another issue has markings for the Luftwaffe versions, and there is a lot of information on line on this aircraft.
| CONSTRUCTION |
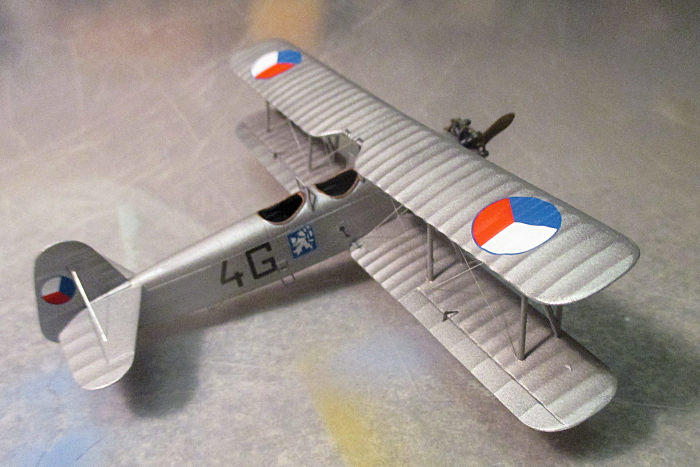
 The
parts all go together easily, and even the wing assembly is easy for a plane
of this complexity, being a two bay biplane. Since most of the aircraft
depicted are silver overall, it is easy to just assemble the plane, painting
it afterwards. The plane has inward slanting struts between the wings, so be
sure to line everything up as you are installing the struts. The main
landing gear strut requires a small amount of trimming, but instructions are
clear on how to do this.
The
parts all go together easily, and even the wing assembly is easy for a plane
of this complexity, being a two bay biplane. Since most of the aircraft
depicted are silver overall, it is easy to just assemble the plane, painting
it afterwards. The plane has inward slanting struts between the wings, so be
sure to line everything up as you are installing the struts. The main
landing gear strut requires a small amount of trimming, but instructions are
clear on how to do this.
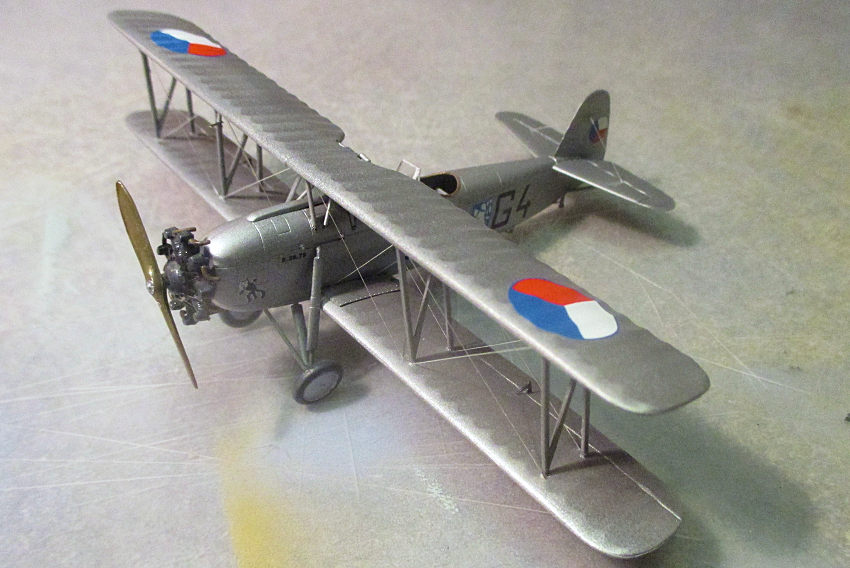
Assembling the engine and exhaust stacks can be a dicey proposition, and I ended up putting on the stacks after the engine was attached to the fuselage. The result, however, is a very realistic looking radial engine.
| COLORS & MARKINGS |
Most of
these aircraft were painted silver overall, but if you are doing one that
requires two colors, it would be best to do each color separately before
attaching the wings. The decals go on easily with little if a ny
trimming required. No decal solution is necessary. I sprayed my model with
glosscote, and then oversprayed the decals after application. There is another
issue of this kit with Luftwaffe decals included, or spare decals could be
included if you want to build a German version.
ny
trimming required. No decal solution is necessary. I sprayed my model with
glosscote, and then oversprayed the decals after application. There is another
issue of this kit with Luftwaffe decals included, or spare decals could be
included if you want to build a German version.
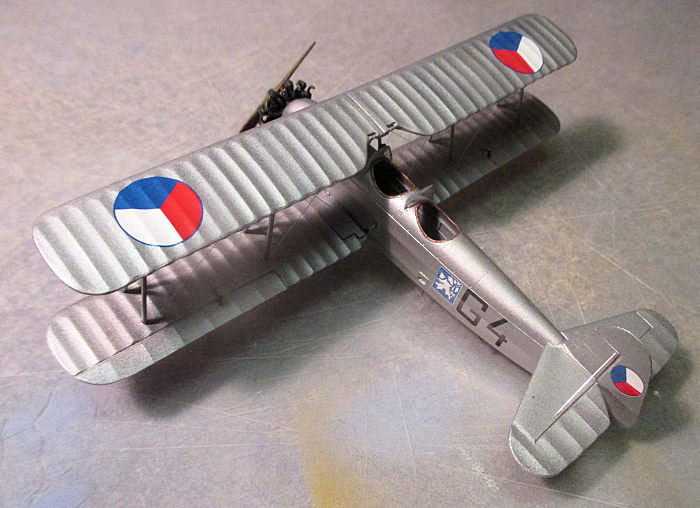
After assembly and decal application, I rigged the model using my method of using fine electronic wire, removing the insulation and separating the strands, and then rolling the wires straight on a hard surface. The wires can be cut with an xacto knife, and glued on with a tiny dab of Elmer’s White Glue. There are a few PE parts that should be installed last, such as the small lifting handles that are located on the bottom rear fuselage ahead of the tailskid.
| CONCLUSIONS |
6 July 2017
Back to the Main Page Back to the Previews Index Page
Back to the Previews Index Page