Airfix 1/72 F-15A/B Eagle
| KIT #: | |
| PRICE: | $ |
| DECALS: | Two options |
| REVIEWER: | Martin Pohl |
| NOTES: | This is a little different |
| HISTORY |
 Well normally
this section is intended to give a short history of the object. In this case I
quit this as you all most probably do know a F-15. Instead, how this all began:
Back in 2010 I had the chance to get tickets for the Nuremberg Toy Show, as this
show is only for professionals and not open to public. We, my wife and me, went
there and within some hours spending there we evolved back to children. At this
stage I saw my wife going “Ohhhh – look” and “Isn't that so sweeeeeeeeeeet” at
almost every Hello Kitty stuff we saw there – and there were many!
Well normally
this section is intended to give a short history of the object. In this case I
quit this as you all most probably do know a F-15. Instead, how this all began:
Back in 2010 I had the chance to get tickets for the Nuremberg Toy Show, as this
show is only for professionals and not open to public. We, my wife and me, went
there and within some hours spending there we evolved back to children. At this
stage I saw my wife going “Ohhhh – look” and “Isn't that so sweeeeeeeeeeet” at
almost every Hello Kitty stuff we saw there – and there were many!
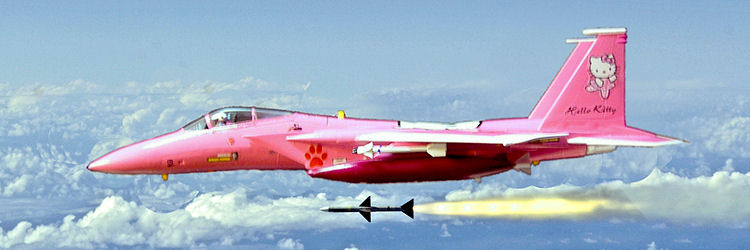
And thats how this all began!
| THE KIT |
If I remember correctly you get some options with that kit, single and double
seater with figures and two decal options as well. It's an old Airfix kit so
there are recessed but very fine panel lines.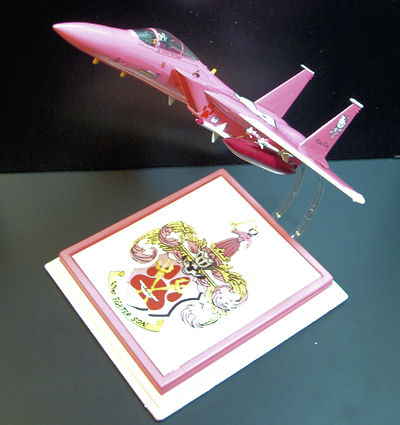
For all who want to do a decent F-15 in 1/72 I'd say get something else not this
old Airfix one. To my eyes it looks like a F-15 but the fit is not the best
especially at some areas where it is not that easy to be corrected. The main fit
issues are the intakes inside and outside and the canopy. But then on the other
side, if you know how to handle those, the end result does look like a F-15 and
at least here in Germany you can get those kits very cheap at Internet auctions
or swap meets. So this makes this Airfix kit worth a try for some special
projects or just for exercising.
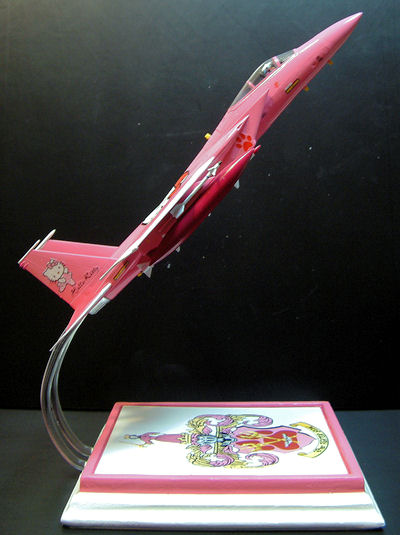
| CONSTRUCTION |
 To be honest
here I just glued it together, really! It was intended to be inflight so I did
not bother with the landing gear but then I had to fight with the gear doors as
those aren't thought to be inflight. I already mentioned the fit issues at the
intakes which gave me a lot of sanding fun especially inside. It has to look
smooth but for this project correctness wasn't an issue.
To be honest
here I just glued it together, really! It was intended to be inflight so I did
not bother with the landing gear but then I had to fight with the gear doors as
those aren't thought to be inflight. I already mentioned the fit issues at the
intakes which gave me a lot of sanding fun especially inside. It has to look
smooth but for this project correctness wasn't an issue.
To be able to have it mounted on a stand I drilled holes into the exhausts and
glued some tubes inside the fuselage behind the exhausts.
The base originally was a double CD box.
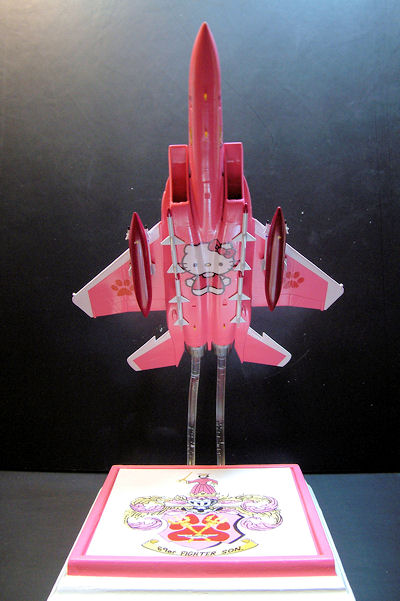
| COLORS & MARKINGS |
The complete bird did get two base coats of Createx Auto Air base to level out
all that sanding. On top of that went the pink. The color I used for pink was
originally a wall paint. It was left over when one of my daughters decided to
paint one of her walls pink. It really felt strange while spraying :) I
experimented a bit with it and found a solution to spray it with a 0.5 nozzle.
It was a mixture of 1 amount paint to 1 amount water to 1 amount Future. I
needed three coats.
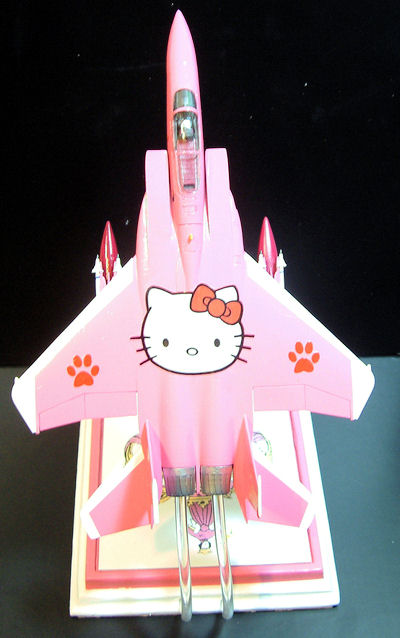 After that
the white areas were masked and sprayed. The white areas behind the decals were
also masked and sprayed. As white I used Createx again.
After that
the white areas were masked and sprayed. The white areas behind the decals were
also masked and sprayed. As white I used Createx again.
The decals were all self made from pictures I found in the
| CONCLUSIONS |
Looking back, this project was one of the best I've ever done. Why? Well I had
fun doing it and my wife was really happy to get this as a present. It is really
relaxing to do a fun project from time to time.
I did get this special F-15 as a donation from my wife to take it to a model
show. It was the star of our booth. Not because it did win anything just because
of all the glowing eyes of the little girls accompanying their dads.
| REFERENCES |
Some Internet searches but not on F-15 :)
Martin Pohl
January 2013
If you would like your product reviewed fairly and fairly quickly, please contact the editor or see other details in the Note to Contributors.