Dekno 1/72 Mew Gull E.3H
| KIT #: | 720300 |
| PRICE: | 24 Euro direct |
| DECALS: | One option |
| REVIEWER: | Peter Burstow |
| NOTES: | Resin kit with vac canopy |
| HISTORY |
Designed by Captain Edgar Percival for
racing, 6 Mew Gulls were built from 1934 to 1937. All the Mew Gulls were custom
built for different customers, so had a variety of engines including Napier
Javelin, Regneir, de Havilland Gypsy Six, and Gypsy Six series 2. There were
also differences in structure and wing span between the models. d
Proctor, but were much smaller single seat racing aircraft.
d
Proctor, but were much smaller single seat racing aircraft.
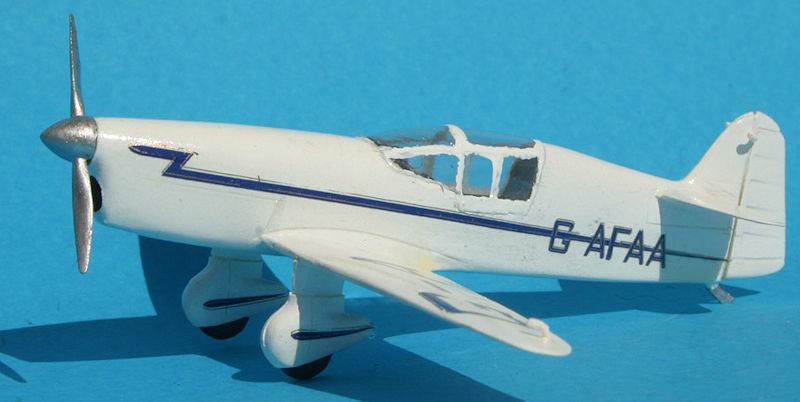
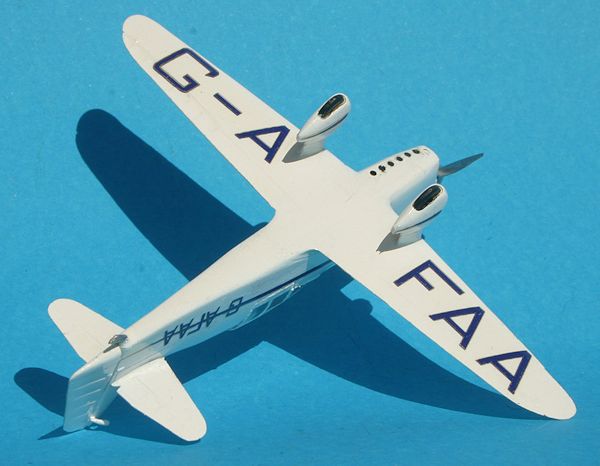
The subject of the kit, Mew Gull E3H G-AFAA, was Captain Edgar Percival's personal “Super” Mew Gull. Built in 1937 at the Percival works in Luton, it had a superficial resemblance to the earlier Mew Gulls but was substantially different. It had a more powerful engine and smaller wing span, altogether faster with a higher climb rate and longer range. It was written off when on loan to de Havilland for propeller trials during the Second World War. The remains were burnt at a garden fete after the war.
| THE KIT |
For a look at what comes in the box please see the preview.
| CONSTRUCTION |
First of all the resin parts were all washed
in warm soapy water to remove any mould release oil.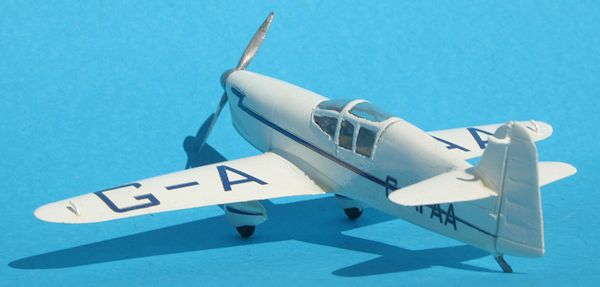 seat and
instrument panel brown, and picked out details in black and silver. I added
straps made from masking tape, with dots of silver paint to represent buckles.
seat and
instrument panel brown, and picked out details in black and silver. I added
straps made from masking tape, with dots of silver paint to represent buckles.
I then joined up the fuselage halves and
added the engine cowling front and the one piece wing. The wing roots needed a
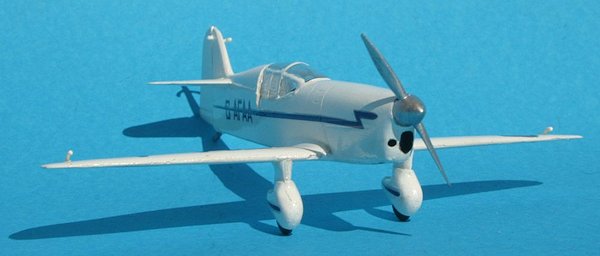
little sanding to get it to fit properly, and set the dihedral angle. I probably
should have done a little more sanding as the dihedral was a little low, and it
all looks a bit flat.
There was small gaps at the front of the
cowling and where the wing leading edge meets the wing roots. These were filled
with Tamiya putty. I put a thin bead of Mr Surfacer around the fuselage main
joint, and needed a little more filling around the fin leading edge. When it was
all dry and hard, I sanded all the joints lightly, and touched up a few spots.
While the filler on the main parts was drying
I got on with preparing the rest of the parts. Using a scalpel, I removed the
tailplane and wheel spat castings from the pouring stubs, and cleaned them and
the rudder up. Cutting instead of sawing reduces the amount of dust generated. I
also took the opportunity to dip the
 vac-formed
canopy in floor polish and set it aside.
vac-formed
canopy in floor polish and set it aside.
The wheel spats were added to the lower wing.
The legs needed a little sanding to get them to fit into the moulded cut-outs on
the lower wing surface. At this point I drilled out the exhaust ports on the
lower surface of the cowling. A check of photographs showed prominent external
exhaust pipes on G-AEXF, but flush exhausts on G-AFAA.
| COLORS & MARKINGS |
I gave the model a good wash with warm soapy
water to remove any dust and remaining mould release oil. The instructions
specified overall “broken white”. I wasn't sure what this was so used gloss
white. I did a check after 4 coats, did some dust removal and filled a couple of
spots.
 The kit
decals were a bit of a problem. There was a minor registration problem between
the blue and gold inks used, I could live with that. But, there was a major
registration problem between the inks and the carrier film. About 1 mm of the
marking was not on the carrier. I coated the whole decal sheet with Microscale
liquid decal film to keep it all together. The decals then worked OK using micro
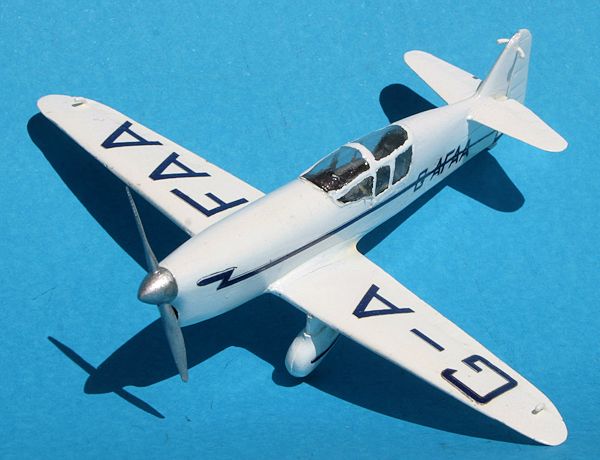
set, they wouldn't budge after applying which is why there is some misalignment
of the fuselage flashes. I then gave them a coat of micro sol, to help that
double thick carrier conform. A coat of floor polish protected them and hid the
carrier film. I did not apply the race numbers to the tail.
The kit
decals were a bit of a problem. There was a minor registration problem between
the blue and gold inks used, I could live with that. But, there was a major
registration problem between the inks and the carrier film. About 1 mm of the
marking was not on the carrier. I coated the whole decal sheet with Microscale
liquid decal film to keep it all together. The decals then worked OK using micro
set, they wouldn't budge after applying which is why there is some misalignment
of the fuselage flashes. I then gave them a coat of micro sol, to help that
double thick carrier conform. A coat of floor polish protected them and hid the
carrier film. I did not apply the race numbers to the tail.
The last few bits, the tiny mass balances,
the tail skid and the prop were added. I then did a little touch up painting. I
did not do any weathering except for a little grey exhaust staining at the
exhaust ports.
| CONCLUSIONS |
 A very
different type of aircraft from what I am used to
doing. Same goes for the medium of the build. It makes a
very small kit which can easily find a home at the front of the display case,
it's about the size of a Sopwith Pup.
A very
different type of aircraft from what I am used to
doing. Same goes for the medium of the build. It makes a
very small kit which can easily find a home at the front of the display case,
it's about the size of a Sopwith Pup.
| REFERENCES |
A.J. Jackson, British Civil Aircraft
1919-1972: Volume III. Putnam, London, 1974. - Has photographs of three of the
Mew Gulls.
Alex Henshaw, The Flight of the Mew Gull.
Hamlyn, London 1980 - Has a number of photographs of G-AEXF including cockpit
close ups.
http://en.wikipedia.org/wiki/Percival_Mew_Gull
March 2013
If you would like your product reviewed fairly and fairly quickly, please contact the editor or see other details in the Note to Contributors.