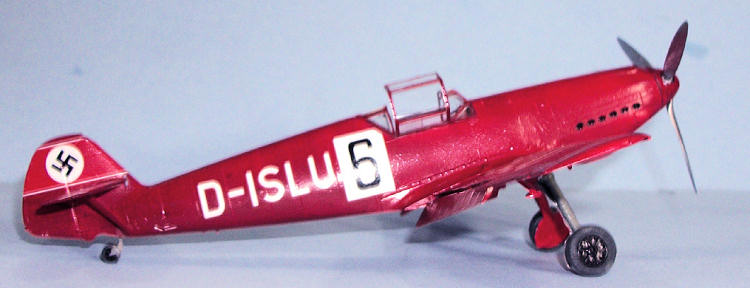
Tamiya 1/48 Bf-109v14
| KIT #: | 61050 |
| PRICE: | $29.00 MSRP |
| DECALS: | Three options |
| REVIEWER: | Tom Cleaver |
| NOTES: | Werner Wings Bf-109v14 conversion set used |

| HISTORY |
The Bf-109 V13 and V14 prototypes were the first Bf-109 airframes to
utilize Daimler-Benz DB 600-series engines, which finally gave the airframe the
power it had needed since it first flew.
The DB 600 was effectively the prototype for the mass-production DB 601.
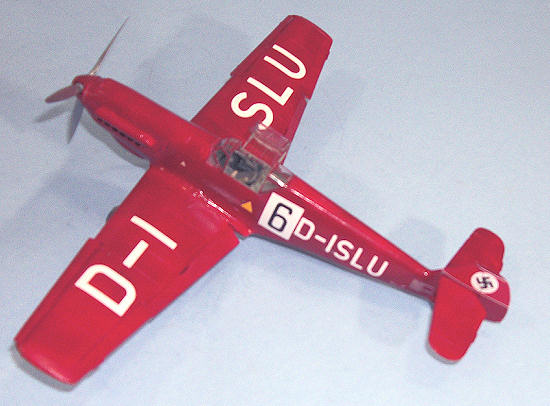 Luftwaffe,
eager to impress the aeronautical world, sent the Bf 109 V‑13 D‑IPKY and the Bf
109 V‑14 D‑ISLU to participate in the competitions.
Both of these used high-powered DB 600 engines that actually provided
more horsepower than the production engines, at 1,560 h.p.
| THE KIT |
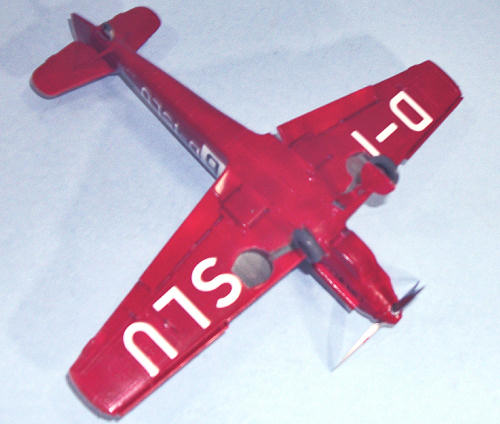 The Tamiya Bf-109E kit has appeared as the D-3, E-4 and E-7 variant in
the 15 years since it was released, and is considered the easiest Bf-109 kit to
assemble of all the possibilities.
The original release had an incorrectly-shaped nose, which Tamiya corrected in
later releases.
| CONSTRUCTION |
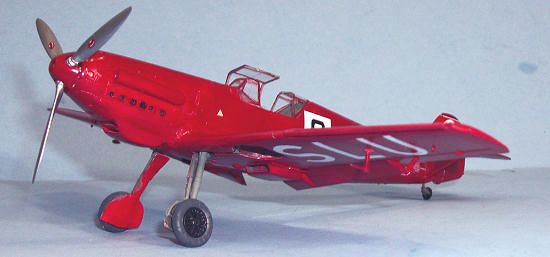 The main construction change associated with this kit is to cut off the
kit nose, for replacement with the resin part.
The good news here is, this is a good way to use an older kit with the
incorrect nose, since that will be discarded.
The replacement part is designed for “drop fit” and you cut the nose off
on panel lines.
One thing I noted with my conversion set was a bit of “shrinkage” of the
part, so there was a bit of a “dish in” of the cowling part.
This was easily solved with some Mr. Surfacer and a sanding stick, with a
little rescribing of panel lines necessary.
Past that, the only thing one needs to do is cut off the radio masts.
If you use the kit canopy, you must fill the hole in the canopy where the
mast is supposed to go.
Alternatively, the Squadron/Falcon Bf-109E-3 vacuformed canopy can be used
without difficulty.
Other than this easy bit of conversion work, the kit assembles as a standard Tamiya Bf-109. I also used Eduard photoetch seat belts to improve the look of the cockpit.
| COLORS & MARKINGS |
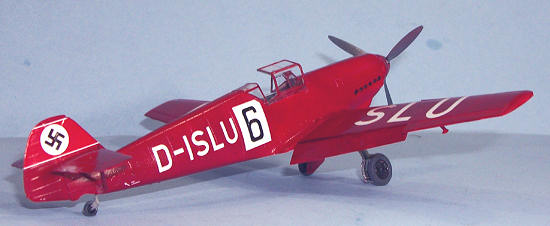
The best color to use for the Bf-109 V14 is Gunze-Sangyo “Wine Red,”
which I happened to have. This is a
gloss color, so I did not need to apply a gloss varnish before proceeding to
apply decals. I painted the prop
with Auto-air “Aluminum.”
Decals:
The one thing to watch out for is that these decals are a bit thick, which provides the opacity necessary to go over the red color. I found after I applied the decals and they set up that I had to go back over them with an Xacto to slice the decal along panel lines and then re-apply decal solvent. This was not a problem, and it was an easy price to pay for decals that looked right when the model was finished.
| FINAL CONSTRUCTION |
I attached the canopy in the open position, attached the landing gear and prop. I did not weather the model, since this was a spotless airplane.
| CONCLUSIONS |
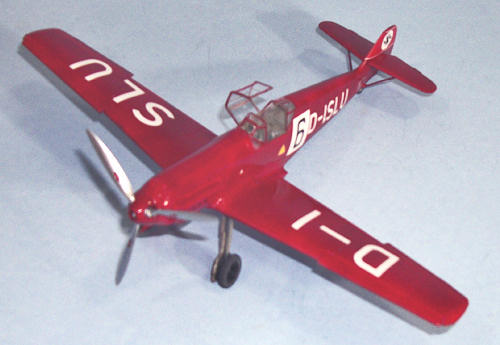 If you are a “109 nut,” this is a conversion you will want in your
collection of Bf-109s. I would even
recommend you do two: the V13 record-breaker and the V14.
This bright red airplane looks very good
among the camouflaged 109s. If
there is enough demand for this set, Floyd Werner may decide to make a second
run, but you should order now if you want to insure you get one of these very
nice conversions.
Kit courtesy of my wallet. Conversion set courtesy of Werner Wings. Get yours at www.wernerswings.com
If you would like your product reviewed fairly and quickly, please contact the editor or see other details in the Note to Contributors.