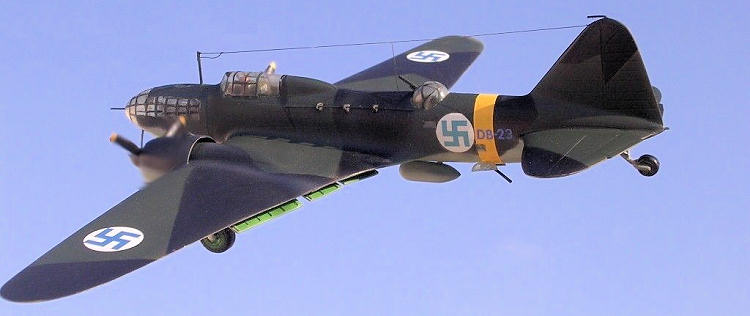
VP Canada 1/72 IL-4/M-88B
| KIT #: | ? |
| PRICE: | 10 Euro |
| DECALS: | None supplied |
| REVIEWER: | Carmel J. Attard |
| NOTES: | Vacuform kit with resin parts for one of three versions of the Il-4/DB-3, DB-3M, DB-3F and the final M88B |

| HISTORY |
 The DB-3M
was a long-range bomber of 1938. It had a major structural redesign of the DB-3B
of 1936, with a totally new, easily built airframe resulting into a completely
changed appearance. It had a slim nose, streamlined and with a large glazed
area, a swivel gun mounted to replace the nose turret. State acceptance trials
were completed in June 1939 and by the end of the year the type was released for
quantity production now known as DB-3F/Il-4. The redesignated Il-4 was delivered
in quantity to the bomber regiments of the long-range air arm, the ADD.
By 1940 a total of 1,528 DB-3B, M
and T had been produced. They played a major role in the war between 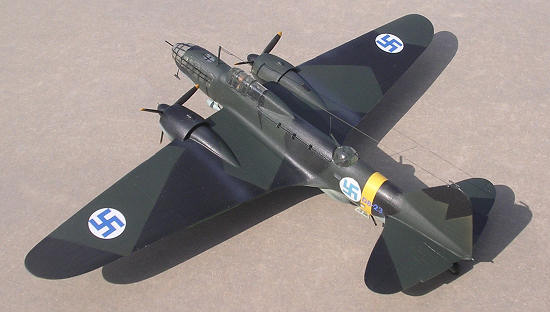 number
surviving to be used in a variety of support roles in post war period earning
the Nato code name Bob.
Three Il-4s 3-seat long range
bombers purchased from
| THE KIT |
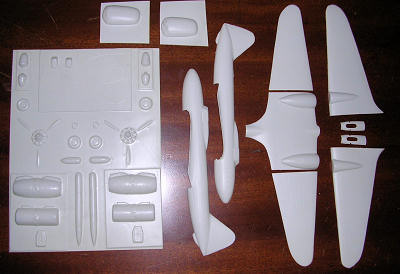
The kit contains 50 vac form
pieces moulded in white plastic. There are also clear vac form parts for turrets
and a glazed nose suitable for all the different variants on offer. There are
green resin items to cover much of the interior details, wheels, legs and a
cockpit office. A good 1/72-scale plan comes printed on one side of 2-page
yellow instruction sheet, A4 size. On the other side there is an exploded view
and colour notes for the Russian versions.
| CONSTRUCTION |
 Once it
is decided what version is to be built then a sequence of assembly is adopted
starting with the interior of the cabin seat arrangement and bomb aimer
positioned in the glazed nose. Due to its detail parts that come with the kit,
it was once much sought after until a Revell model appeared on the market in the
injected form. Still once assembled it is turned into a beautiful true replica
of a medium bomber from the Great Patriotic war and certainly a welcome addition
to the realms of aircraft modeling. Parts are first scored with a sharp pointed
blade, cut and sanded down to the required section. The clean moldings of the
kit parts also come with a reasonable amount of raised panel lines. The fuselage
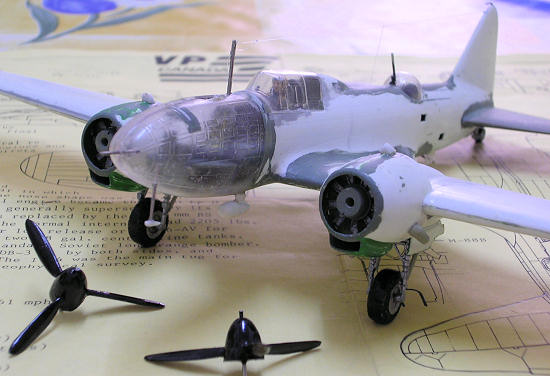
is broken at the front so that the selected nose version is fixed in place. The
Il-4 has a full nose made in clear acetate so that one can paint around the nose
glazing and window ports. Nose interior was assembled and care was needed to
make complete assembly of the front area.
The kit instructions contain no
stages that can be followed and it is up to the modeller to go about a sequence
of assembly, which is typical of a vac form kit. The cockpit interior has two
seats placed in tandem so that one seat is right in the glazed nose section.
There are two control sticks, two sets of pedals and front and side instruments
containing throttle and trim wheels fixed to the side of cockpit walls. A
detailed drawing of the instrument panel makes good reference to produce one
hand painted on a
 blank
piece of plastic cut to shape from the backing acetate. The kit gives no section
bulkheads, which can indicate to what extend one, can sand down the fuselage
parts but a set of outside callipers was all that was needed to check for the
required widths and sections at different stations. The main wings and tail
planes were a straight forward job and mating them to the fuselage by bat
joining them at the right level went without a hitch, all the way making
reference to the scale plans.
The assembled engine cowlings
almost totally conceal the detail radial engine cylinders. Two one-piece three
bladed propellers are in resin and I painted these black. I decided to assemble
the wing with the flaps lowered by cutting them at their correct panel lines and
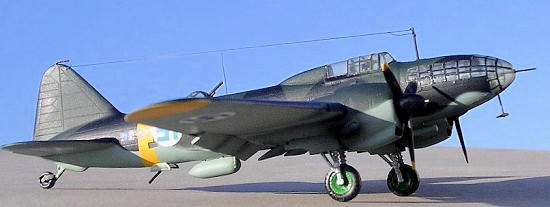
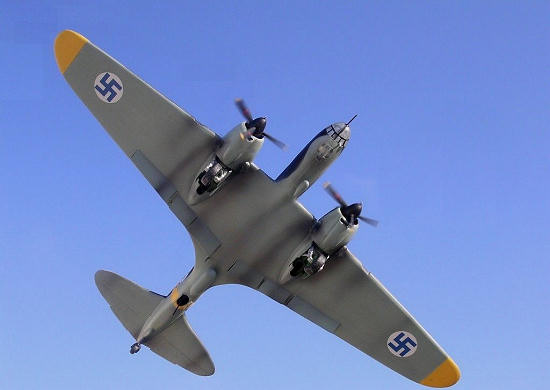
fix them at an angle. I have decided to make my Il-4 in Finn AF markings. Adding
an under fuselage fuel tank to represent a long-range bomber. A long horizontal
aerial that is fixed on 5 short stabs should go on the port side of the fuselage
as opposed to the one shown on the kit instructions which appear on the
starboard side.
| COLORS & MARKINGS |
| CONCLUSIONS |
Making this model made me enjoy every minute of it and my only concern was painting the nose and ensuring to hide the seam on the nose clear pieces. There was only one way to do it. I opened an oval window at the top of nose and another rectangular one at the nose base. These I filled with Kristal Klear and in doing so eliminated the awkward seams completely.
May 2011 If you would like your product reviewed fairly and quickly, please
contact
me or see other details in the
Note to
Contributors.