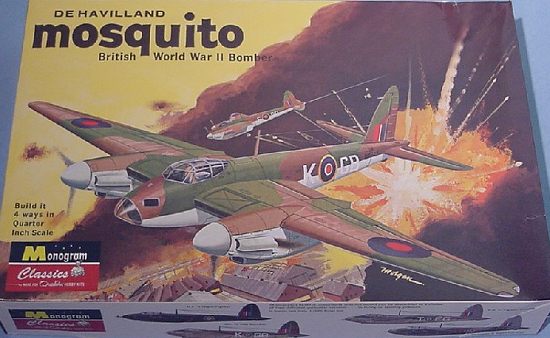
Monogram Classics 1/48 Mosquito
|
KIT # |
0129 |
|
PRICE: |
$18.99 CDN |
|
DECALS: |
four aircraft |
|
REVIEWER: |
|
|
NOTES: |
4 different versions |
|
BACKGROUND |
For a short History and the kit preview, click here.
|
CONSTRUCTION |
 The kit builds itself very
well. The only trouble area I ran into were the scribing away of the gear
doors, but I suspect that my inexperience at scribing things away is responsible
for the hard time I had.
The kit builds itself very
well. The only trouble area I ran into were the scribing away of the gear
doors, but I suspect that my inexperience at scribing things away is responsible
for the hard time I had.
I started out the usual way, with the interior, which was painted Model Master Interior Green. The wheel wells were painted the same colour along with all the miscellaneous parts for the cockpit. The details for the front office were picked up with Flat Black, Chrome Silver and Olive Drab. The seatbelts were painted with Model Master Panzer Dunkelgelb.
I then set my attention on the landing gears, since you have to install them before mating the half wings together. I painted them Aluminium (little jar) and the rubber shock absorbers Flat Black. The wheels were glued together and painted the same colours. The struts were glued together and if you are careful enough, the wheels will turn. Positioning them into the wings can be tedious, especially if you don’t have any references handy. Once you have glued them into the two locating holes, move them until they correspond to a front view technical drawing.
 The interior was glued
inside one fuselage halve and the fuselage were mated together. I immediately
glued the stabs in place, and I followed with the wings. I used putty only on
the stabilisers, the fit of the wings is so good that you could paint the whole
plane in subassemblies. Impressive for a 1966 kit. One note : you still have
to sand the engine nacelle/wing joint, but it’s very easy to do so, and its more
a formality than anything else.
The interior was glued
inside one fuselage halve and the fuselage were mated together. I immediately
glued the stabs in place, and I followed with the wings. I used putty only on
the stabilisers, the fit of the wings is so good that you could paint the whole
plane in subassemblies. Impressive for a 1966 kit. One note : you still have
to sand the engine nacelle/wing joint, but it’s very easy to do so, and its more
a formality than anything else.
Before gluing the wings together, I had glued the radiators in place, painted with Testor Aluminium and the surrounding areas Flat Black. To ease painting, I left the exhaust shrouds off and then I masked the aircraft up, with great care for the landing gears and I was ready to paint.
|
PAINT & DECALS |
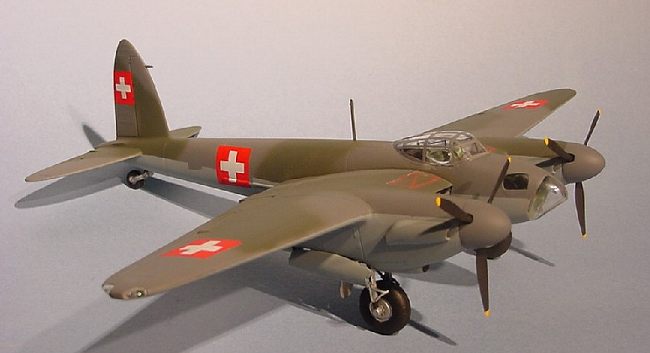
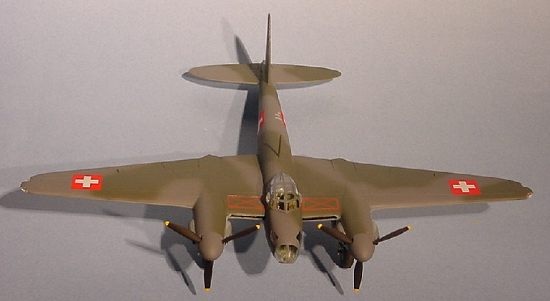
 The belly was painted
with Model Master RAF Medium Sea Gray, masked and the top was given a coat of
Model Master RAF Dark Sea Grey with Model Master RAF Dark Green free handed when
the grey was dry. The spinners were painted Dark Sea Grey.
The belly was painted
with Model Master RAF Medium Sea Gray, masked and the top was given a coat of
Model Master RAF Dark Sea Grey with Model Master RAF Dark Green free handed when
the grey was dry. The spinners were painted Dark Sea Grey.
Construction Continues
I unmasked everything and applied Chrome Silver to the pitot tube when disaster struck. Unknown to me, I had some silver residue on my hand and left numerous prints on the aft fuselage. Undeterred by the events, I sanded the offending color away and with my trusty brush, I simply applied Medium Sea Grey spots over it, simulating hastily repaired battle damage. The overall effect will be toned down by the decals.
I glued on the landing gear doors, and applied spots of Future where decals would be placed.
Decals
I decided not to bother with any stencils apart from the big red ‘X’ on top of the radiators, and with my choice of Swiss markings from Aeromaster, I had a grand total of 10 decals to apply, and that’s why I spotted the Future on the model instead of flooding it.
The decals, printed by Microscale, went on beautifully, as did the ‘X’ taken straight from the kit. When they were dried, I shot the model with Model Master Dull Coat and installed the clear bits, using white glue as an adhesive. Large gaps prevailed around the canopy, but white glue did a fine job at filling them.
|
CONCLUSIONS |

This kit went fast, maybe too fast. It’s very easy to build, looks nice, the kit’s decals are highly usable and with four different versions in the box, it’s a true winner. I recommend to anyone, especially if you are looking for your first twin!
July 2002
Copyright ModelingMadness.com. All rights reserved. No reproduction in part or in whole without express permission from the editor.
If you would like your product reviewed fairly and fairly quickly, please contact the editor or see other details in the Note to Contributors.
Back to Reviews Page 2016