Since the last time I put up this column, many things have happened. One is that I was still not totally pleased with just how the track was flowing in the additional section I put up on the left side. See the previous "In the Groove" for a look at that piece. The new section seemed to 'drive' a great deal like the switchbacks I already had in place, and I wanted something a tad different. With that in mind, I set about changing around the track. In the process, I discovered that I could fit in a few more straight sections and add a wiggle, something that is always nice to have. The result is a track that now has a part that is not exactly like any other section of the track and now has 141 feet of length in the longer lane (139.5 feet in the shorter one). The lap times have also increased just a little with now even fewer cars breaking into the very high 12s and more into the 16 second bracket.
Here is how the new sections have
been arranged:

 As
you can see, the back wall straight has stayed the same, but this time the loop
at the end has been expanded and is constructed of mostly R3 and R4 sections
before a single R2 that leads to a short piece with a squiggle in it Taking out
the R1 in this sweeper has removed a lot of deslots on that sweeping section.
The Squeeze Track has since been removed as I don't like them. It then leads
into a short 'foot' hairpin with some R1s in it before going back up a straight
that has a hairpin made of alternating R1 and R2 sections. This then goes
down another short straight to a 90 degree turn made of R3 and R4 sections so it
is relatively fast. Putting that final turn a bit farther back allowed
another foot to be added to my second longest straight section. You will also
notice that the start/finish lights are now at the end of a much longer straight
section. The previous location was still too close to curves and caused it to be
hit from time to time by swerving cars.
As
you can see, the back wall straight has stayed the same, but this time the loop
at the end has been expanded and is constructed of mostly R3 and R4 sections
before a single R2 that leads to a short piece with a squiggle in it Taking out
the R1 in this sweeper has removed a lot of deslots on that sweeping section.
The Squeeze Track has since been removed as I don't like them. It then leads
into a short 'foot' hairpin with some R1s in it before going back up a straight
that has a hairpin made of alternating R1 and R2 sections. This then goes
down another short straight to a 90 degree turn made of R3 and R4 sections so it
is relatively fast. Putting that final turn a bit farther back allowed
another foot to be added to my second longest straight section. You will also
notice that the start/finish lights are now at the end of a much longer straight
section. The previous location was still too close to curves and caused it to be
hit from time to time by swerving cars.
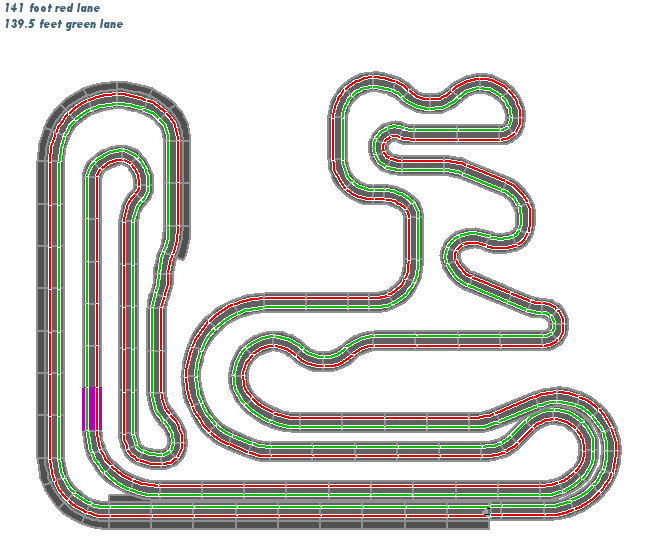
This is a diagram of how the track now looks. The magenta area is the new start/finish line.
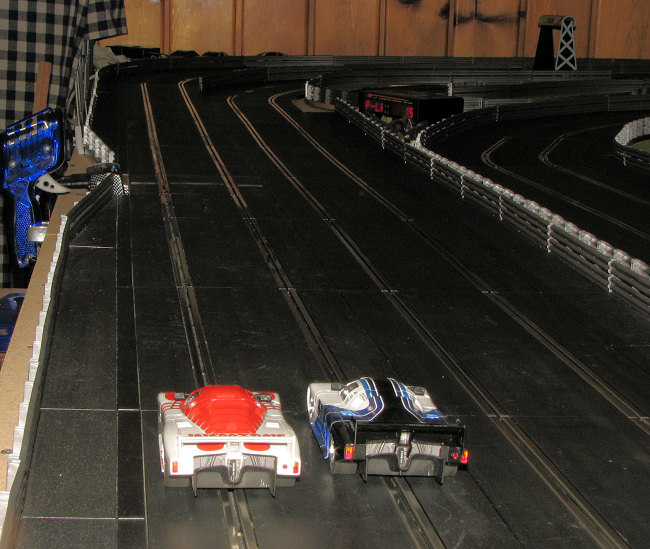
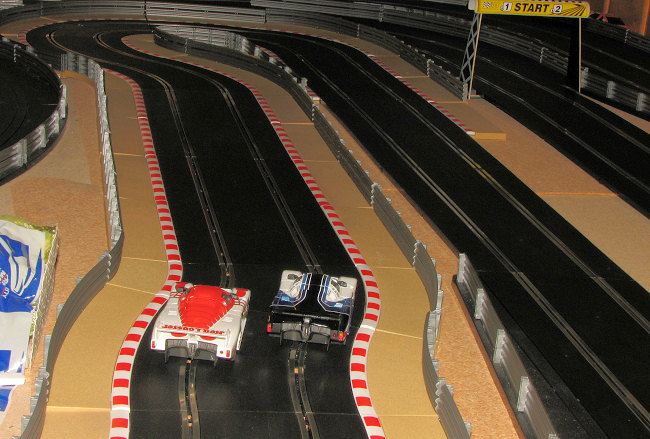
I've put together a bit of a photo 'drive through' of a lap so you can see how things have progressed. I tried to number where on the track diagram the various photos were taken, but it became to crowded, so just follow along. Each image, including the track map, is a thumbnail that leads to a larger photo.
 |
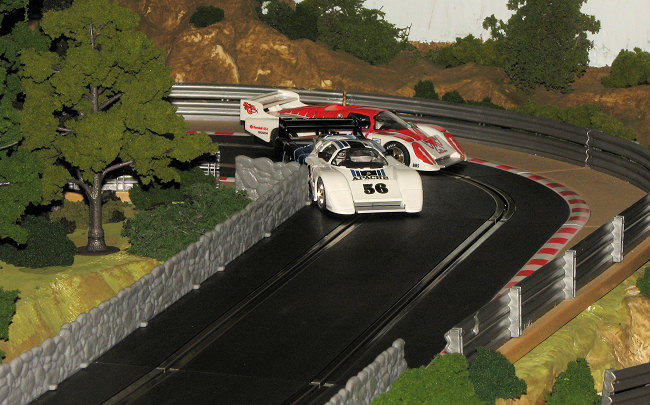
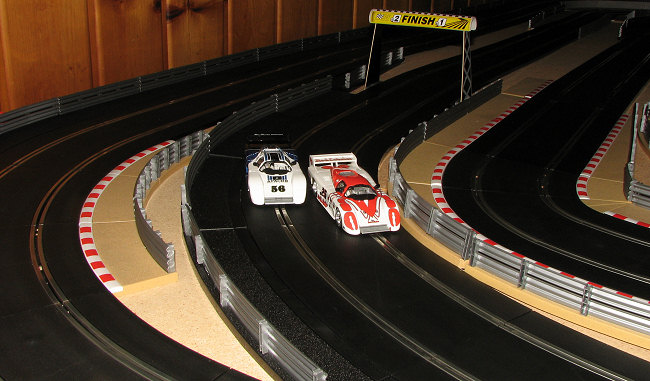 1, Starting out into the first turn |
 2. Moving down the second longest straight... |
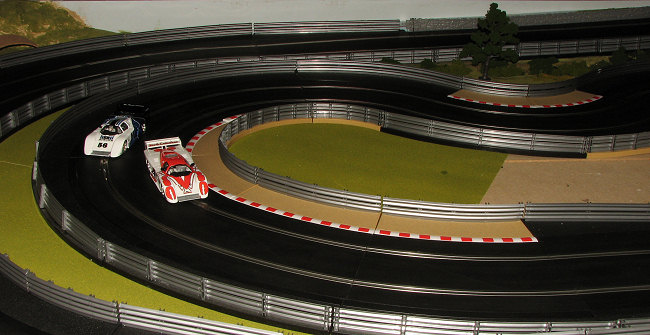
 3. ..and to the inside of the broad sweeper |
 4. Through the inner sweeper and .. |
 5. ..onto the straight leading to... |
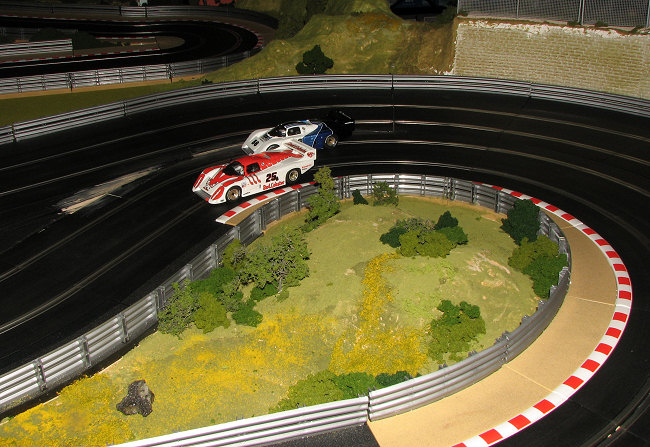
 6. the widest sweeping turn on the track. |
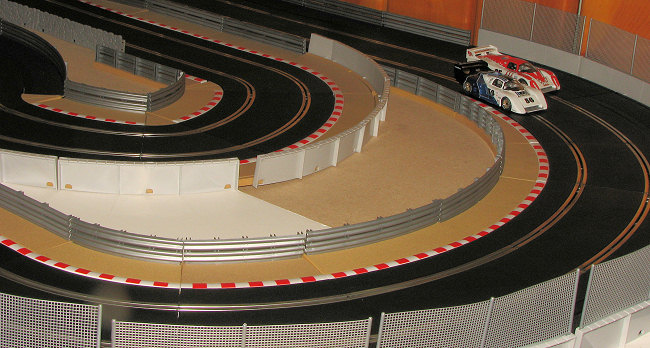
 7. This then goes uphill to a .. |
 8. .. set of short curves while gaining elevation. |
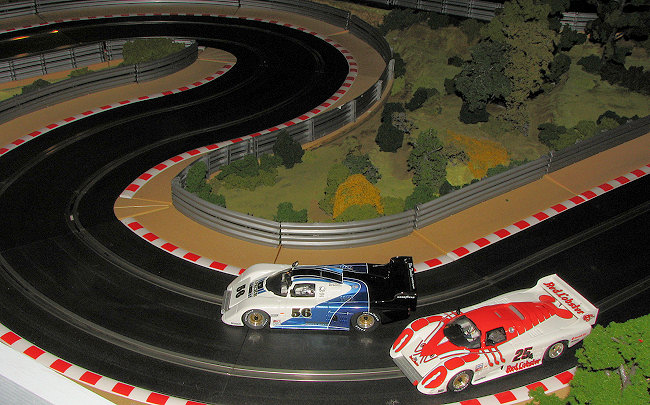
 9. Then into the top of the hill esses. |
 10. These esses make a sharp left turn to start going back down hill. |
 11. The first in a series of switchbacks is a sharp hairpin turn. |
 12. This goes down a very short straight to a sequence of varying radius turns... |
 13. ...until it ends up back at ground level with another sharp hairpin. |
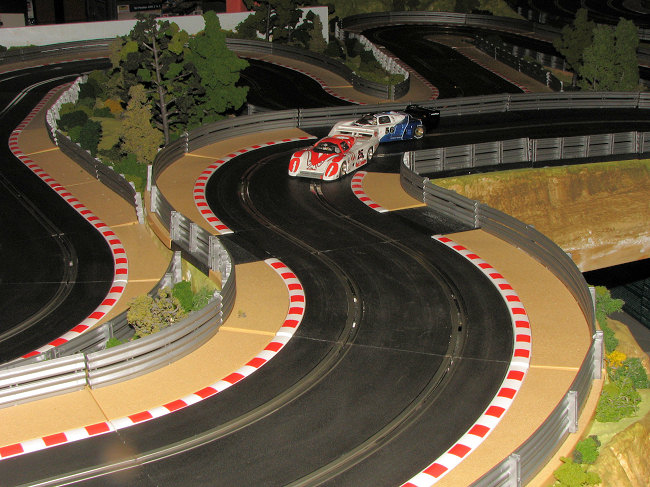
 14. Out of that hairpin to a medium straight with a set of esses... |
 15. ...then into an increasing radius turn... |
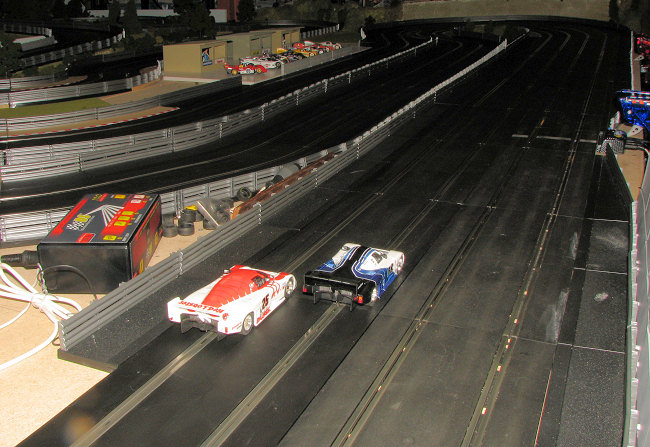
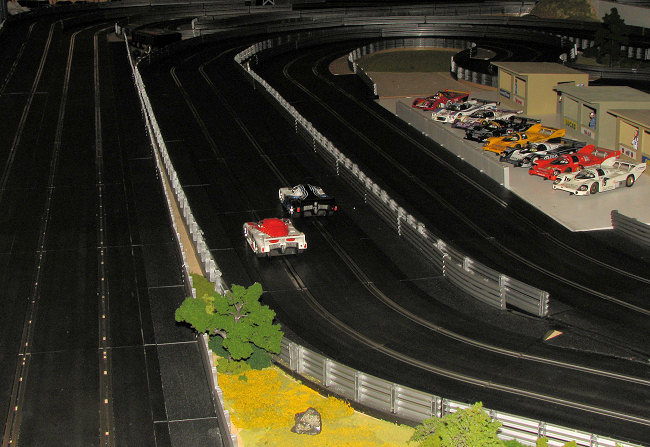
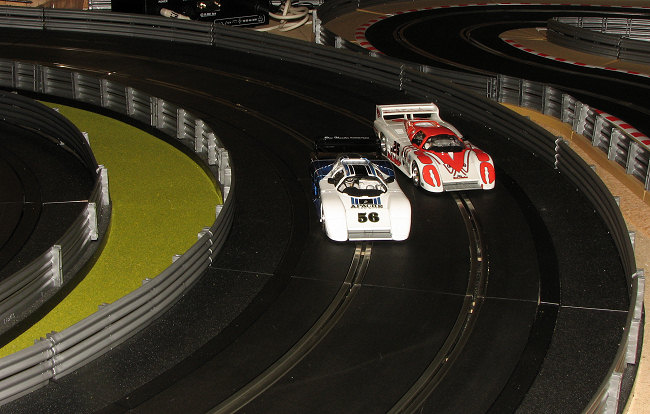
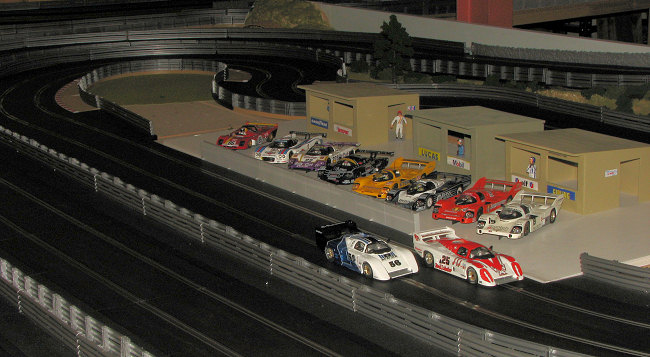 16....then past the pits... |
 17. ...and into the outside portion of the broad turn. |
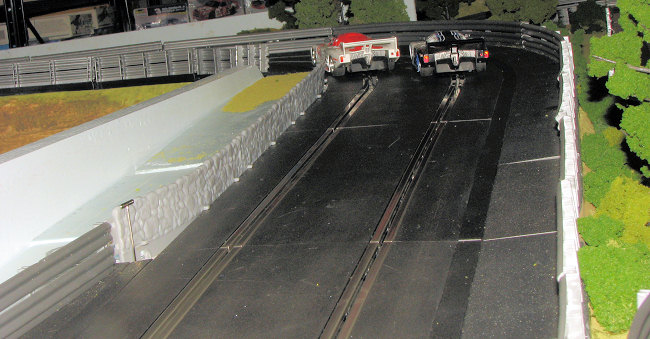
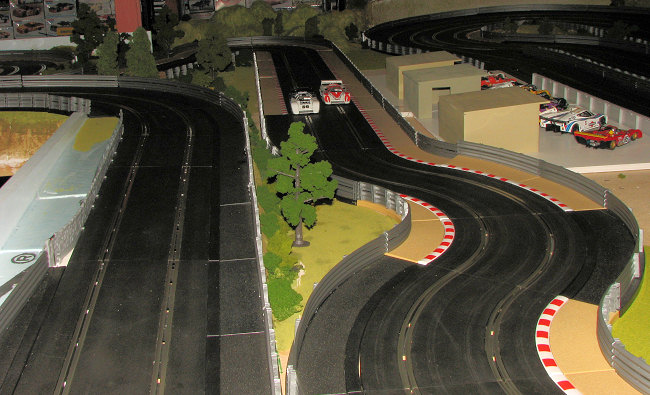
18. This leads onto the longest straight of the track. It, in turn, goes into a somewhat wide turn, up the long back straight.... |
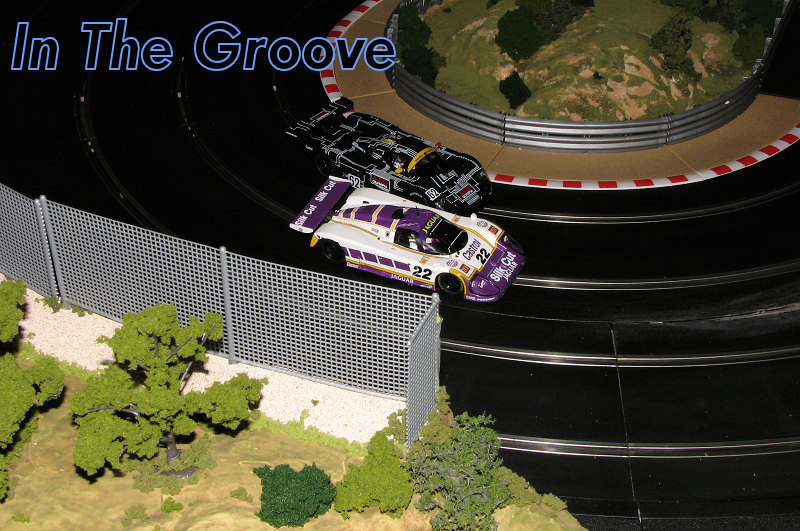
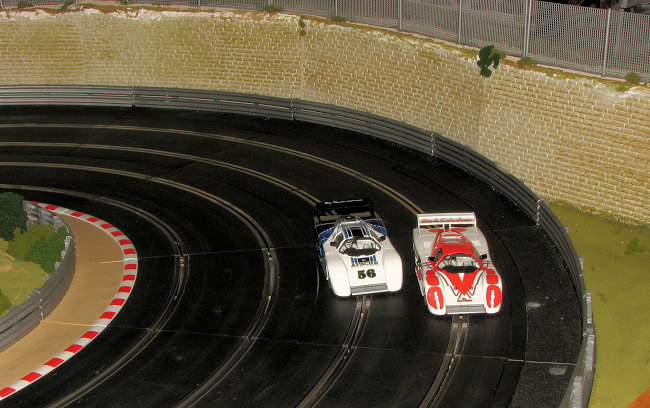
 19. ...and into the wide, but changing radius turn at the end. (the high fences have been VERY useful at this point.) |
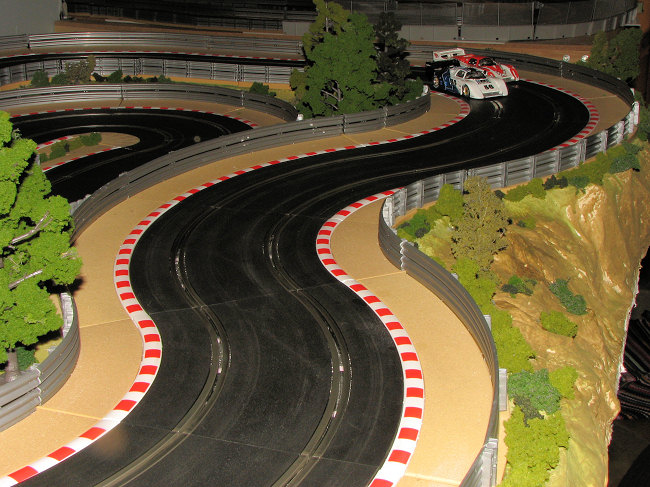
 20. Out of the wide turn, into a straight with wiggles half way down... |
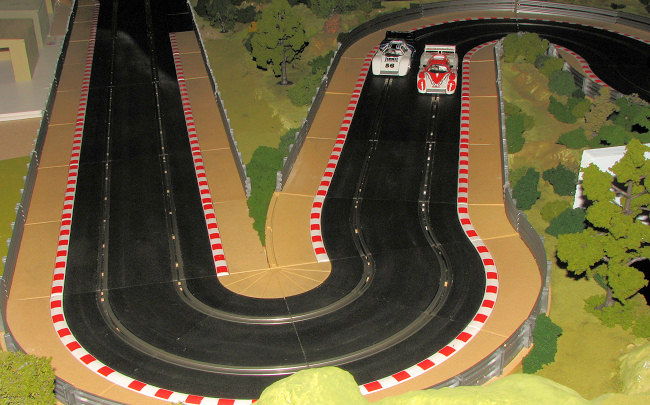
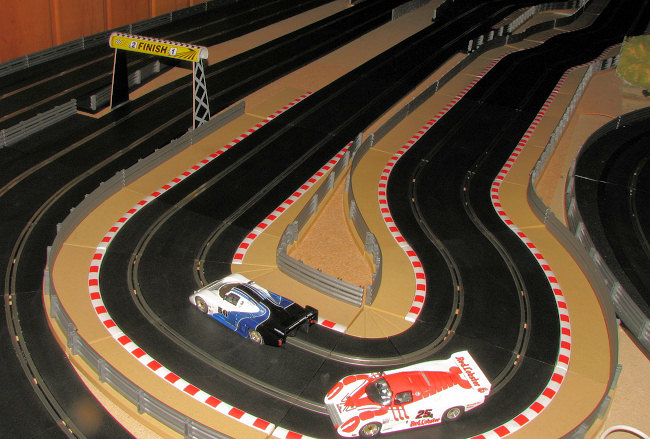 21. ...then into the sharp 'boot' turn. |
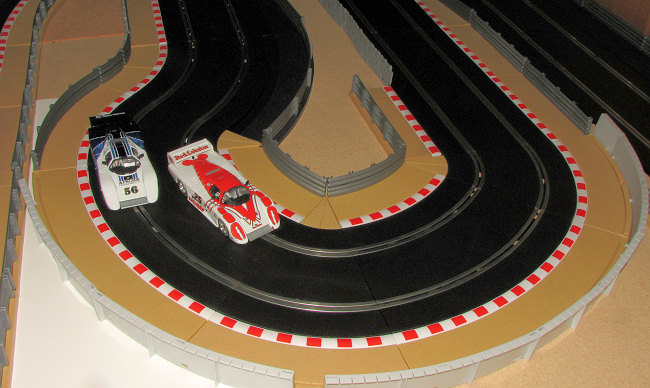 22. This leads up another short straight to the somewhat 'mushroom' shaped hairpin.. |
 23. ...which leads down a straight and back to the start/finish section. |
Hopefully, you have been able to coordinate all this with the map and can see that while the lap is long, it is also fun to drive with many challenges. |
So there you go. Actual time for these particular Revell March/Porsches would be in the high 14 second bracket. For those of you who actually click on the track map and wonder about the length of straights, each of the full straight sections is 13 inches long, making the longest actual straight section (no curved bits) about 11 feet. One thing you may have noticed is that I use borders along nearly all the track. This provides more wiggle room, but also somewhat limits track footage and scenery space.
Well, that is about it for this session. I hope you learned a bit and if you have any questions or wish to share your experiences or images of your track, I'd like to hear from you on the subject so please e-mail me at mmreaders@aol.com.
Scott